Size: One Size
Volume: 35L (2,135 cu. in.)
User Info: 5’10”; 180 lbs.
Torso length: 20.25 inches / 51 cm
Stated Weight:
• 1,750 g (3.85 lbs.) (without airbag)
• 2,600 g (5.7 lbs.) (with airbag).
Dimensions (H x W x D):
23 x 12 x 11 inches
58 x 30 x 28 cm
Features:
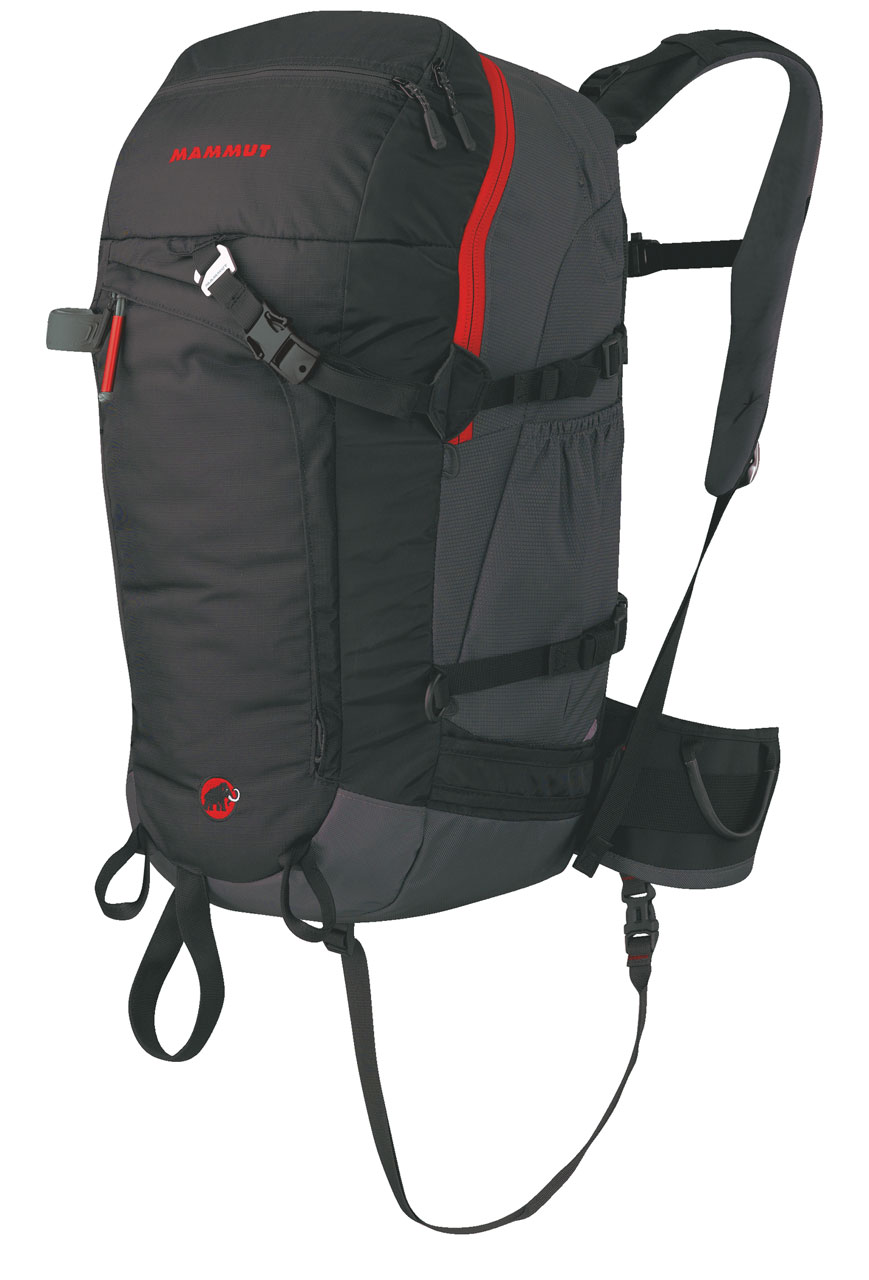
- Back-access panel
- Fleece lined goggle pocket
- Dedicated snowtool pocket
- Zippered, insulated hydration tube sleeve in pack strap
- Hip-belt pocket and one gear loop
- Ice axe carry straps
- Diagonal ski carry straps
- Removable helmet sling
Days Used: 20+
Testing Locations: Alta Ski Area, Big Cottonwood Canyon backcountry, Stowe, Vermont backcountry, Mt. Washington area backcountry
MSRP: $925
• Pack: $300
• Airbag (RAS): $450
• Canister: $175
After losing too many friends to avalanches during the 2011-2012 winter, one of the many messages I took away was that an avalanche airbag could help save someone’s life in a big slide. It’s not guaranteed, and it’s no substitute for good decision-making, but it might provide an advantage when things go south.
I picked up the Mammut Pro RAS 35L because it had all the features I was looking for: back access panel, helmet-carry sling, avy tool pocket, and, of course, the airbag system itself.
What I especially like about Mammut’s RAS—”Removable Airbag System”—is that I can remove it and put it in any one of Mammut’s avalanche packs, depending on what I’m doing that day. Expensive option? Yeah, somewhat. But I like flexibility, and this system gives me that.
The Removable Airbag System
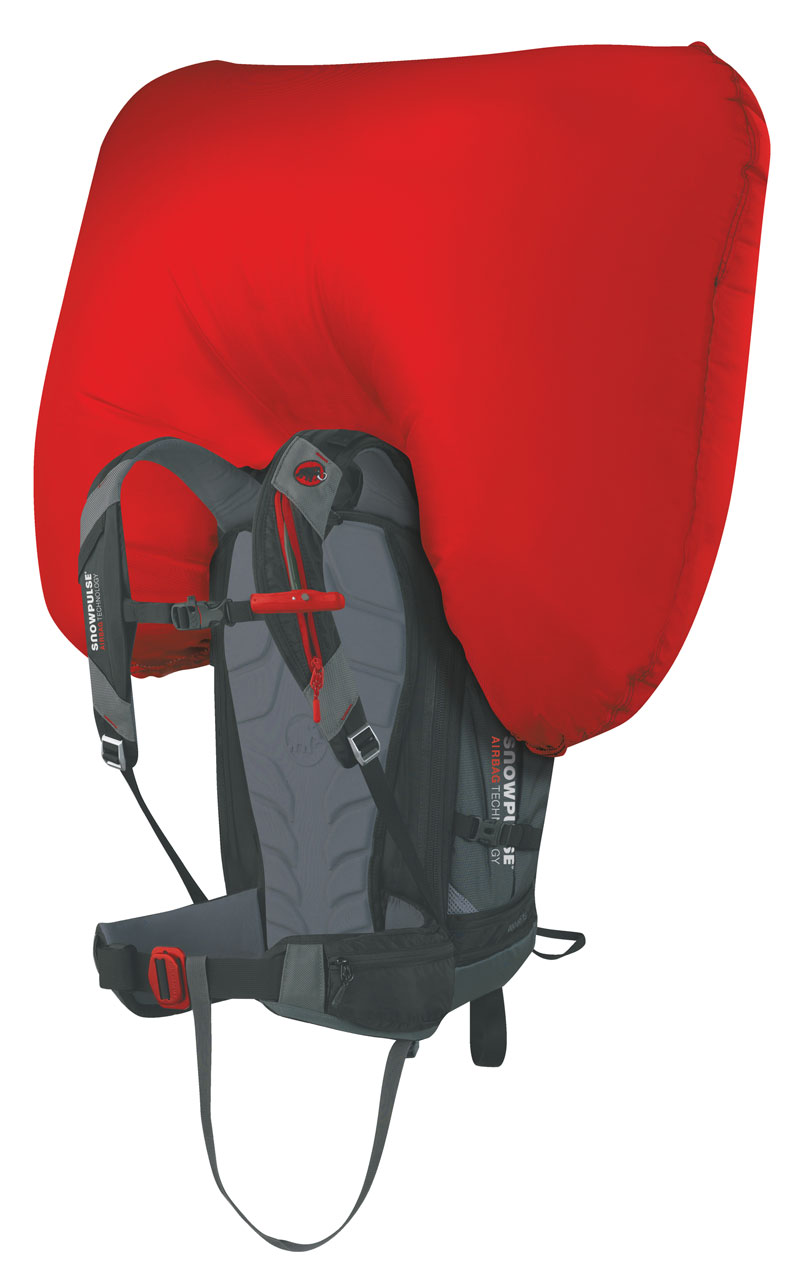
The RAS is a red 150L airtight nylon bag that weighs 850g (1.87 lbs., with handle and without pressurized air canister) and inflates in approximately three seconds. Having deployed it twice for testing, it seems pretty fast. It blasts through the top of the pack via dual burst zippers with a center Velcro enclosure. Once deployed, it cocoons your head, potentially providing protection from trauma and potentially forming an air pocket if you do get buried. (I say potentially because there’s certainly no guarantee that these things will occur in a slide, but in my opinion, any chance is better than none.)
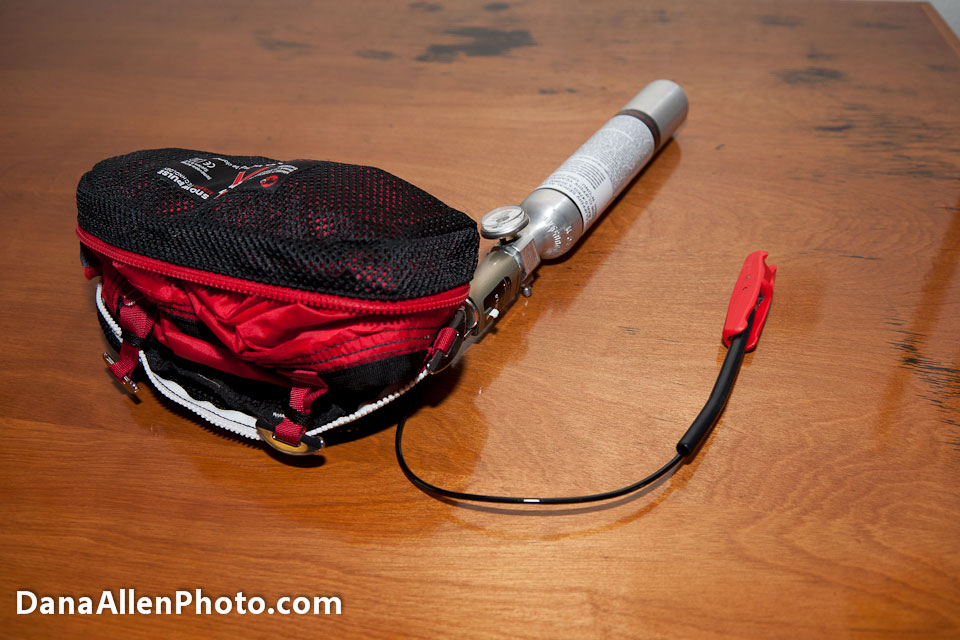
The airbag folds into a mesh bag that zips inside the pack. It’s then further secured with load-bearing metal T-bone buckles that slip through tough webbing loops, ensuring the airbag won’t get torn off. It’s a little tricky at first, but the learning curve isn’t that steep.
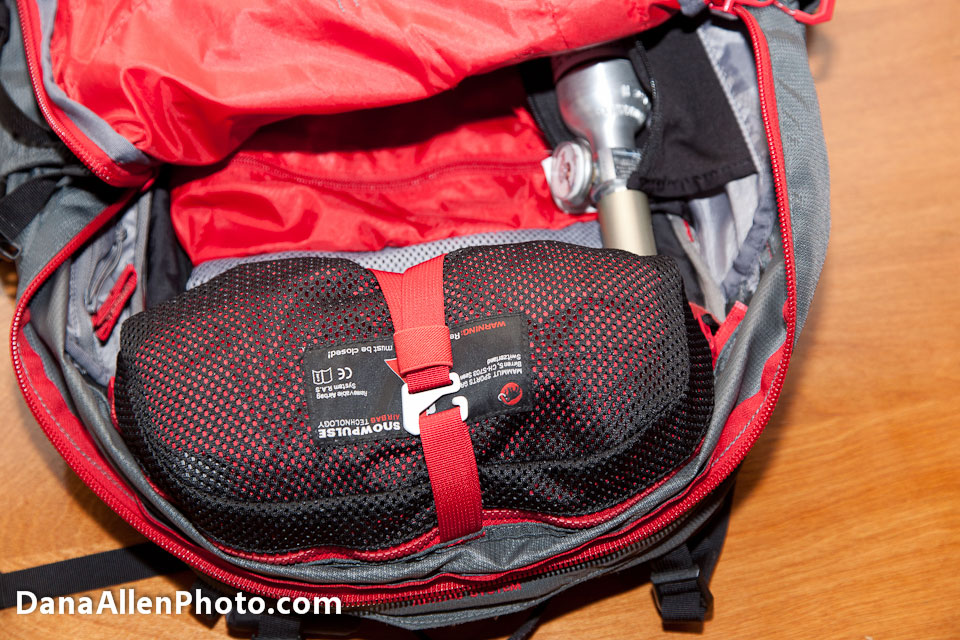
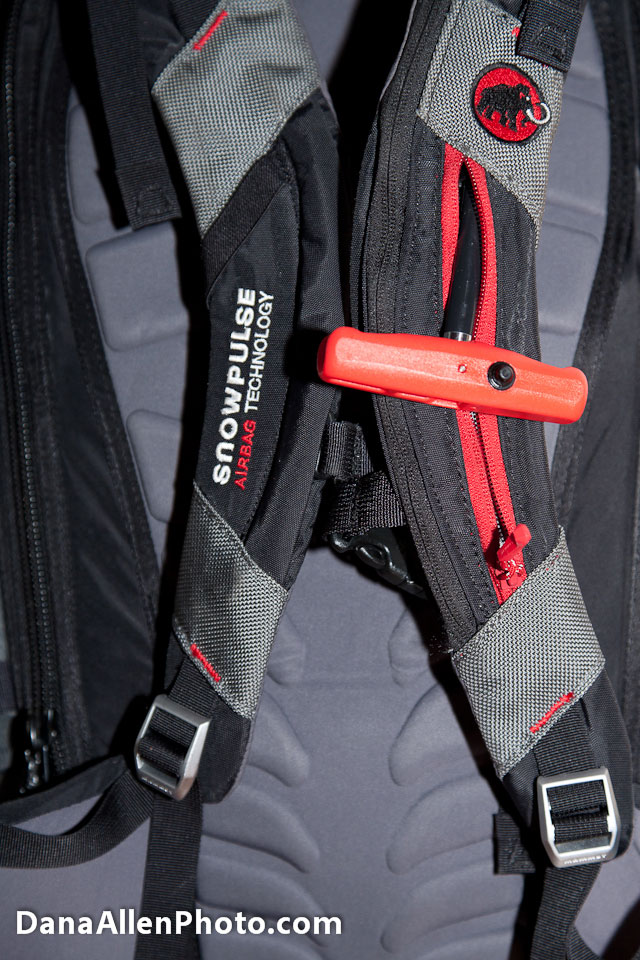 The cable and handle stow in a zippered sleeve in the left shoulder strap.To deploy, unzip the sleeve, rotate the handle to a locked T-grip position, and pull. Deploying requires about as much force as you’d use to tighten a shoulder strap—nothing major.
Folding it up afterward is straightforward, though the instructions are not printed on the bag anywhere—you’ll have to refer back to the manual or, should you deploy it for whatever reason in the field, stuff it back in the bag and fold it up later.
The Air Canister and Venturi Valve
The air canister attaches with a screw-on valve and zips into a small padded sleeve in the pack. These canisters weigh 555 grams empty and are fully rechargeable at any dive shop or paintball store, but be forewarned: cartridge refill kits are $50 for 20 seals.
The pressure gauge is simple: if it’s in the green at room temperature, it’s ready. Deployment is accomplished through a Venturi valve: pulling the handle causes the canister seal to be punctured, allowing pressurized air to flow into the larger airbag. No explosive bursts for this bag. The canister fills 75L, or half, of the airbag; the other half is sucked in from the ambient air around the Venturi valve.
Mammut assured me that the only way this might be blocked was to completely encase the valve in plastic, and even then the vacuum force would likely find a way to bypass the block. In other words, you don’t have to worry when stuffing your pack full of gear—it won’t affect the valve’s ability to draw in air.
The One (Minor) Issue I Had
During a test deployment, a few teeth on one of the burst zippers ripped off, resulting in my inability to fully close the pack, but this has proven to be no big deal. The Velcro and remaining zipper that the mesh pouch zips into hold it closed enough to prevent snow from getting in, and it won’t hamper the function of the RAS. Of the thousands they’ve shipped, Mammut says they’ve had five or six come back for this issue, and they will repair or replace as necessary.
The Pack
Fit
The Pro 35L comes in one size, which is a bit limiting. That said, I’m 5’10” with a 20.25” / 51cm torso length, and it fit me perfectly, so no complaints from me.
The entire system is load bearing, and the shoulder friction strap and hip-belt buckles are metal. There’s also a webbing loop that threads through your crotch and loops to the hip-belt. Mine frequently slipped off and would catch on things, so I use a carabiner, which can either clip to the hip-belt or attach to the gear loop.

The teardrop-shaped Thermo-molded back panel is supportive and comfortable; put something hard in the pack, and you won’t feel it. I’ve never felt my DSLR in there, for example, and I’ve packed it at the top, bottom, and middle of the pack.
The pack sits high on my hips and doesn’t feel saggy, thanks to the U-shaped stay that forms the backbone of the pack frame. The straps are comfortable, and the load adjustment straps keep the load nice and close, and have never loosened up on me. I also like that the hip-belt tightens with one strap. This simplifies putting the pack on, which, when you take your pack on and off a lot like I do, starts to matter.

Hi Dana,
Thanks for this great review. I have just purchased this pack myself and look forward to testing it in the upcoming ski-season 2013/2014 (yeah…there is still summer and fall 2013 in between and I really look forward to some serious mountainbiking before hitting the snow backcountry again ;-) ).
All the best from Vienna, Austria
Stefan
Nice review Dana!
You commented about the refill seals, are you saying you go to a scuba shop and have to provide some sort of mammut proprietary seal for the canister? This is not something you would buy directly form the scuba shop doing the refill?
Thanks
Marcel
You have to purchase the seals from Mammut directly (or at a shop that deals Mammut). This is worth doing up-front as tracking them down is likely a pain. You then take the seals to the scuba shop and have them fill and seal the tanks.
Very detailed review. Thanks for the biner tip on the underleg strap, i might find an old dmm phantom and try this myself.
I’d echo the biner tip, great idea.
Great review. What camera insert did you find to fit best? Thank you again.
I used an F-Stop Shallow Series Medium ICU. Fits my Canon 5DMKI and MKIII perfectly, with space for lenses, flash, etc. Won’t really allow for a larger DSLR or adding a battery grip, though. I’ve done it and the fit is really tight.
Thanks Dana,
Great to know, but arggghhhh, was hoping to fit a slope or pro ICU :)
I’ve been looking at this pack but the hydration reservoir system doesnt seem ideal, as you mentioned. I looked at one, and it seemed like the pouch for the reservoir is on one side of the pack (Right or left, cant remember, but not against the back panel). Water is kinda heavy, does carrying all the water on one side kind of throw off the weight balance in the pack?
I just received my carbon cylinder through snowinn.com and I am super stoked! I sold my old ABS unit and bought the ride protection 30L. Combined with the carbon cylinder this is way lighter.
My question though is this…. What will I do with the carbon cylinder if I deploy the airbag? Is there a way to have these refilled in the US or am I out $115 for a cylinder? It would be nice to be able to practice the deployment a few times but that isn’t really an option if I have to absorb the cost of buying a new cylinder through snowinn and waiting two weeks for it to arrive.
Cheers!