
Intro
Suspension service is often viewed as some sort of black art, but a basic fork service is easy for even an amateur mechanic and can make a huge difference in performance. And with colder, rainier days settling in for much of the Northern Hemisphere, there’s no better time to spend an hour inside giving your fork some love.
To be sure, not all suspension service tasks are easy or readily done at home. Damper overhauls and many rear-shock services can get more complicated pretty quickly, but you — yes, you — can easily freshen up your fork with just a few basic tools.
Suspension Fork Lower Leg Service
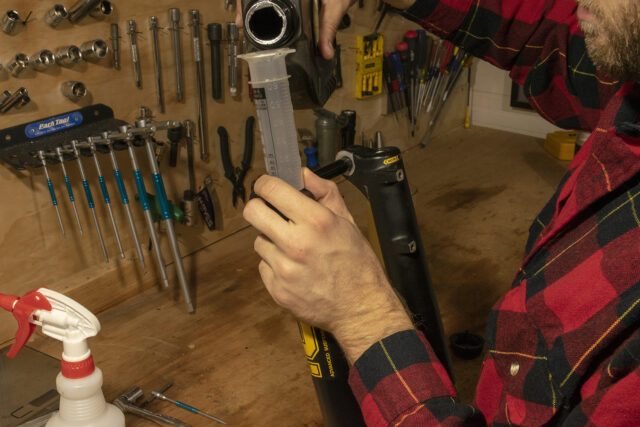
Before we start, it might help to clarify what we’re talking about here. Suspension forks have a small volume of lubrication oil splashing around inside of the legs, and that oil tends to break down and get contaminated with dirt and grime as you ride — especially in wet or dusty conditions. Simply cleaning everything up and replacing that oil can go a long way towards improving suspension performance, and it’s a quick and easy job.
Now, the exact details of the steps are going to vary slightly, depending on what exact brand and model of fork you’re working on. But for conventional forks with a one-piece lower leg casting (i.e., the vast majority of modern options) the steps are extremely similar. This guide will give you the general steps, but you’ll want to check the exact service procedure for your fork for some of the details. All the major manufacturers publish guides on their sites with information specific to your fork, including oil weights, torque specifications, and so on.
Fox Service Procedures
RockShox Service Archive
Öhlins Workshop Manuals
Manitou Fork Service Guides
DVO Service Guides
Cane Creek Service Documents
MRP Service Manuals
EXT Service Manuals
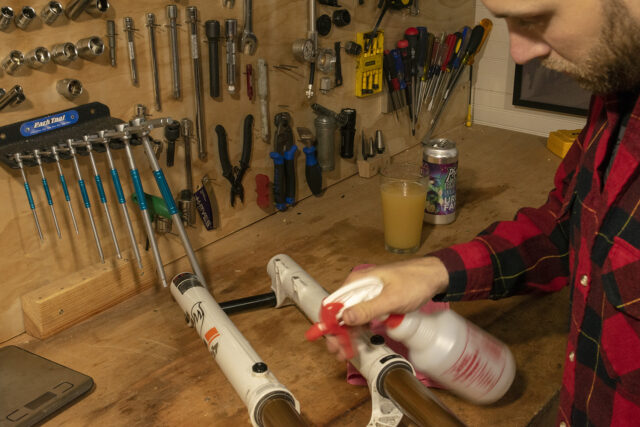
Remove the Fork and Clean It
It is possible to do a lower leg service with the fork still installed on the bike, but it’s harder and messier. Make your life easier and take it off. And having done that, carefully clean the exterior of the fork. If it’s really dirty, start with a rag and water to get the big chunks off. Finish up with a clean rag and isopropyl alcohol. The whole point of this procedure is to put fresh, clean oil in the fork, and you’re going to sabotage that effort if you let a bunch in when you open the fork up.
Let out All Air Pressure
If you’re working on an air-sprung fork, make sure you’ve let out ALL the air pressure before you go any further. Don’t forget any secondary air chambers your fork might have (e.g., independent negative chamber, Manitou IRT, etc.).
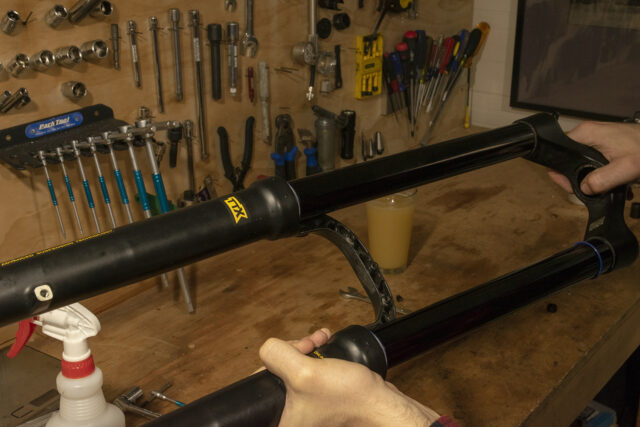
Remove The Lowers
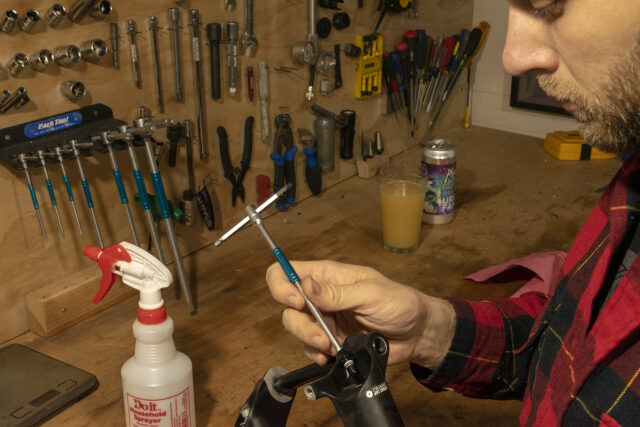
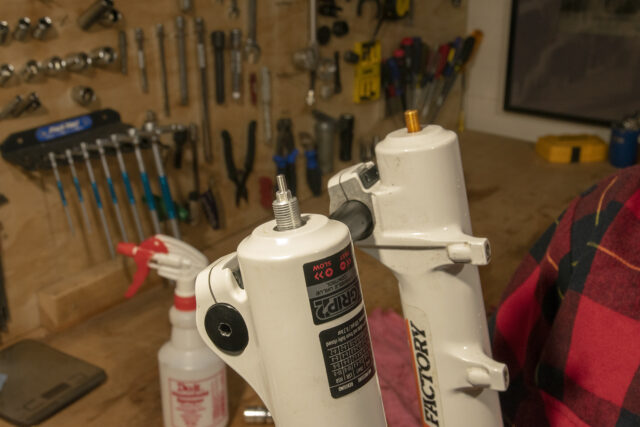
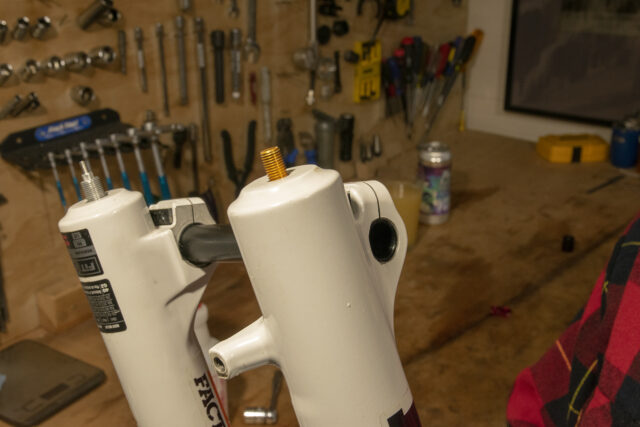
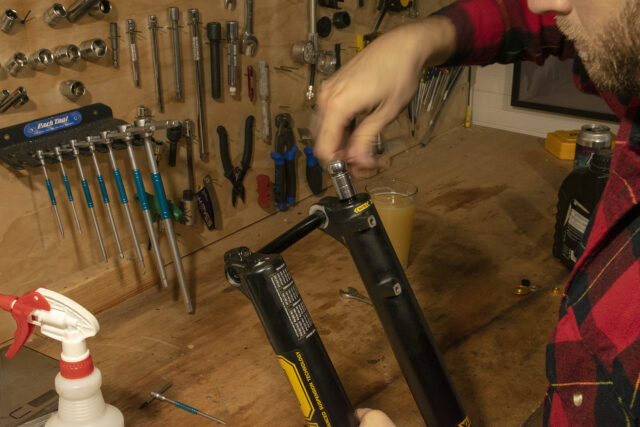
This is where the exact steps start to vary slightly by fork model — but in general, the lowers are held on by the spring and damper shafts at the bottom of each leg. Start by removing the rebound knob(s) from the bottom of the fork legs. Most are secured with either a set screw or small bolt, but check the specific procedure for your fork to be sure.
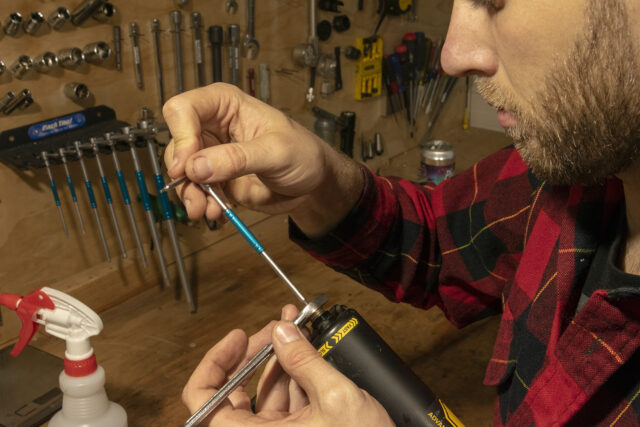
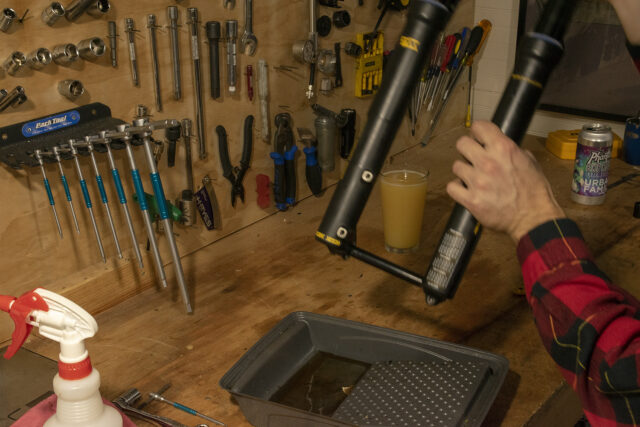
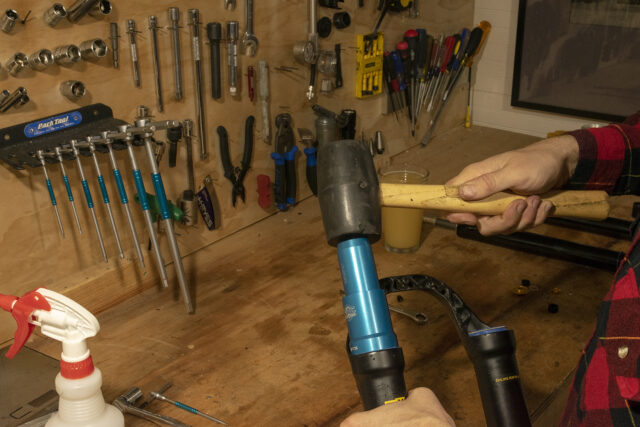
You’ll then need to remove the nut or bolt that secures the lower leg to the spring or damper shaft on each side. To free the shafts from the lower leg, most modern forks require you to gently tap the bottom of the shaft with a rubber mallet to break them free. A few forks instead thread the shaft into the leg, but those are relatively rare. Again, check the specific procedure for your fork.
For RockShox forks, which use bolts to secure the shaft, you can just thread the bolts in halfway and tap the bolt heads to free the shafts. Fox forks use nuts instead, and you can just tap the end of the spring shaft to free it (use a rubber mallet, not a hard hammer).
Take note, though, that the damper side of a Fox fork has a thin rebound adjuster shaft exposed, and you should NOT hit that directly. Fox sells a tool that threads onto the end of the shaft to make it easy, though you can also use an appropriately sized socket or other cylindrical object instead. Just make sure you’re directing the force into the main damper shaft, not the small rebound one.
Clean the Lower Legs
Clean the inside of the legs with a fresh rag and isopropyl alcohol, and do the same for the stanchions and spring / damper shafts.
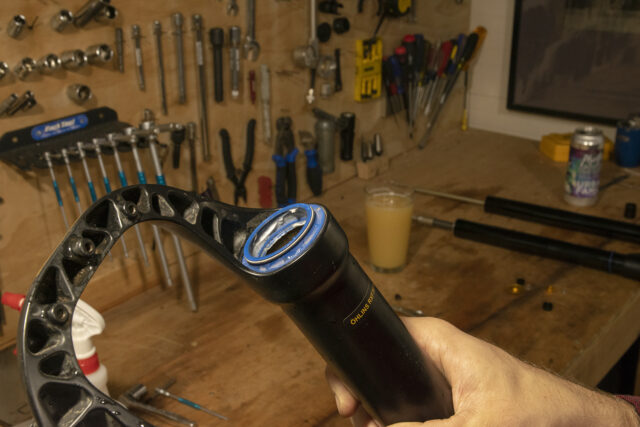
Replace the Seals
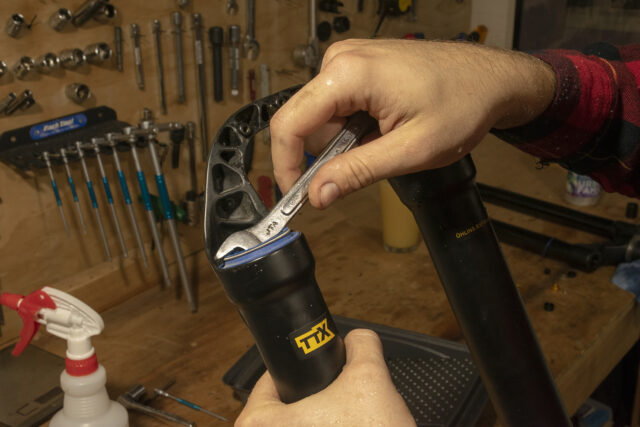
Depending on how long it’s been since you last did a lower leg service, and whether or not they’re leaking, you may also want to replace the dust seals in the fork. I’ll typically do a couple of oil swaps between seal replacements, but if it’s been a while they should also be replaced. This step is made a lot easier and safer with the correct seal press tool, though a carefully sized piece of PVC pipe can work in a pinch. If you don’t have the right tool or aren’t confident in this part, you can skip it, provided that your seals are still in decent shape.
Gently pry the seals out with a small open-end wrench, taking care not to scratch the inside of the lower leg casting. There will also be a foam ring below the seal — remove that too, and discard both.
Reassemble Everything
Apply a thin film of Slick Honey or other manufacturer-approved grease to the inside lip of both seals. You don’t need a lot — just enough to get a little coating on the full circumference.
With the fork still upside down, slide the lowers down until the spring and damper shafts emerge, and reinstall the foot nuts / bolts to secure them, reversing whatever process you did on disassembly. If your fork uses crush washers or O-rings to seal the bottom of the shafts, make sure they’re undamaged and correctly installed.
Reinstall the knob(s) on the bottom of the shaft, taking note of any flat spots on the damper shaft that might exist for the set screws to press against.
Clean the outside of the fork with isopropyl alcohol again (you will have left some oil on it), reinflate to your desired air pressure(s), reinstall the fork on the bike, and go ride.
Let Us Know How It Goes
While we certainly hope that some of the specific tips in here are useful, the biggest point of this article is that doing a lower leg service is quick, easy, and doesn’t take a lot of elaborate tools or know-how. And while it’s not as sexy as buying a new fork or hopping up your existing one with custom tuning or something like a Vorsprung Secus, it truly can make a big difference if you’re behind on your service intervals, and it’s a whole lot cheaper. So give your forks some love this week, and let us know how it goes in the comments.
I think it’s worth mentioning that while you’re performing a lower service, a basic air spring service(remove, clean, lubricate, reassemble) only adds a few minutes to the job, and often makes a major difference in reducing stiction.
Speaking of which, if a brand new fork feels less than amazing, try performing a lower and air spring service before assuming it’s a hunk of junk. They are often significantly underlubricated from the factory.
But, can we really trust someone who goes to Urban Family and doesn’t get a sour?
Haha. If it restores your faith any, I’ve got Mantra and Planetary Bombardment in the fridge right now.
Have you been to Fair Isle yet? They’re also worth a visit if you’re into sours (and are an easy walk/stumble apart).