
RockyMounts GuideRail
Test Location: Washington, Oregon
Test Duration: 2 months
Mounted to: 2021 Toyota Tacoma
Blister’s Measured Weight: 48.4 lb
MSRP: $850
Intro
The 1Up hitch rack has been an extremely popular option for years now, and for good reason. The racks are easy to use and hold a wide variety of types of bikes securely, without contacting the frame or fork anywhere; they’re well-built and last a long time; and they’re lightweight and easy to take on and off a vehicle.
RockyMounts’ new Guiderail hitch rack uses a dual-arm design that’s very reminiscent of the classic 1Up layout. But Rocky Mounts didn’t just copy 1Up and call it a day. While their general concept is definitely 1Up-inspired (Rocky Mounts readily admits as much), they’ve found a bunch of ways to improve upon that recipe. And having now spent a few months using the Guiderail, it’s become my favorite hitch rack that I’ve tried to date.
Design, Features & Impressions
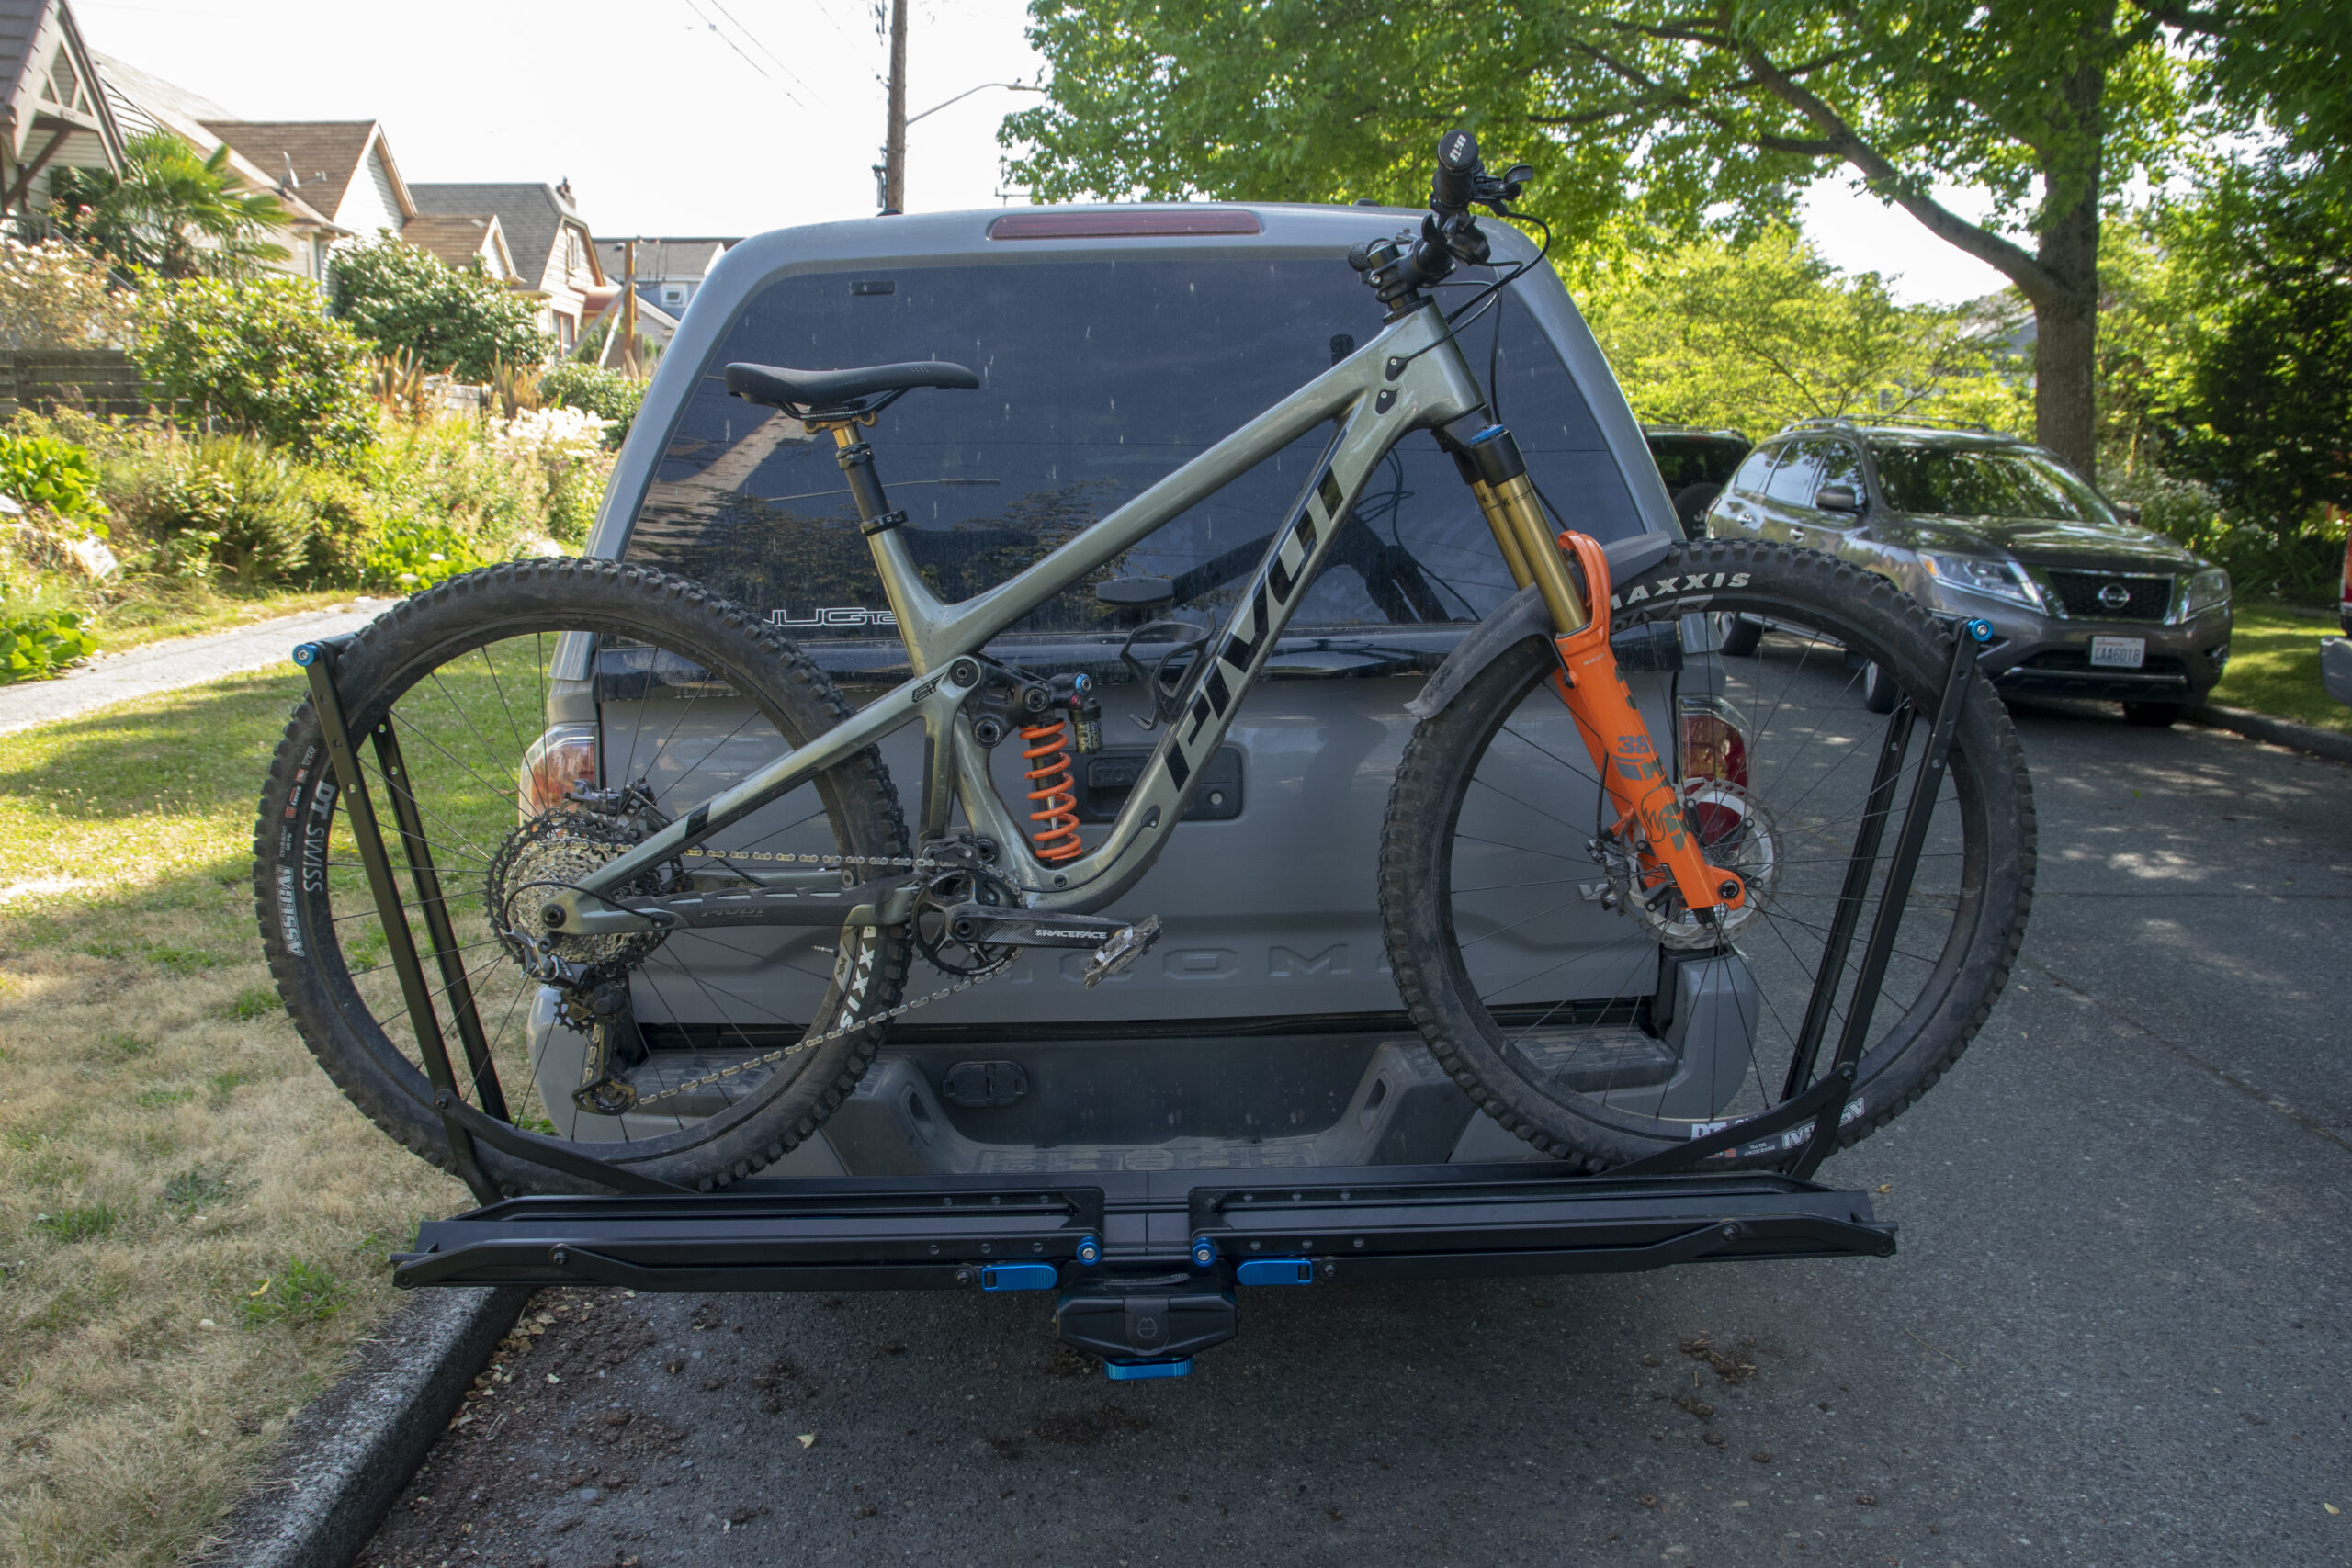
The GuideRail is a tray-style hitch-mount rack, with two ratcheting arms that hold bikes by the tires. As a result, there’s no frame, fork, or wheel contact to rub or scuff anything, and because neither wheel location is 100% fixed, you can move the bikes side to side by a few inches to dial in clearance with multiple bikes loaded up. RockyMounts says that the Guiderail is compatible with 20’’ to 29’’ wheels with up to 3.0’’ wide tires, though if you’re making large-scale changes to wheel size, you will need to adjust the wheel stops on the wheel arms up or down, which requires an Allen wrench. I’ve tried tires up to a 2.5’’ 29er, and down to #26aintdead by 2.3’’, plus 700x23c road tires without issue, and none of those felt at all close to maxing anything out. RockyMounts does note that the GuideRail may not play nice with a lot of fenders, especially rear ones that extend far back over the tire, but smaller mountain bike front fenders are no issue.
The 2’’ hitch version of the GuideRail that I’ve been testing is available now, and a 1.25’’ version is coming soon, as is a 2’’ version with a swing-out arm, called the AfterParty. All three versions hold two bikes (up to 55’’ wheelbase and 60 lb each) and the 2’’ version of the GuideRail can be expanded to a third bike with an optional add-on tray, though doing so drops the per-bike weight limit to 45 lb. The AfterParty and 1.25’’ GuideRail are capped at two bikes. The hitch mechanism and folding mechanism on the GuideRail are made from powder-coated steel; the wheel trays and arms are almost entirely made from aluminum, with very few plastic parts anywhere. Despite that, the 2’’ GuideRail weighs 48.4 lb (22.0 kg), just 3 lb more than a 1Up Quik Rack Single with a second add-on tray (which is made pretty much entirely out of aluminum).


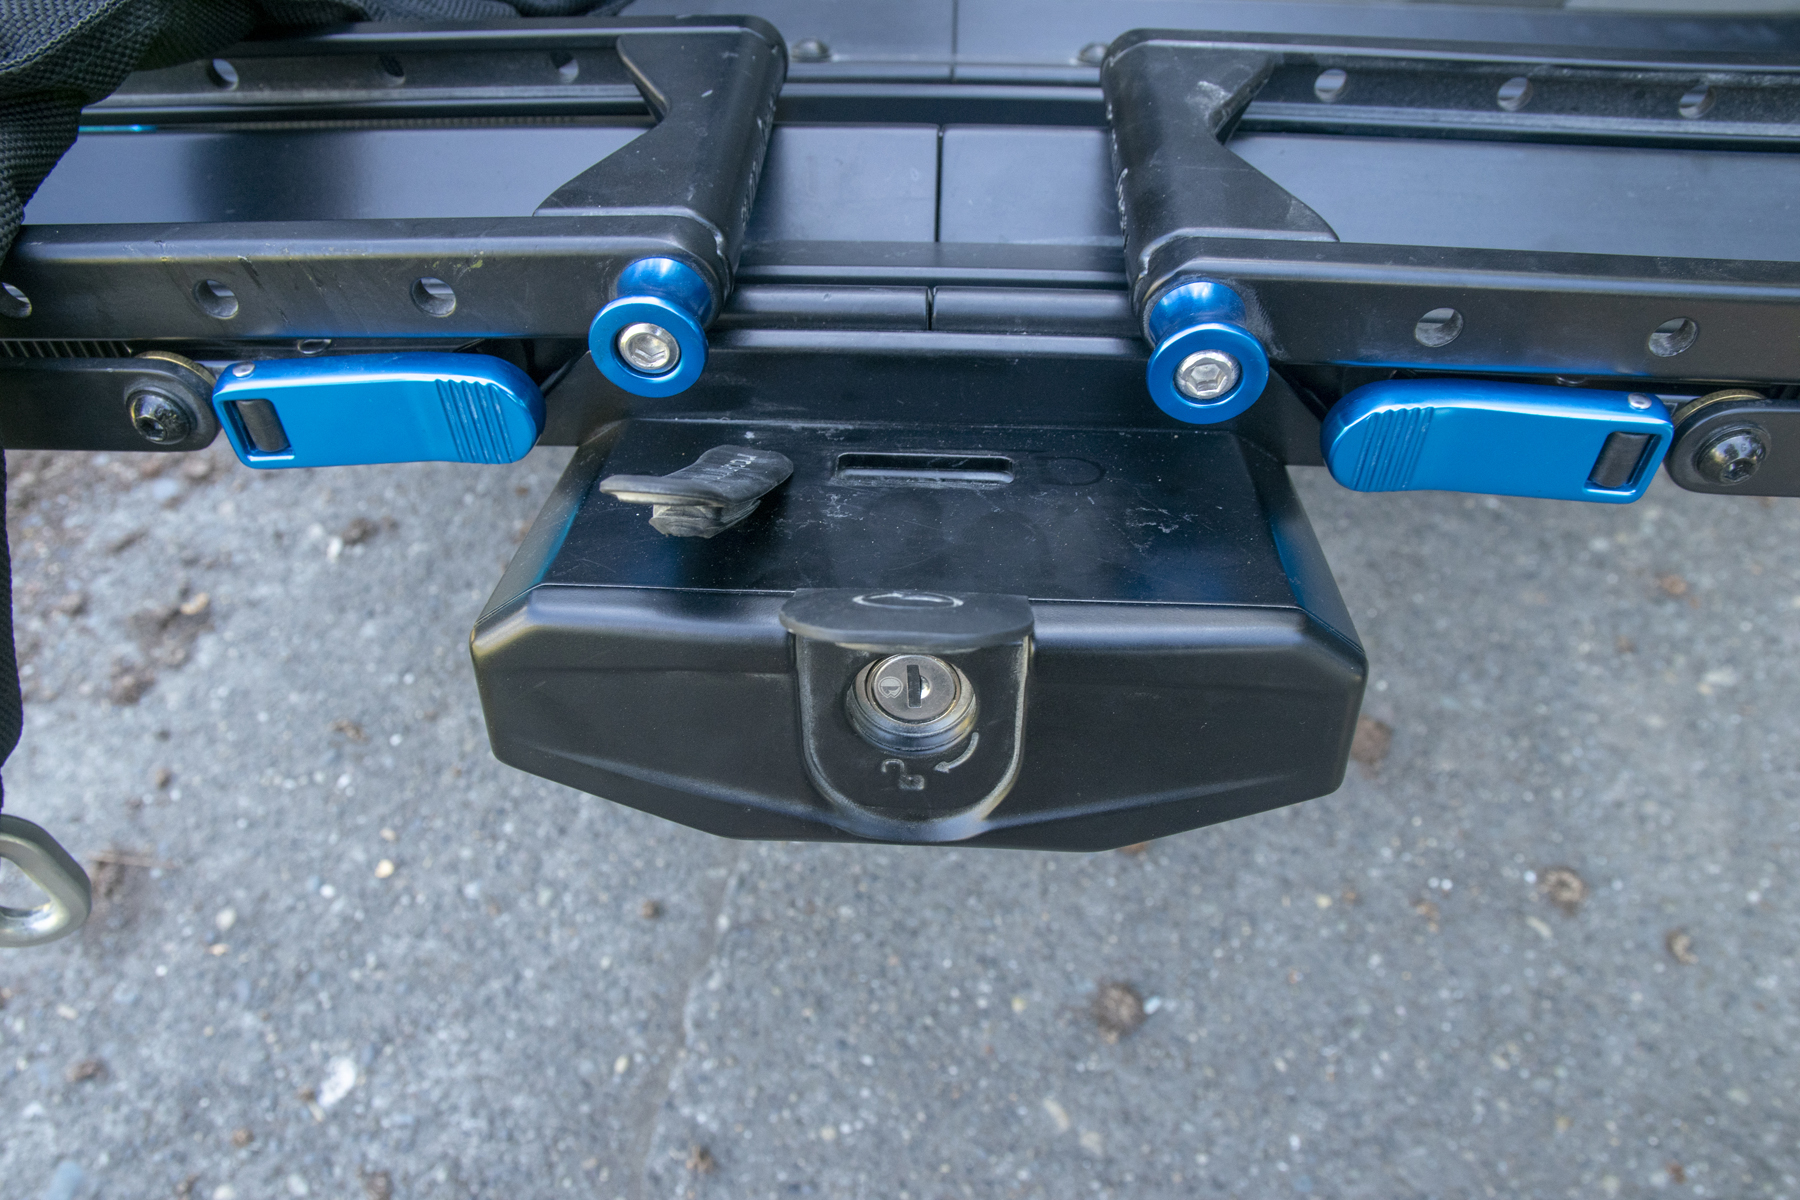
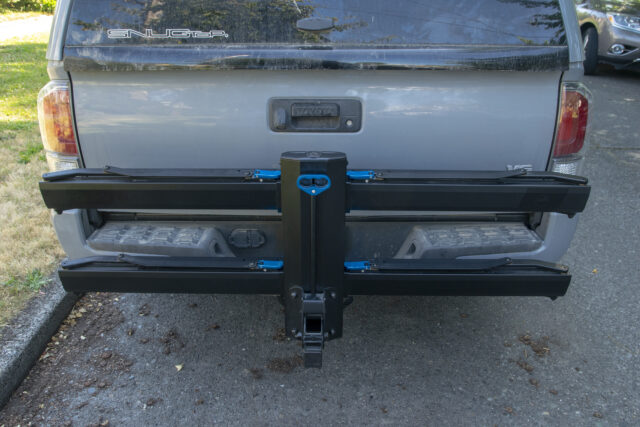
The hitch pin that secures the GuideRail to the vehicle is also locking (with the same key as the integrated lock). The GuideRail uses RockyMounts’ “Premium 3-Axis” anti-wobble mechanism, which has worked great at staying tight in my time with the GuideRail so far, though it does require the rack to be aligned with the hitch pin hole in the receiver, so there’s no in/out adjustment of the rack position available, as there is with the 1Up Quik Rack. That said, I’ve had some issues with the 1Up coming loose on rough dirt roads, but no such problems with the GuideRail, so overall I’m happier with the RockyMounts setup.
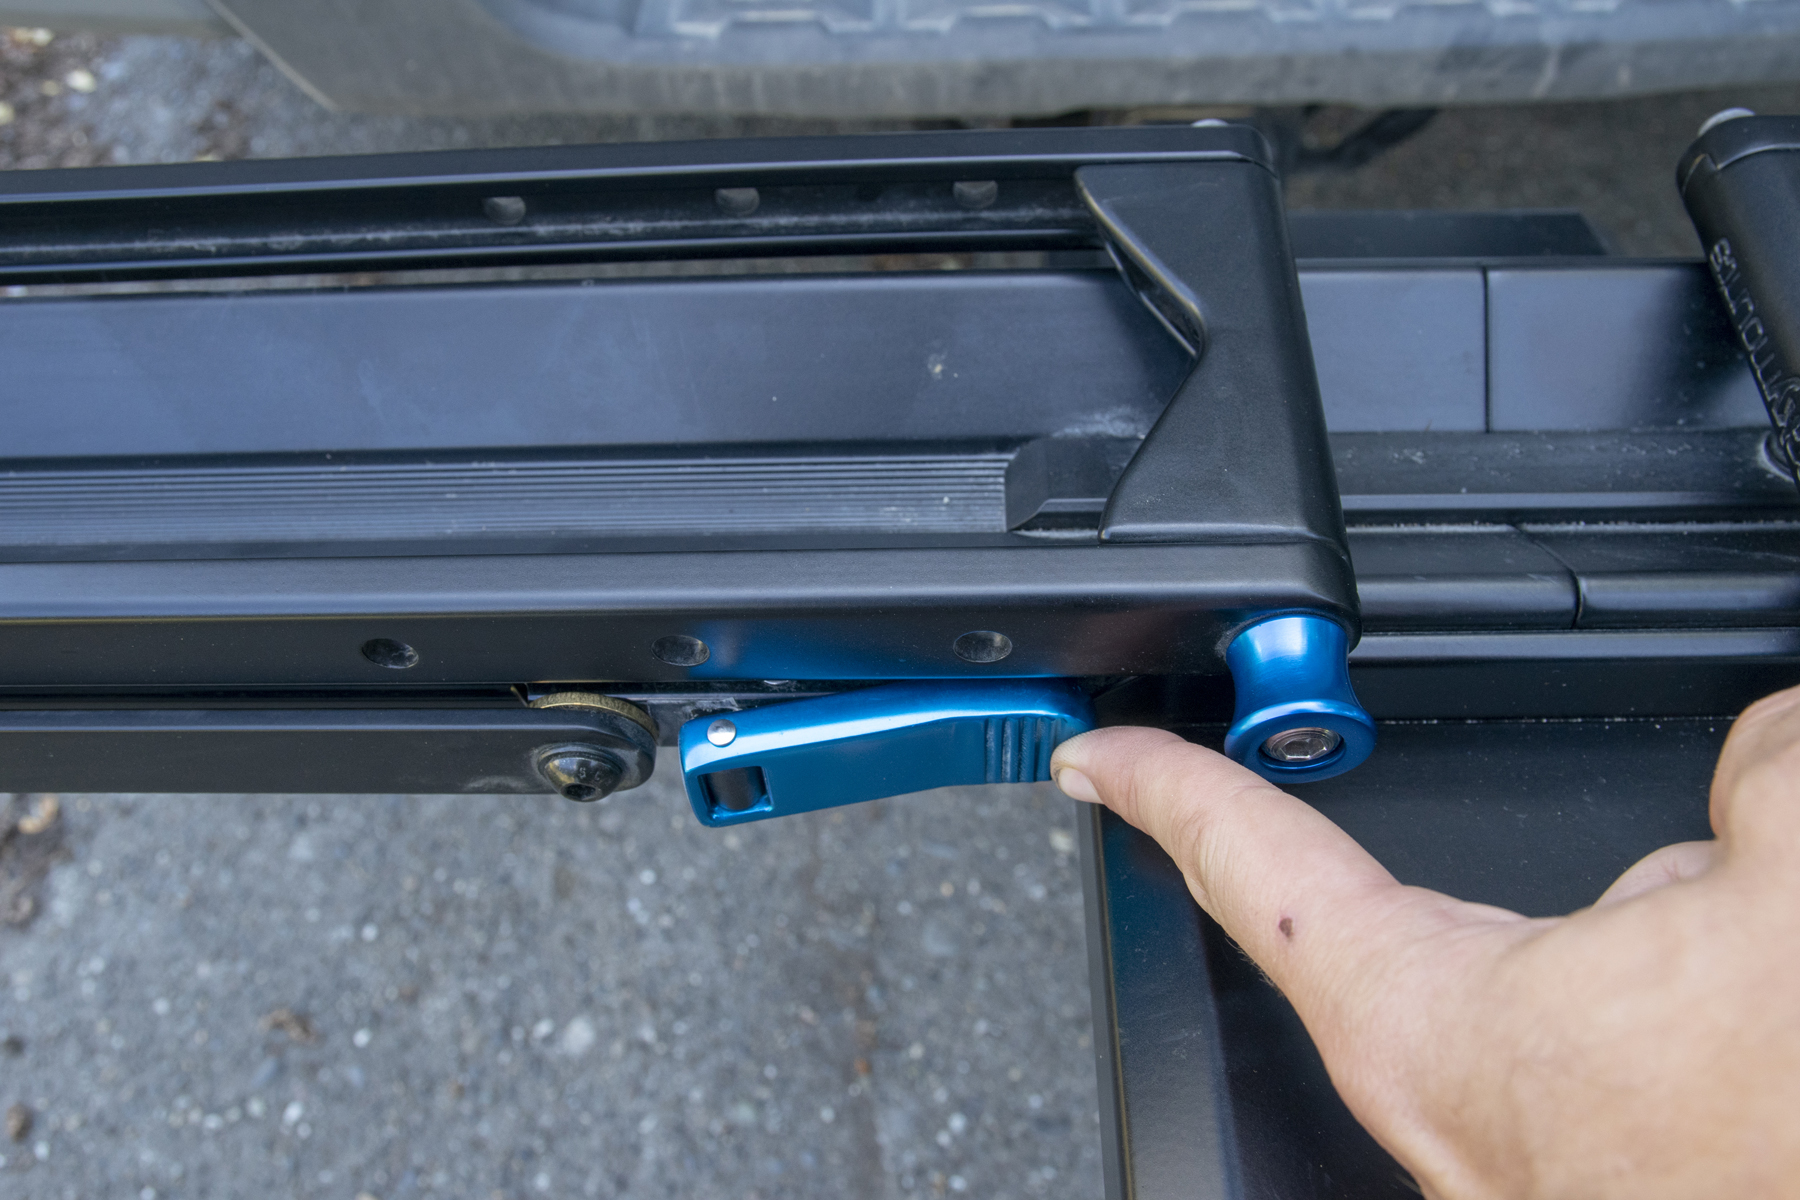
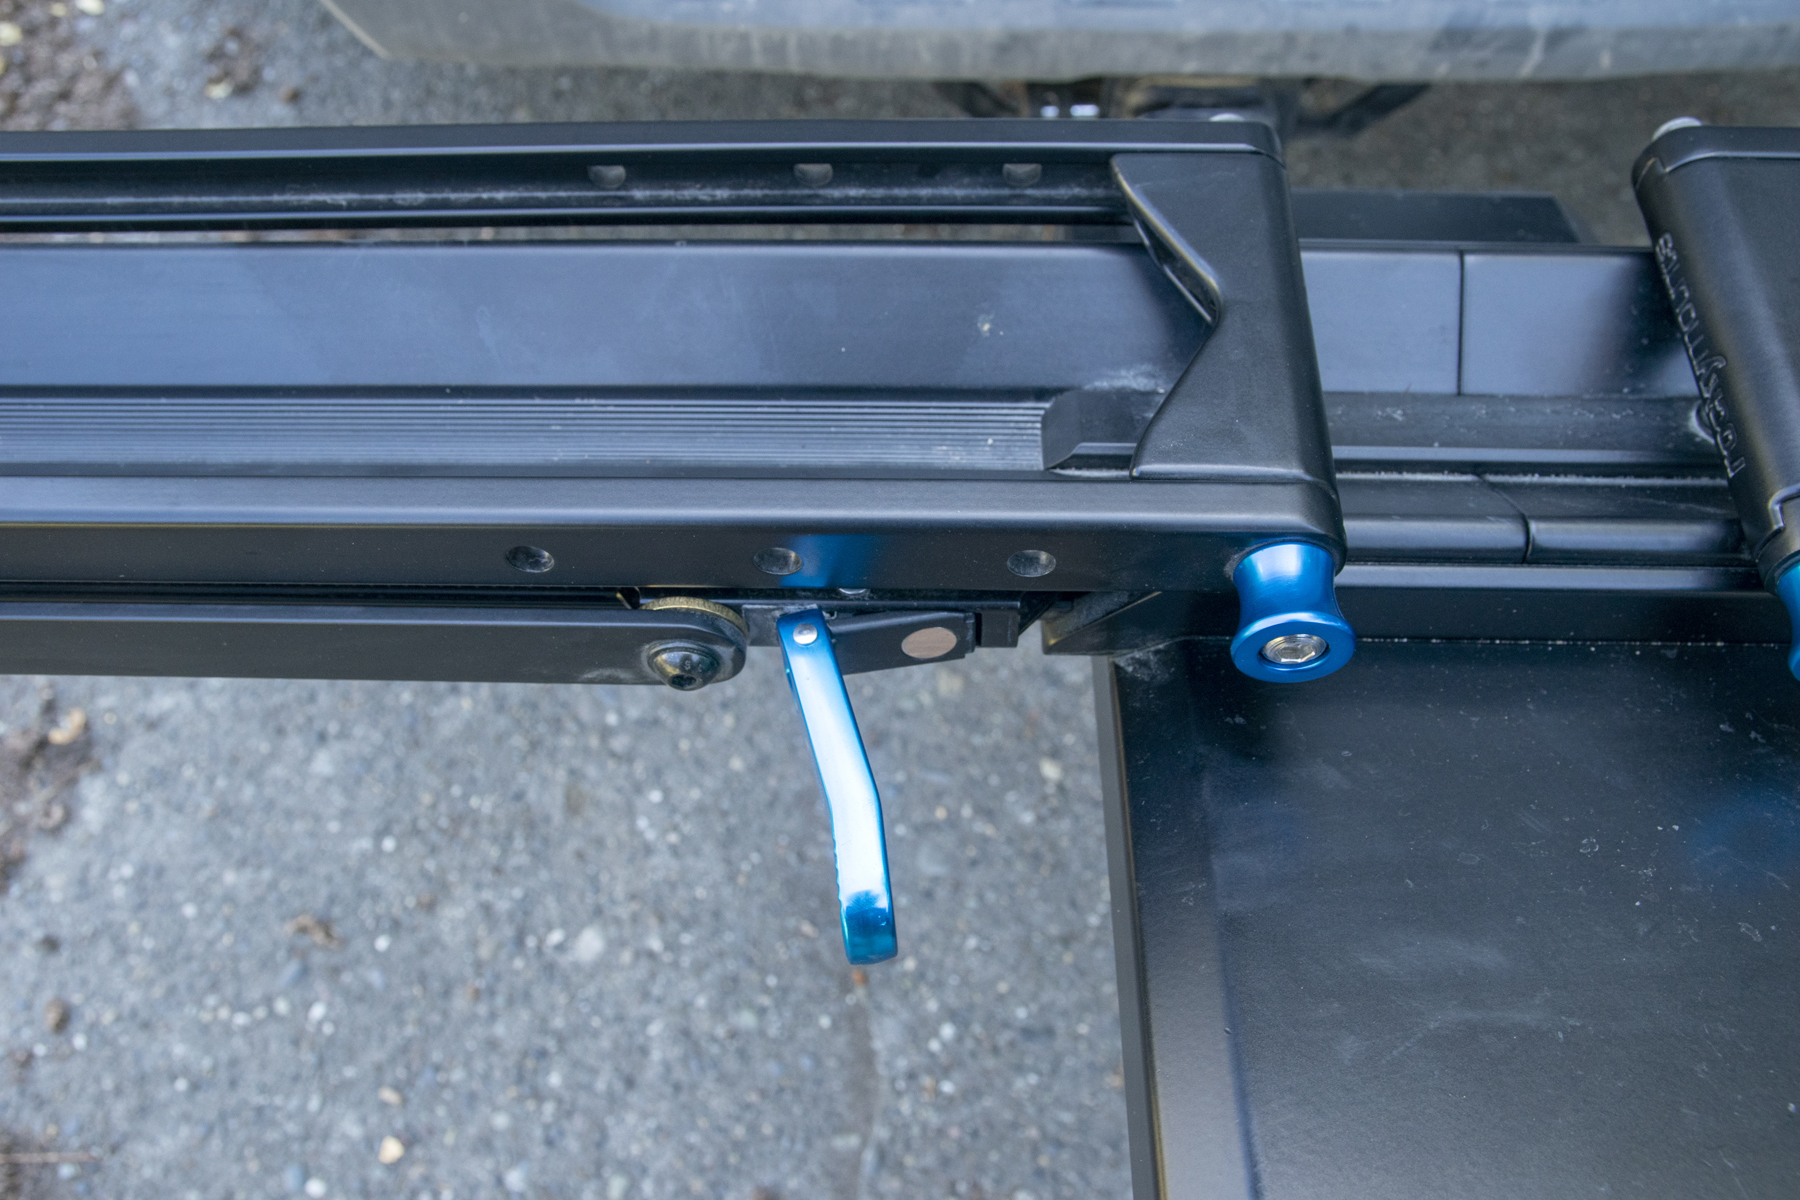
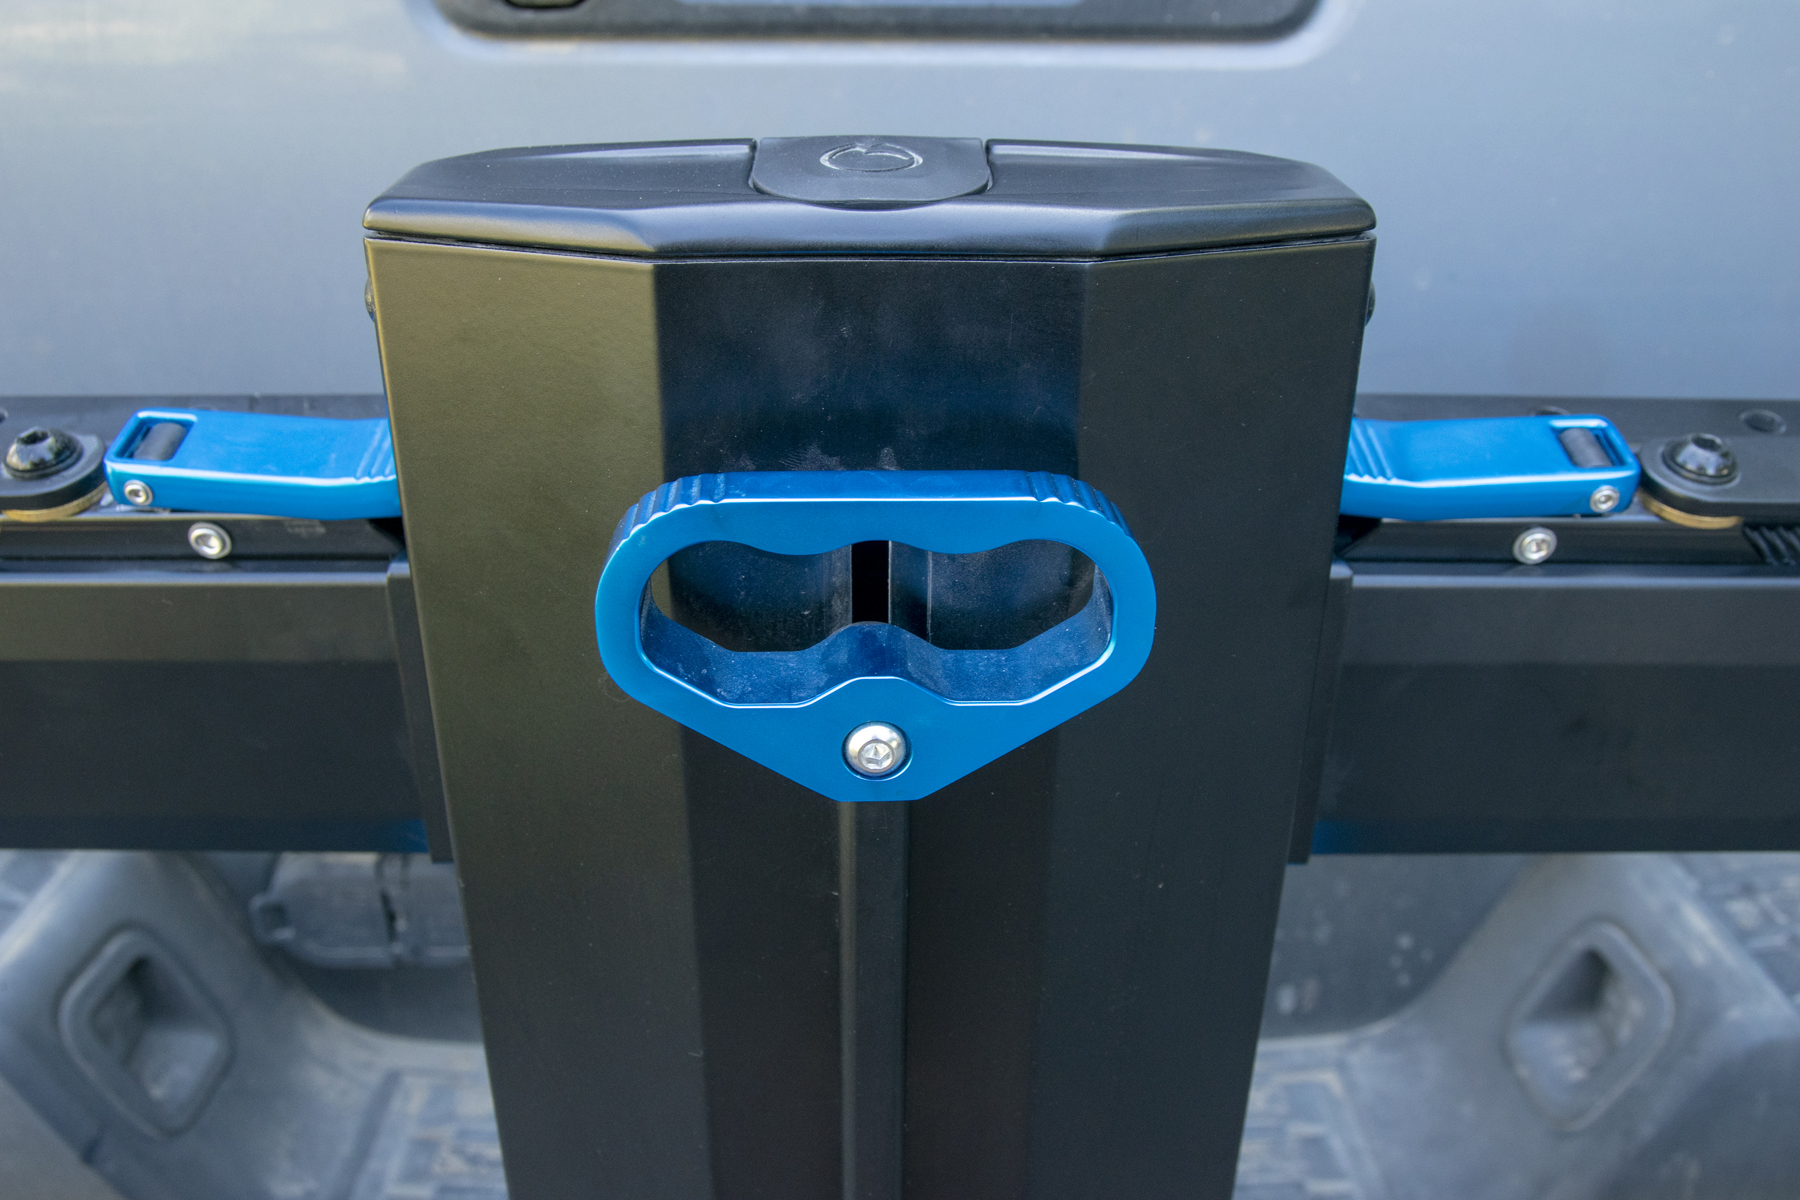
The GuideRail can be easily raised and lowered by holding the handle on the underside of the back of the rack and lifting or lowering it. The rack locks into the raised or in-use positions, and can be angled downwards for clearance to open a rear hatch or tailgate, but doesn’t lock in that position. The latch mechanism is also notably smooth and easy to use, particularly in contrast with the standard 1Up latch, which tends to be pretty sticky and takes some care to pull smoothly and evenly from the center to release without binding.
That said, there are a few areas where the 1Up racks still have an advantage over the GuideRail. For one, they’re a bit cheaper. 1Up offers a bunch of different versions of their platform, but a two-bike 1Up Heavy Duty costs either $650 or $700, depending on your choice of color — $150 to $200 less than the Guiderail. The 1Up is made in the US, in contrast to the GuideRail, which is made in China. 1Up’s platform also folds up more compactly for storage, without needing to use any tools or disassemble anything, and can be expanded to up to four bikes (if you start with a double base unit; the single can go up to three bikes total), whereas the Guiderail tops out at three.
The 1Up also has the advantage, at least on my Toyota Tacoma, of sitting low enough that it’s possible to open the tailgate without lowering the rack, provided that the arms are folded flat; the Guiderail sits higher by a couple of inches, which means that I need to lower the rack to open the tailgate. But given how easily and smoothly the Guiderail lowers, it’s not too big a deal; if the 1Up had that same limitation it would be pretty annoying, due to its much clunkier latch mechanism. The GuideRail also sticks significantly farther out from the back of the vehicle, particularly in the in-use (i.e., horizontal) position. RockyMounts has a handy dimension guide to refer to if you’re concerned about clearances.
And finally, RockyMounts offers a lifetime warranty for the original buyer on the GuideRail.
Bottom Line
The RockyMounts GuideRail is an extremely well-designed, easy-to-use hitch rack with a bunch of nice features that set it apart from the 1Up rack that inspired it. It’s definitely a premium product and priced as such, but the quality and refinement absolutely live up to the price tag.
After two months of very regular use, the GuideRail is, unsurprisingly, holding up great — it’d be pretty disappointing if it wasn’t — but the overall fit and finish and build quality seem excellent, and I expect it’ll last a long time. I’ll keep using the GuideRail and report back if anything comes up because it’s the nicest hitch rack to use that I’ve tried to date. It’s outstanding.
How does this compare to the Quik Rack (which also seems to be an evolution of the 1UP rack)? I thought the Quik Rack was much more complicated and bulky than the 1UP, although smoother and better-made.
On your Tacoma, is it possible to open the tailgate with bikes loaded, but in the tilted/lowered position? I’ve been considering the guide rail but may be holding out for the new Afterparty version if the tailgate doesn’t clear when tilted.
Thanks!
Yup, that works fine.
without any bikes loaded, can you put the tailgate down without it contacting the rack when it is in down but not tilted?
I just picked up the AfterParty, great rack, zero wobble, and new features versus the 1up are great additions. To see which is better will take time….my 1up was on my truck for 5 years and looked in Near perfect condition when I sold it. If the AfterParty lasts as long….I’d give it the nod over 1up based on new features if it can match durability. If it doesn’t last, I’d prefer my 1up.
Any concerns with the push lever being bumped when bikes are loaded and causing a bike to fall off? Seems like a great rack!
Nah, it doesn’t take a ton of force to depress the lever but you need to apply a bit and do it in the right spot, and hold it there for a while to open the rack up. Between that and the fact that the levers are pretty well protected based on their position I have a hard time imagining how that would possibly happen, short of you backing into a pole in the *exact* right spot for the outer tray, at which point you probably have bigger concerns.
I’m still using the rack regularly and it’s been great.
Can the guiderail be purchased as a single tray rack as shown in the pictures or do you have to buy the two bike rack and disassemble down to one?
There’s no one-bike configuration. The photos all show the two-bike model that we tested. I guess you could take one tray off if you really wanted to, but it wouldn’t make the rack any shorter front to back.
Have logged a lot of miles on my Guiderail 3 tray setup and it’s rock solid. Love the integrated lock.
One big problem for me is the orientation of the lock pod for the hitch pin. You can only screw in the hitch pin from the right side of the receiver, which means the lock pod can only be positioned on the left of the receiver. Unfortunately my trailer electronics connection is where the key would slide into the lock, since it fits perpendicular to the hitch receiver. I need to find a 90 degree lock pod that fits the hitch pin. With this small design change, I think they could eliminate this issue. Right now it makes the rack very very difficult to remove, so it lives on my vehicle.
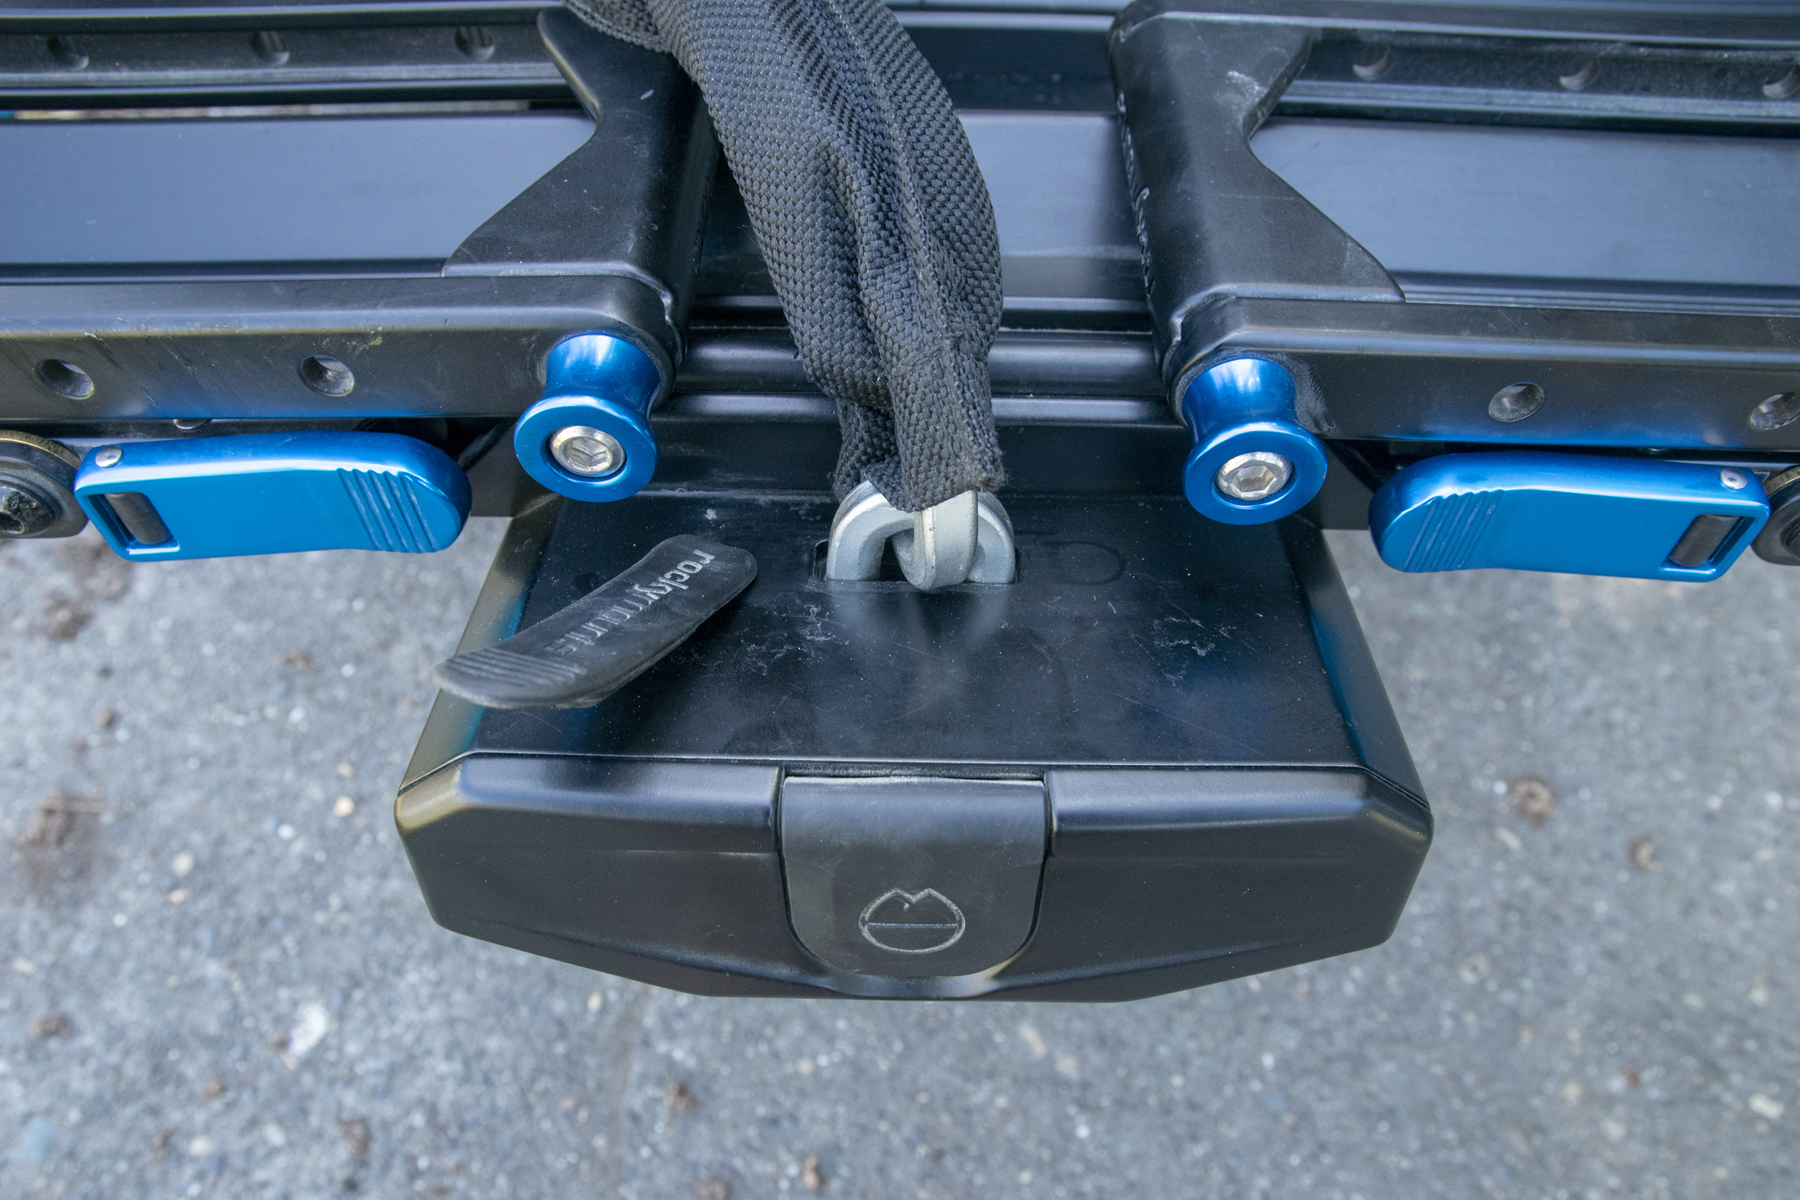
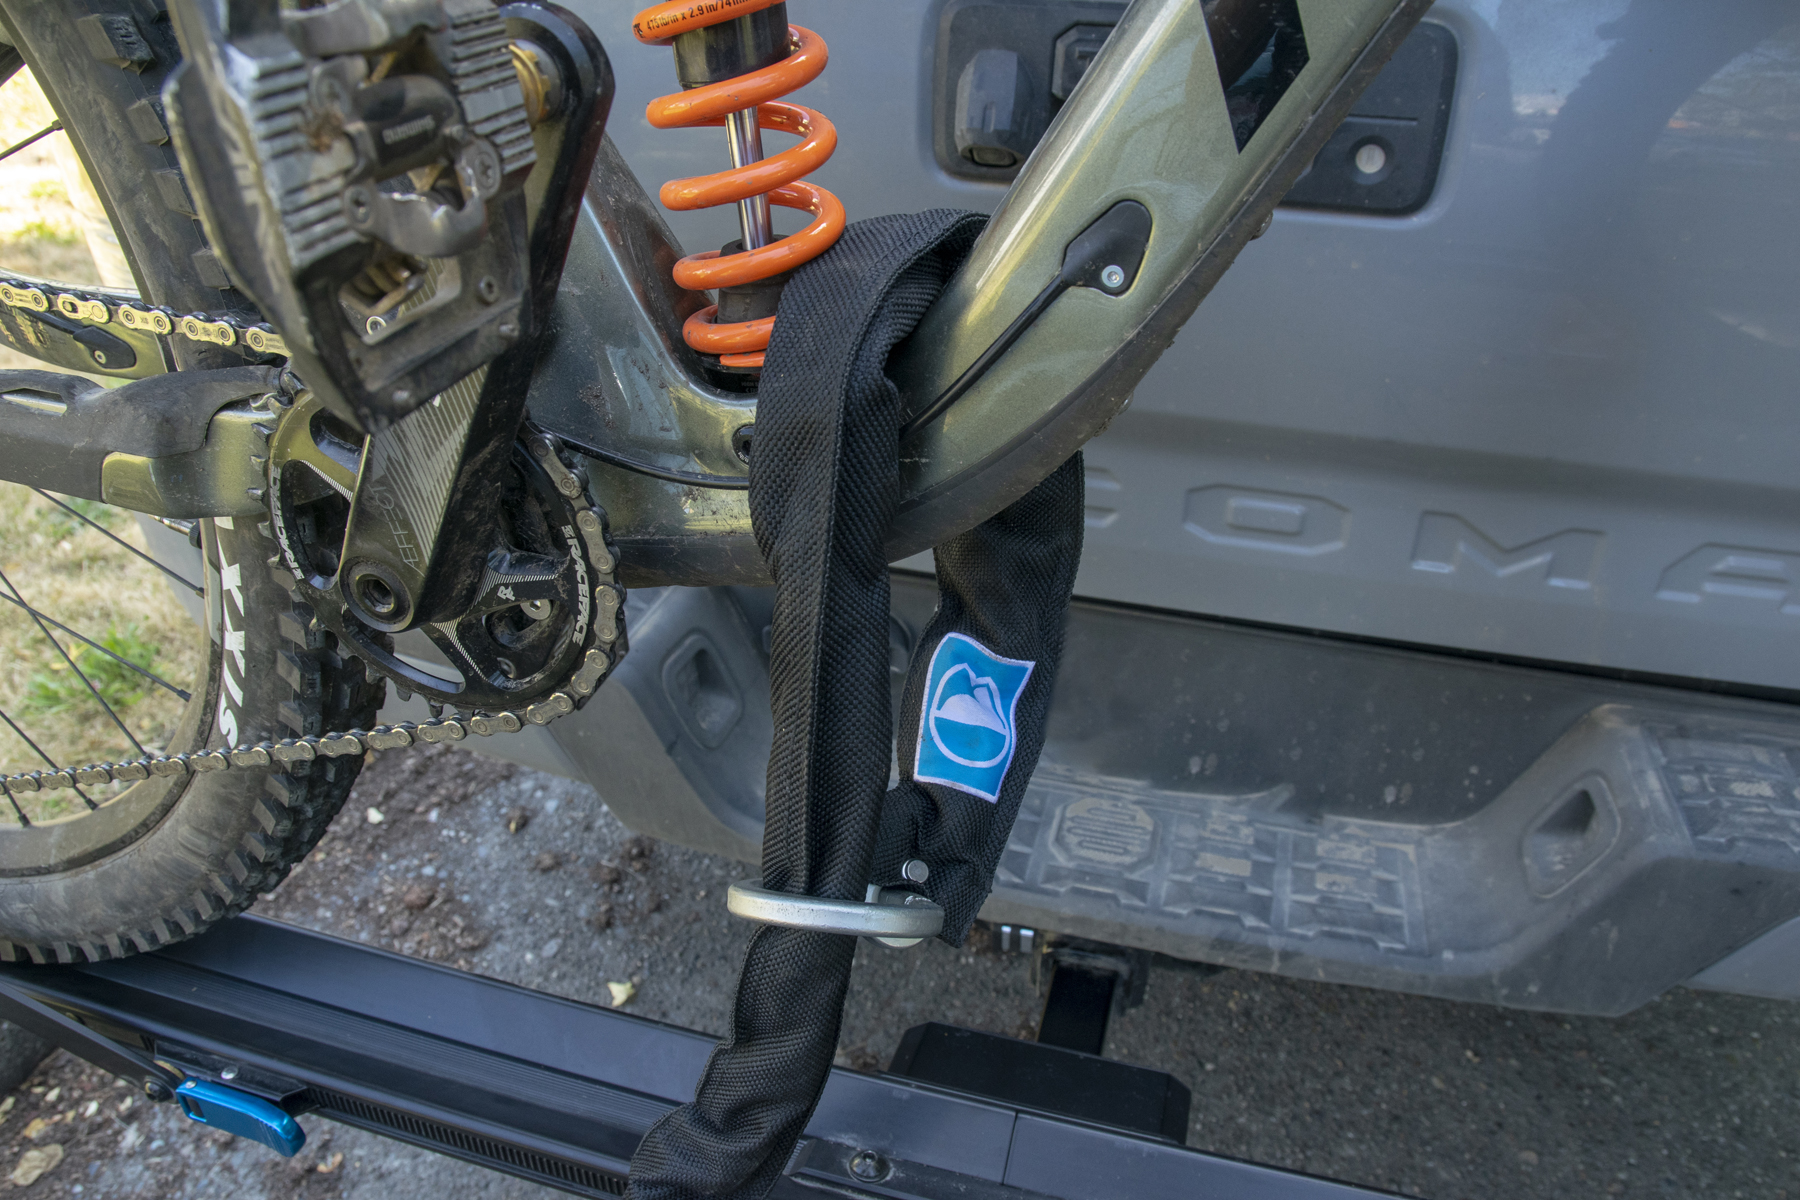
Is the chain long enough to lock two bikes?
Yep. Loop the chain around the downtube of the inner bike, cinch that up, and then run the tail through the outer one and down to the rack.
Great rack!! I did lots of research on One Up style racks and chose the RockyMounts Guiderail. Got a discounted price which checked the final box over the 1up. Very well built and looks great too! The only issue, mentioned in a prior comment, was with the included hitch pin lock not being usable due to the electrical plug-in being too close to the end of the pin to put the lock on. Either the plug-in needs to be moved or some McGyvering needs to occur to find a lock mechanism that will secure the pin. Note that the threaded pin is wrenched on to the rack very tightly and removes any wobble. Vehicles with no trailer plug-in or a better situated plug-in would not have this issue.
Looking at this and the 1up heavy duty double for use where it would regularly get taken in and off the car. Is either one significantly easier to install and remove?
The 1Up is slightly easier to install since you don’t have to line up the hitch pin hole, but it’s a minor difference. I just put a paint pen line on the Guiderail so I have a visual reference for how far to insert it into the receiver and that takes care of it.