
Goggles are a vital piece of just about every skier and snowboarder’s kit — we rely on them to shield our eyes on bluebird days, illuminate the turns in front of us on low-vis ones, and do all of that while (ideally) being comfortable and easy to use.
The good news is that we continue to see improvements being made across the industry in terms of lenses, lens-swap systems, etc. — and much of that is trickling down to the less pricey models, not just the flagship ones. So, while there are plenty of ultra-high-end options for those who want all the bells and whistles, many of the goggles on the lower end of the price spectrum are better than ever before.
We’ve been testing a whole bunch of goggles over the past few seasons, and in addition to what we’ve already discussed in our annual Winter Buyer’s Guides and our Full Reviews on the site, we wanted to compare and contrast a whole bunch of them in this roundup. In the future, we’ll be chiming in about even more goggles from more brands that we’ve been testing lately, but for now, we’ve compiled a couple dozen of the models we’ve spent considerable time with.
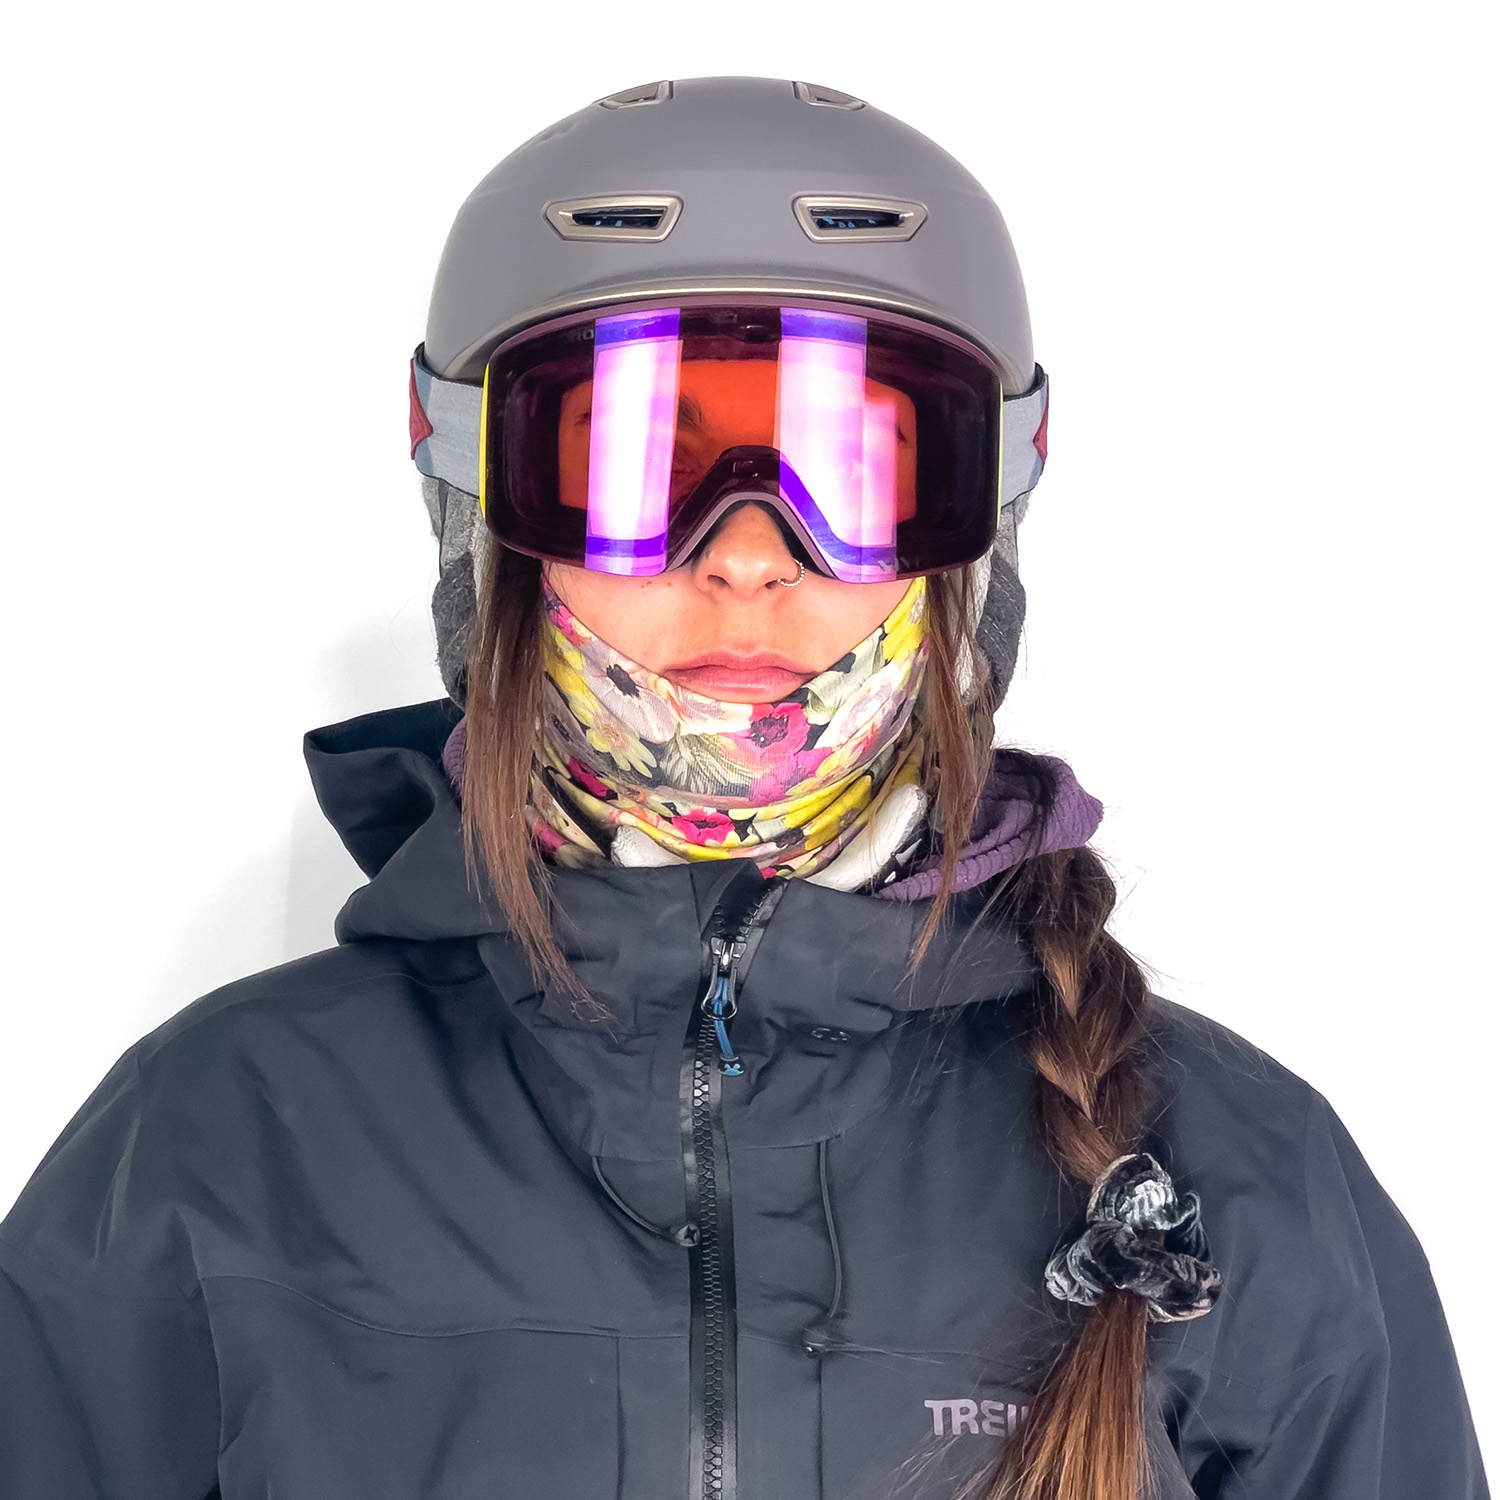
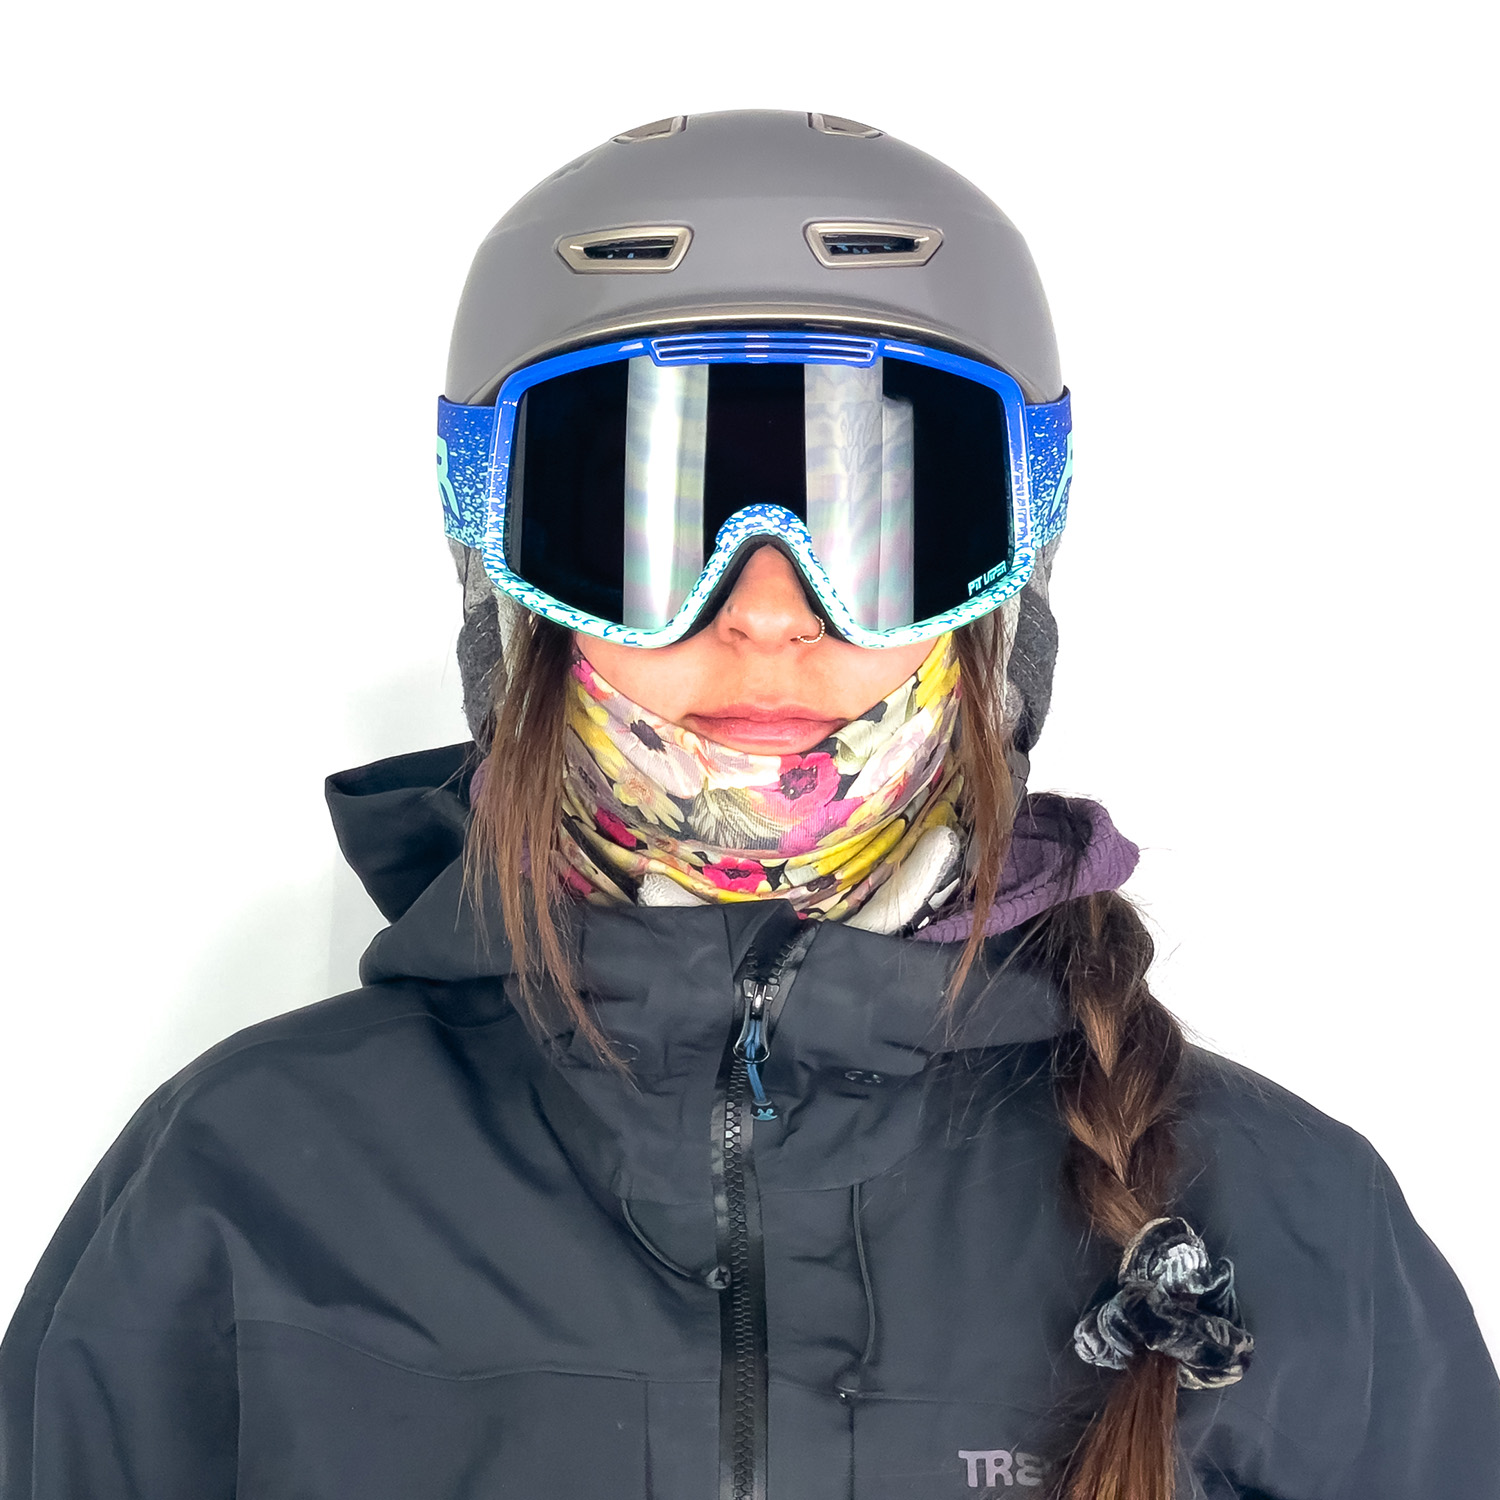
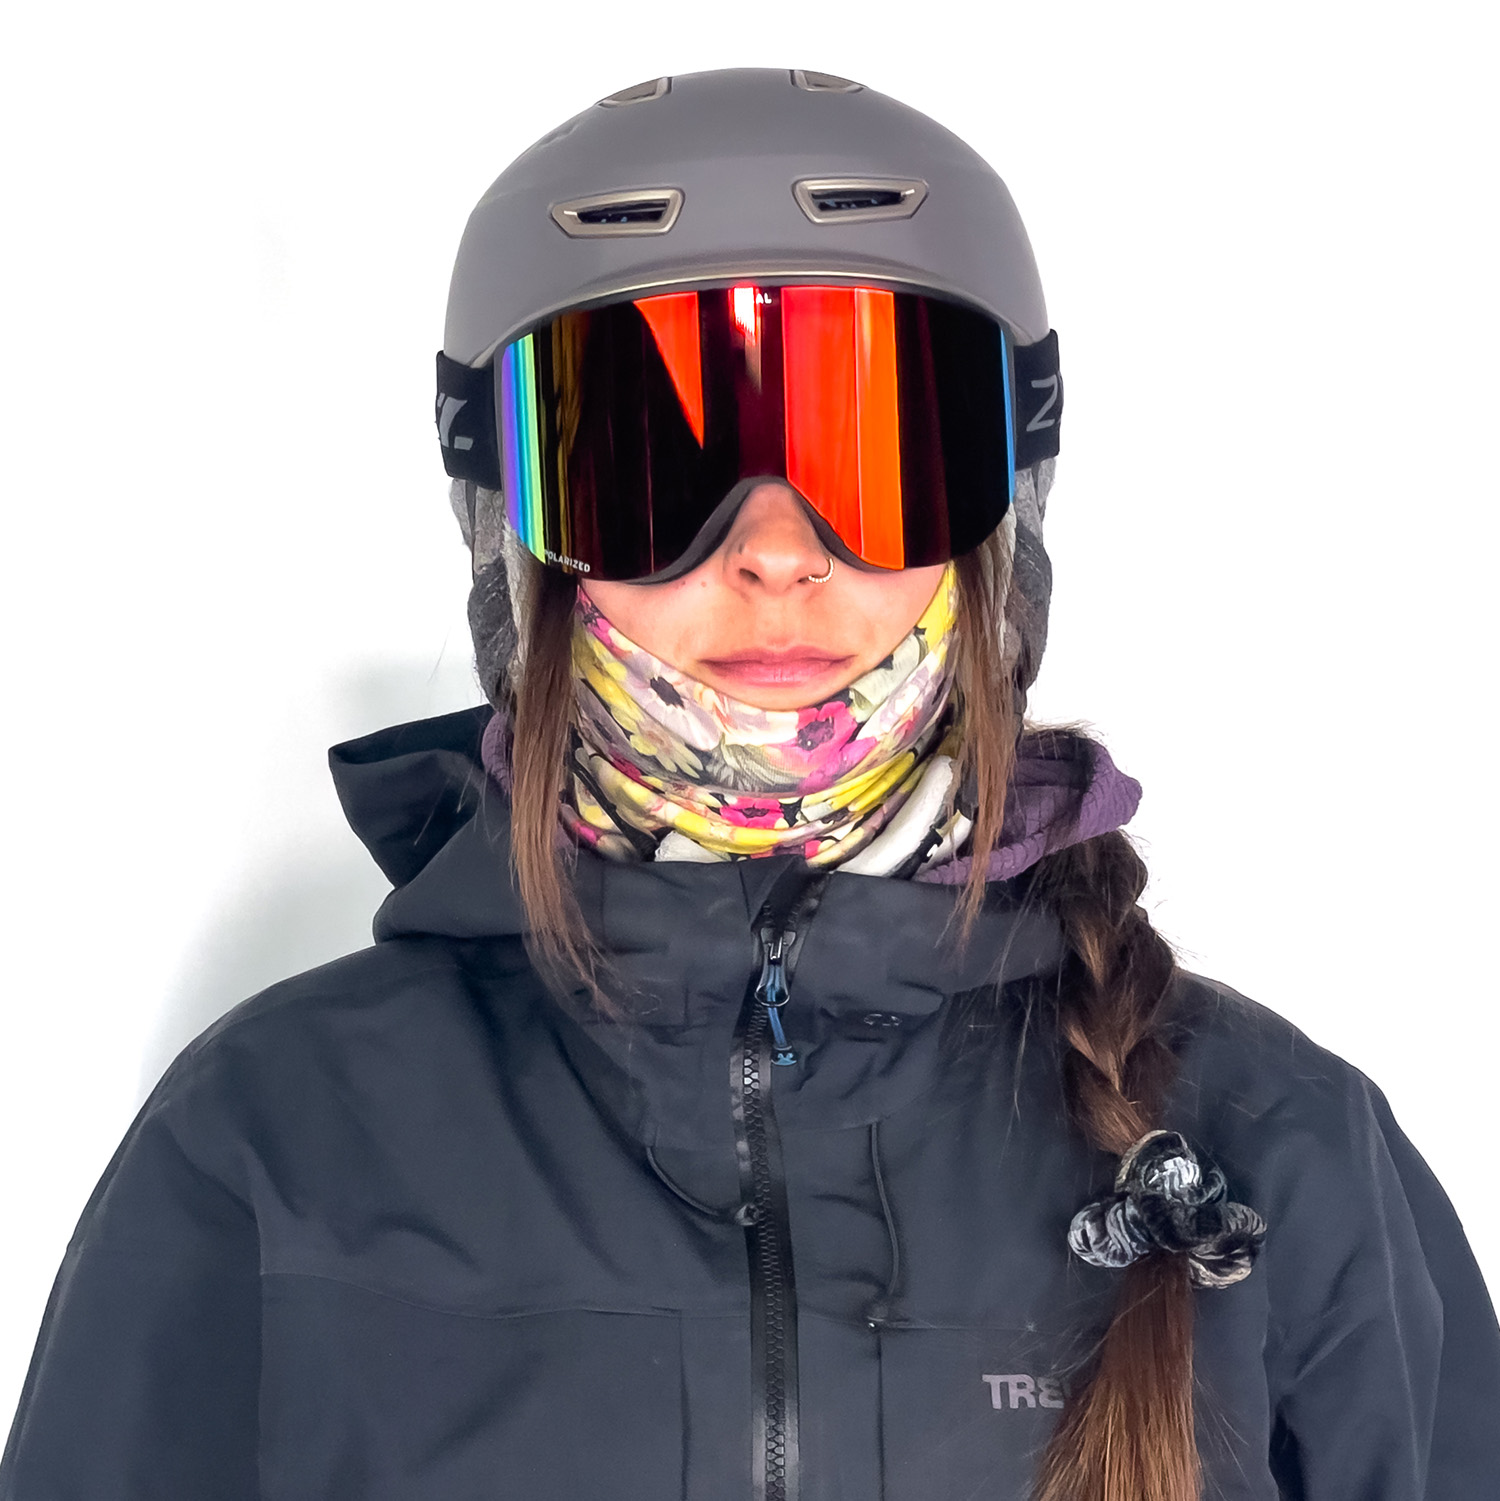
For reference, we’ve organized them alphabetically by brand. We also shot many of them in our studio to give an idea of fit / size; the studio shots all feature reviewer Kara Williard wearing a size Large Pret Vision X helmet.
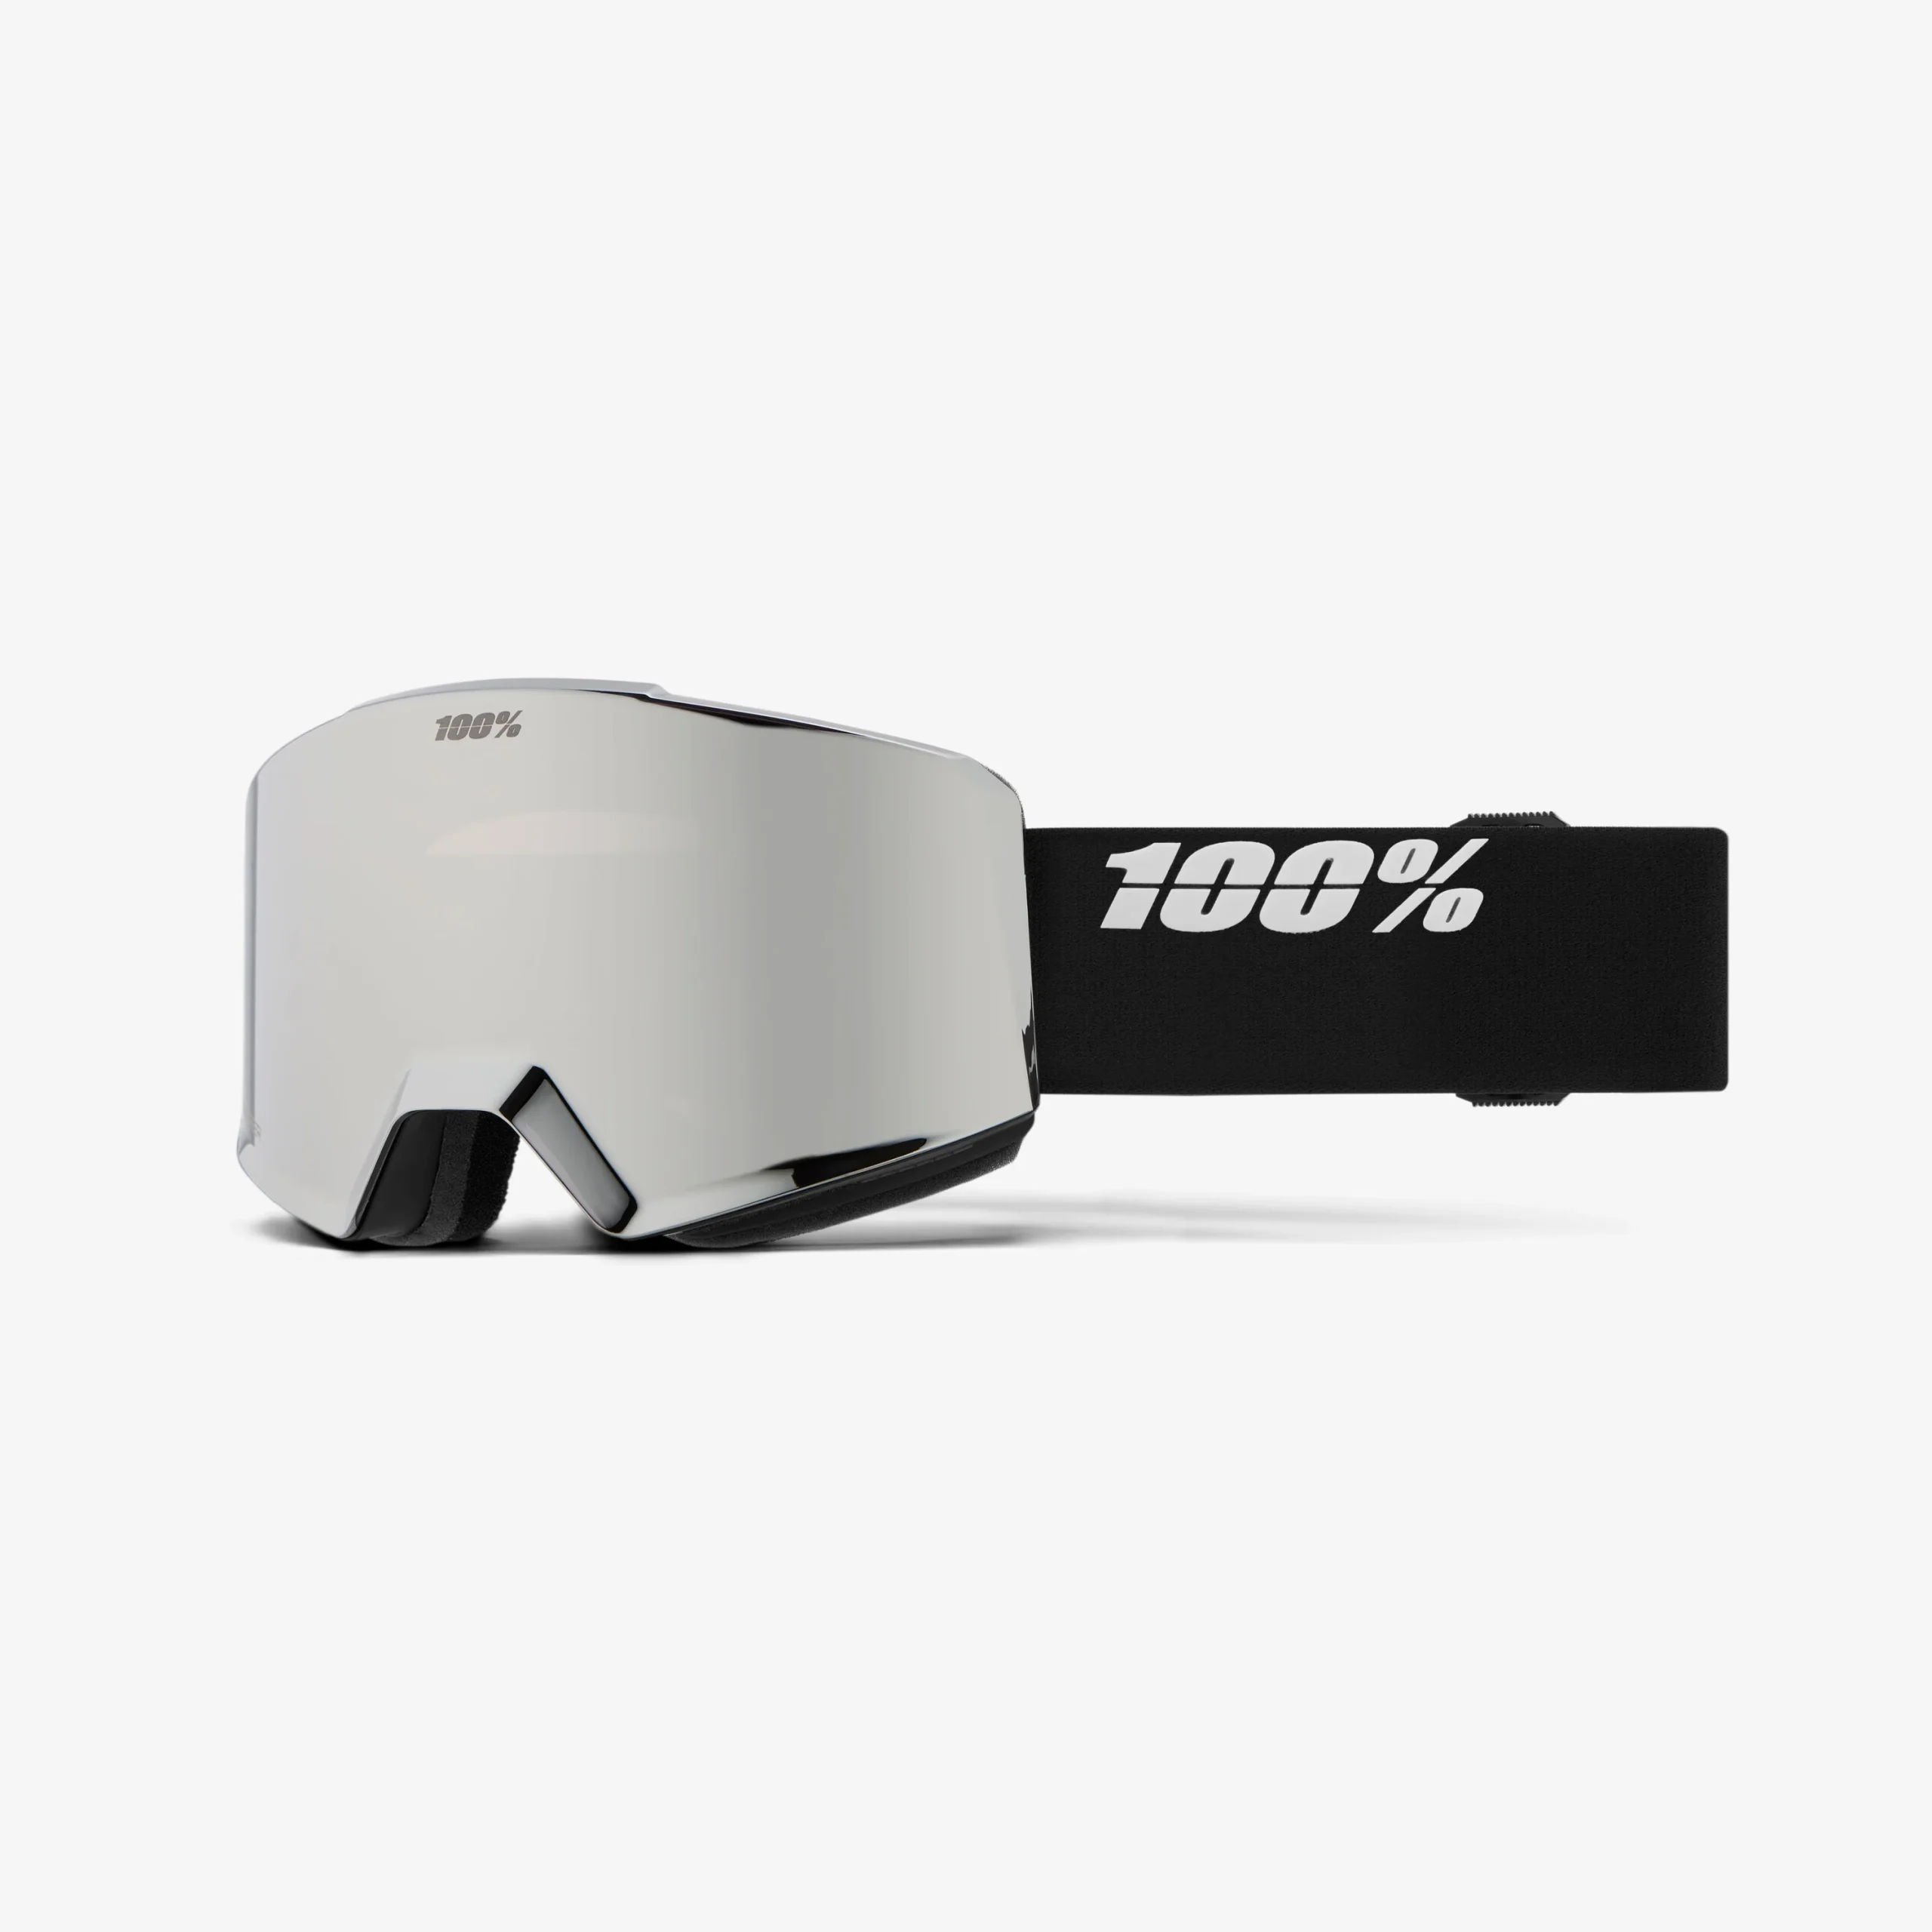
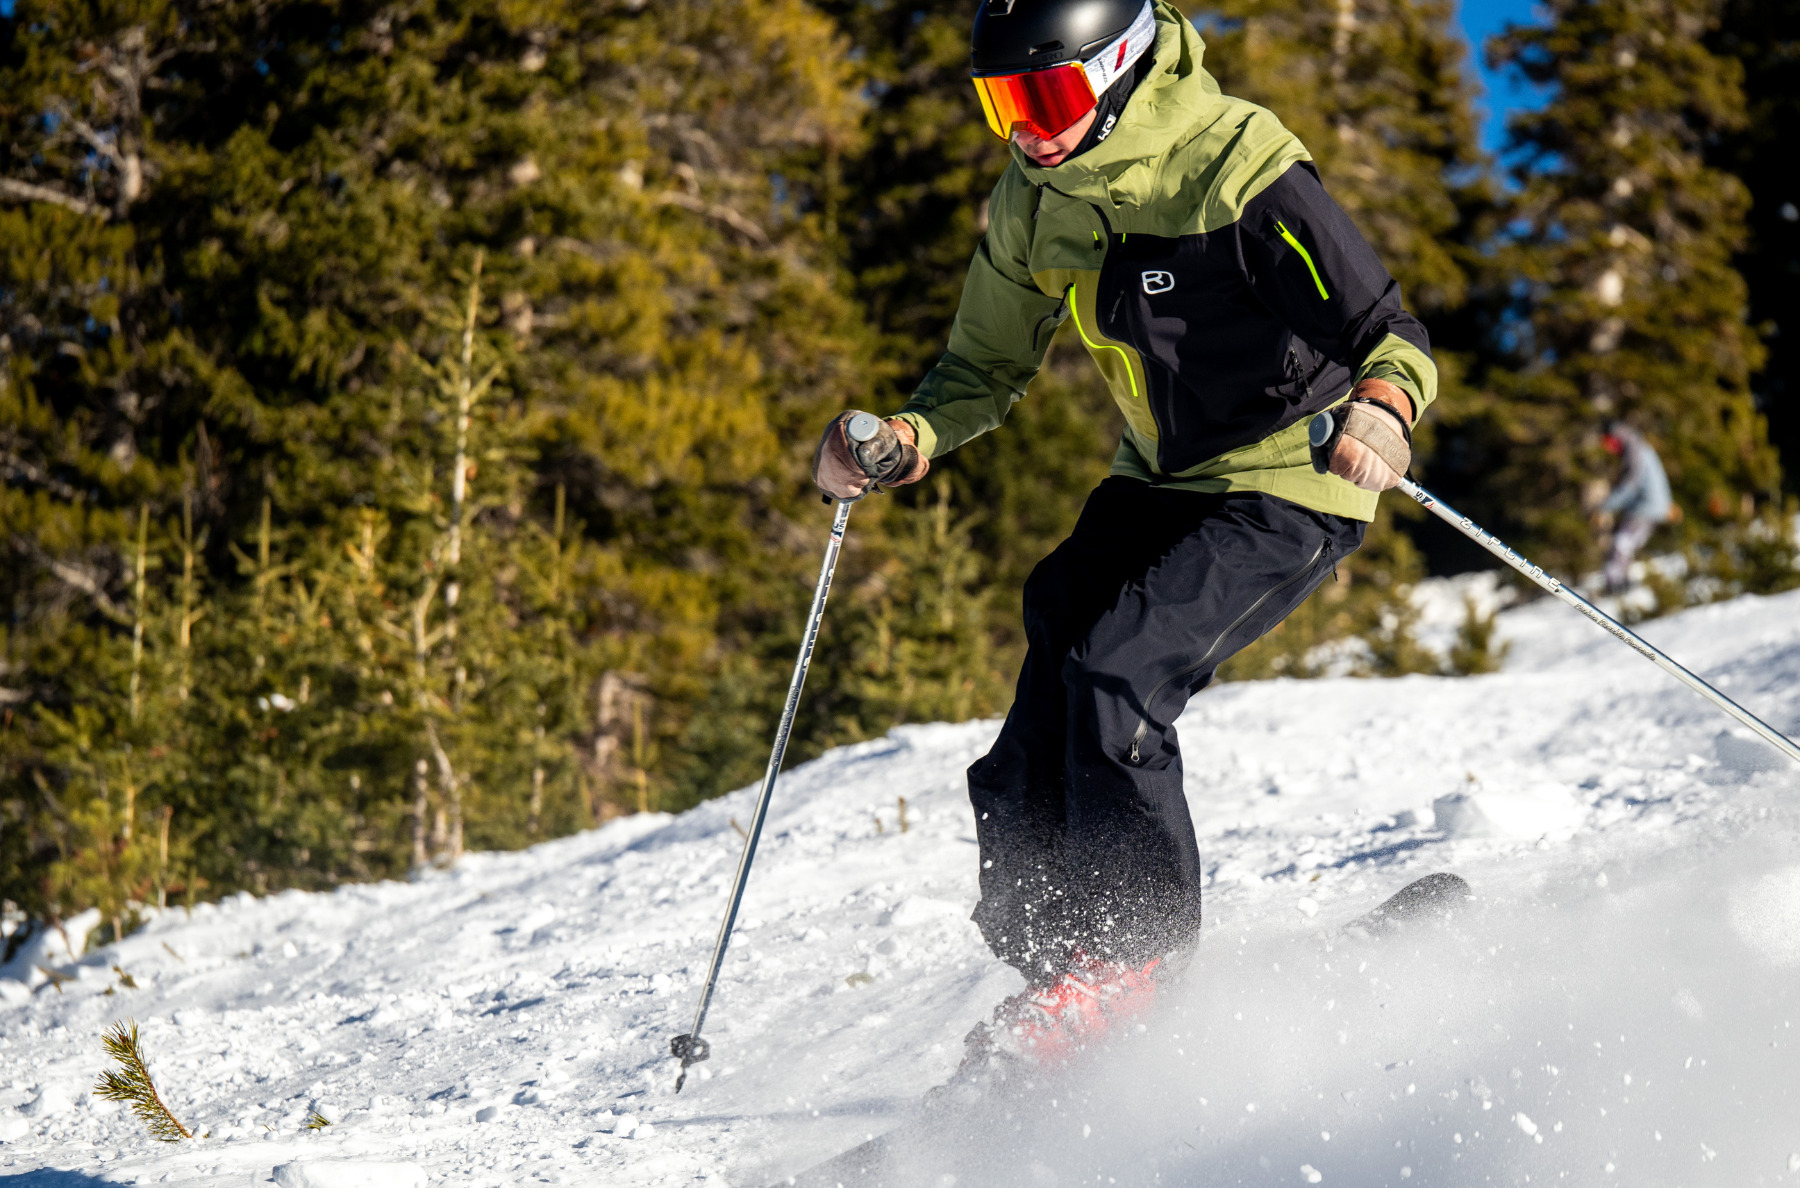
100% Norg
MSRP: $250 (includes 2 HiPER lenses) | select models on sale for $187.50 as of publishing
Lenses Tested (VLT %): HiPER Silver Mirror (8%), HiPER Red Mirror (8%), HiPER Pink/Turquoise Mirror (48%), & HiPER True Gold Mirror (29%)
Reviewers: Luke Koppa, Kara Williard, & Dylan Wood
100% has been making goggles and other gear in the MTB and Moto categories for a while, but they launched their first snowsports line a couple years ago and we were impressed by both their middle-tier Snowcraft and flagship-level Norg. All of them come with 100%’s high-contrast “HiPER” lenses, which we’ve found to be at least on par with most other brands’ high-contrast lenses.
The Norg’s unique look stems from its molded lens; the lens itself is quite rigid as a result, but the frame on the Norg is very flexible and we found it to be extremely comfortable. The Norg lens’s raised nose bridge also easily gets the most comments in the lift line out of any of the goggles we’ve tested in the past few years.
The Norg’s lenses swap out in seconds, thanks to its fully magnetic system — just grab the lens, yank it out, and slap on a new one.
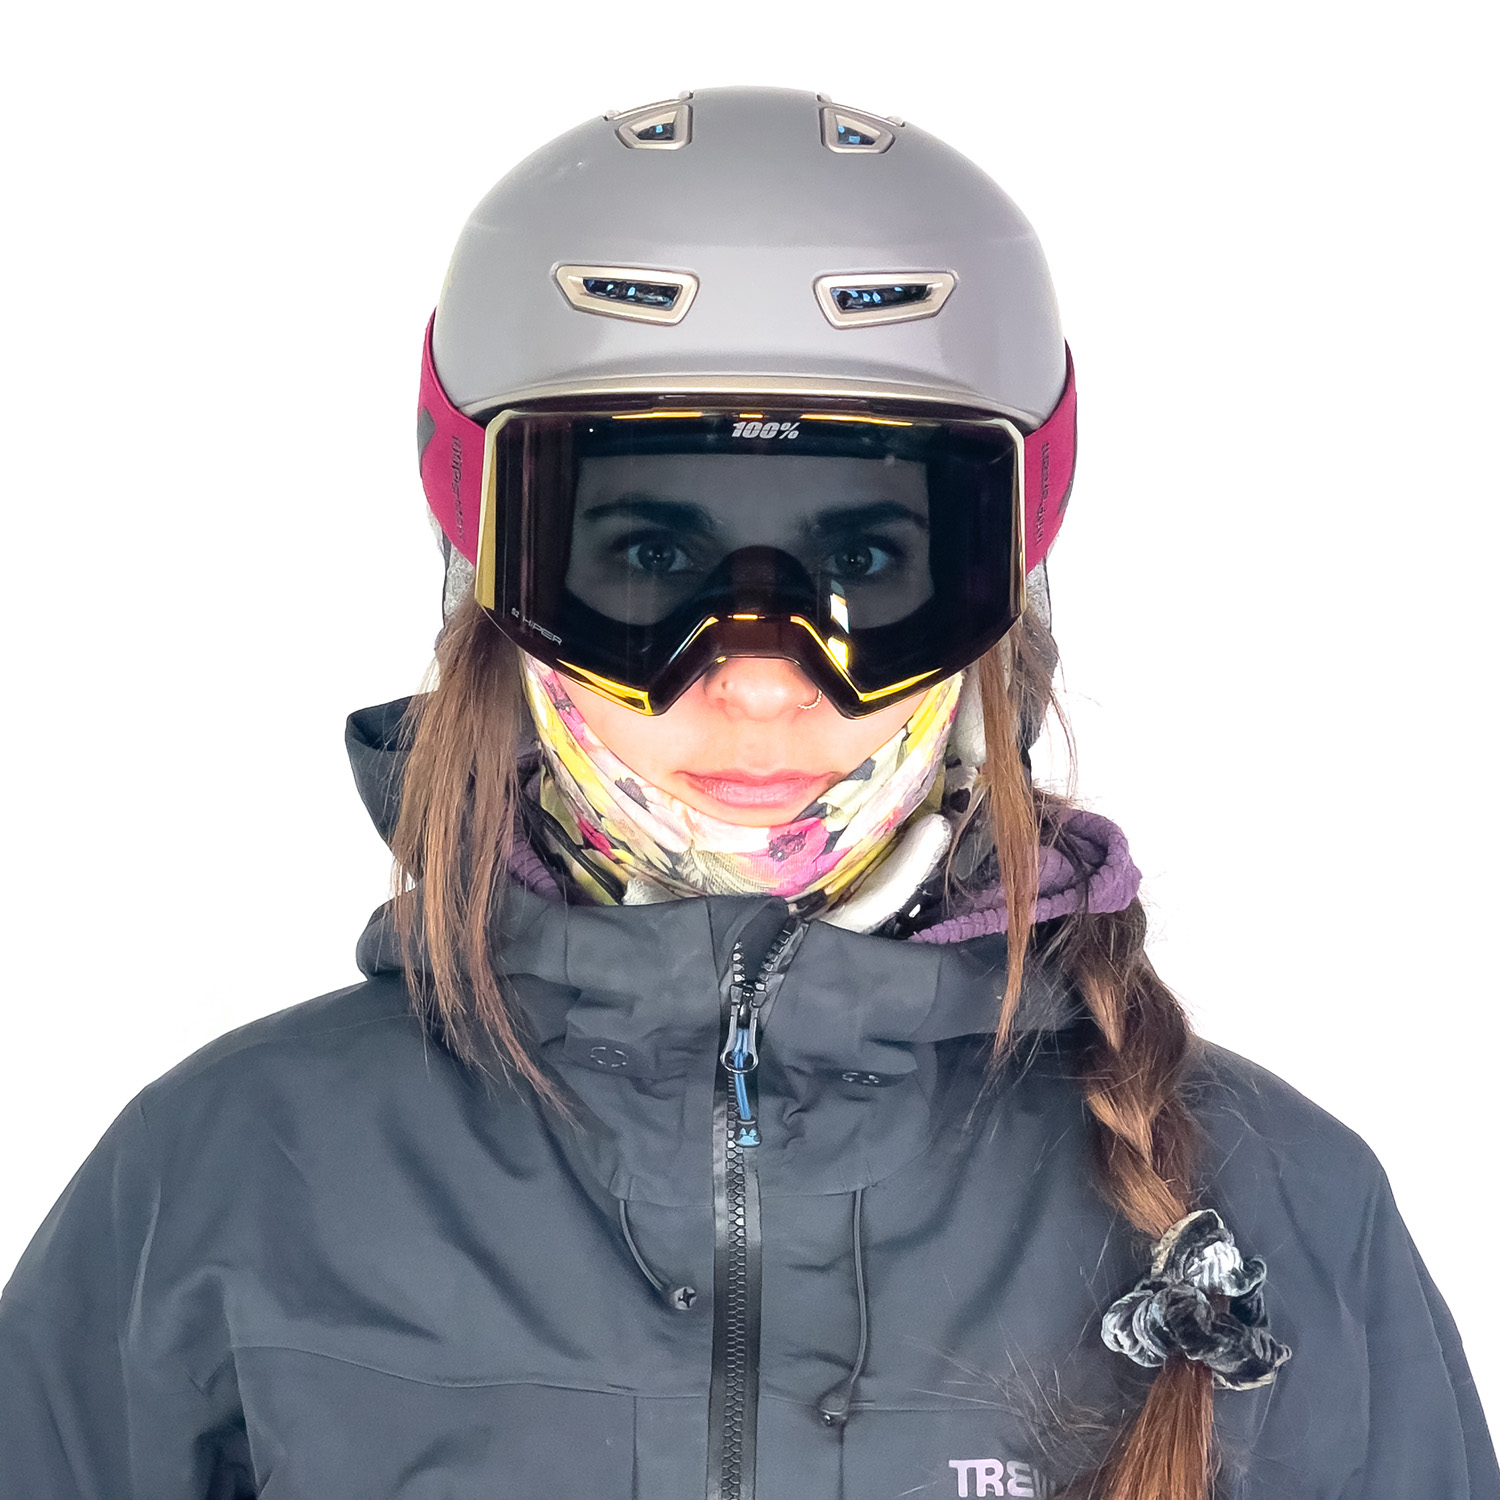
You can even do so with the goggle on your face. We did have one instance where the lens popped out of the frame, but, to be fair, that particular knee-to-chin impact was also enough to launch reviewer Luke Koppa about 40 feet and require chin stitches afterward; we’ve had no other issues with lens security.
The Norg’s fit falls a bit on the larger side, but it’s worked well with several of our reviewers (including those who wear size Medium helmets and those who have bigger heads). All in all, this is a very competitive option in the high-end category for those who prioritize nice optics and quick lens changes.
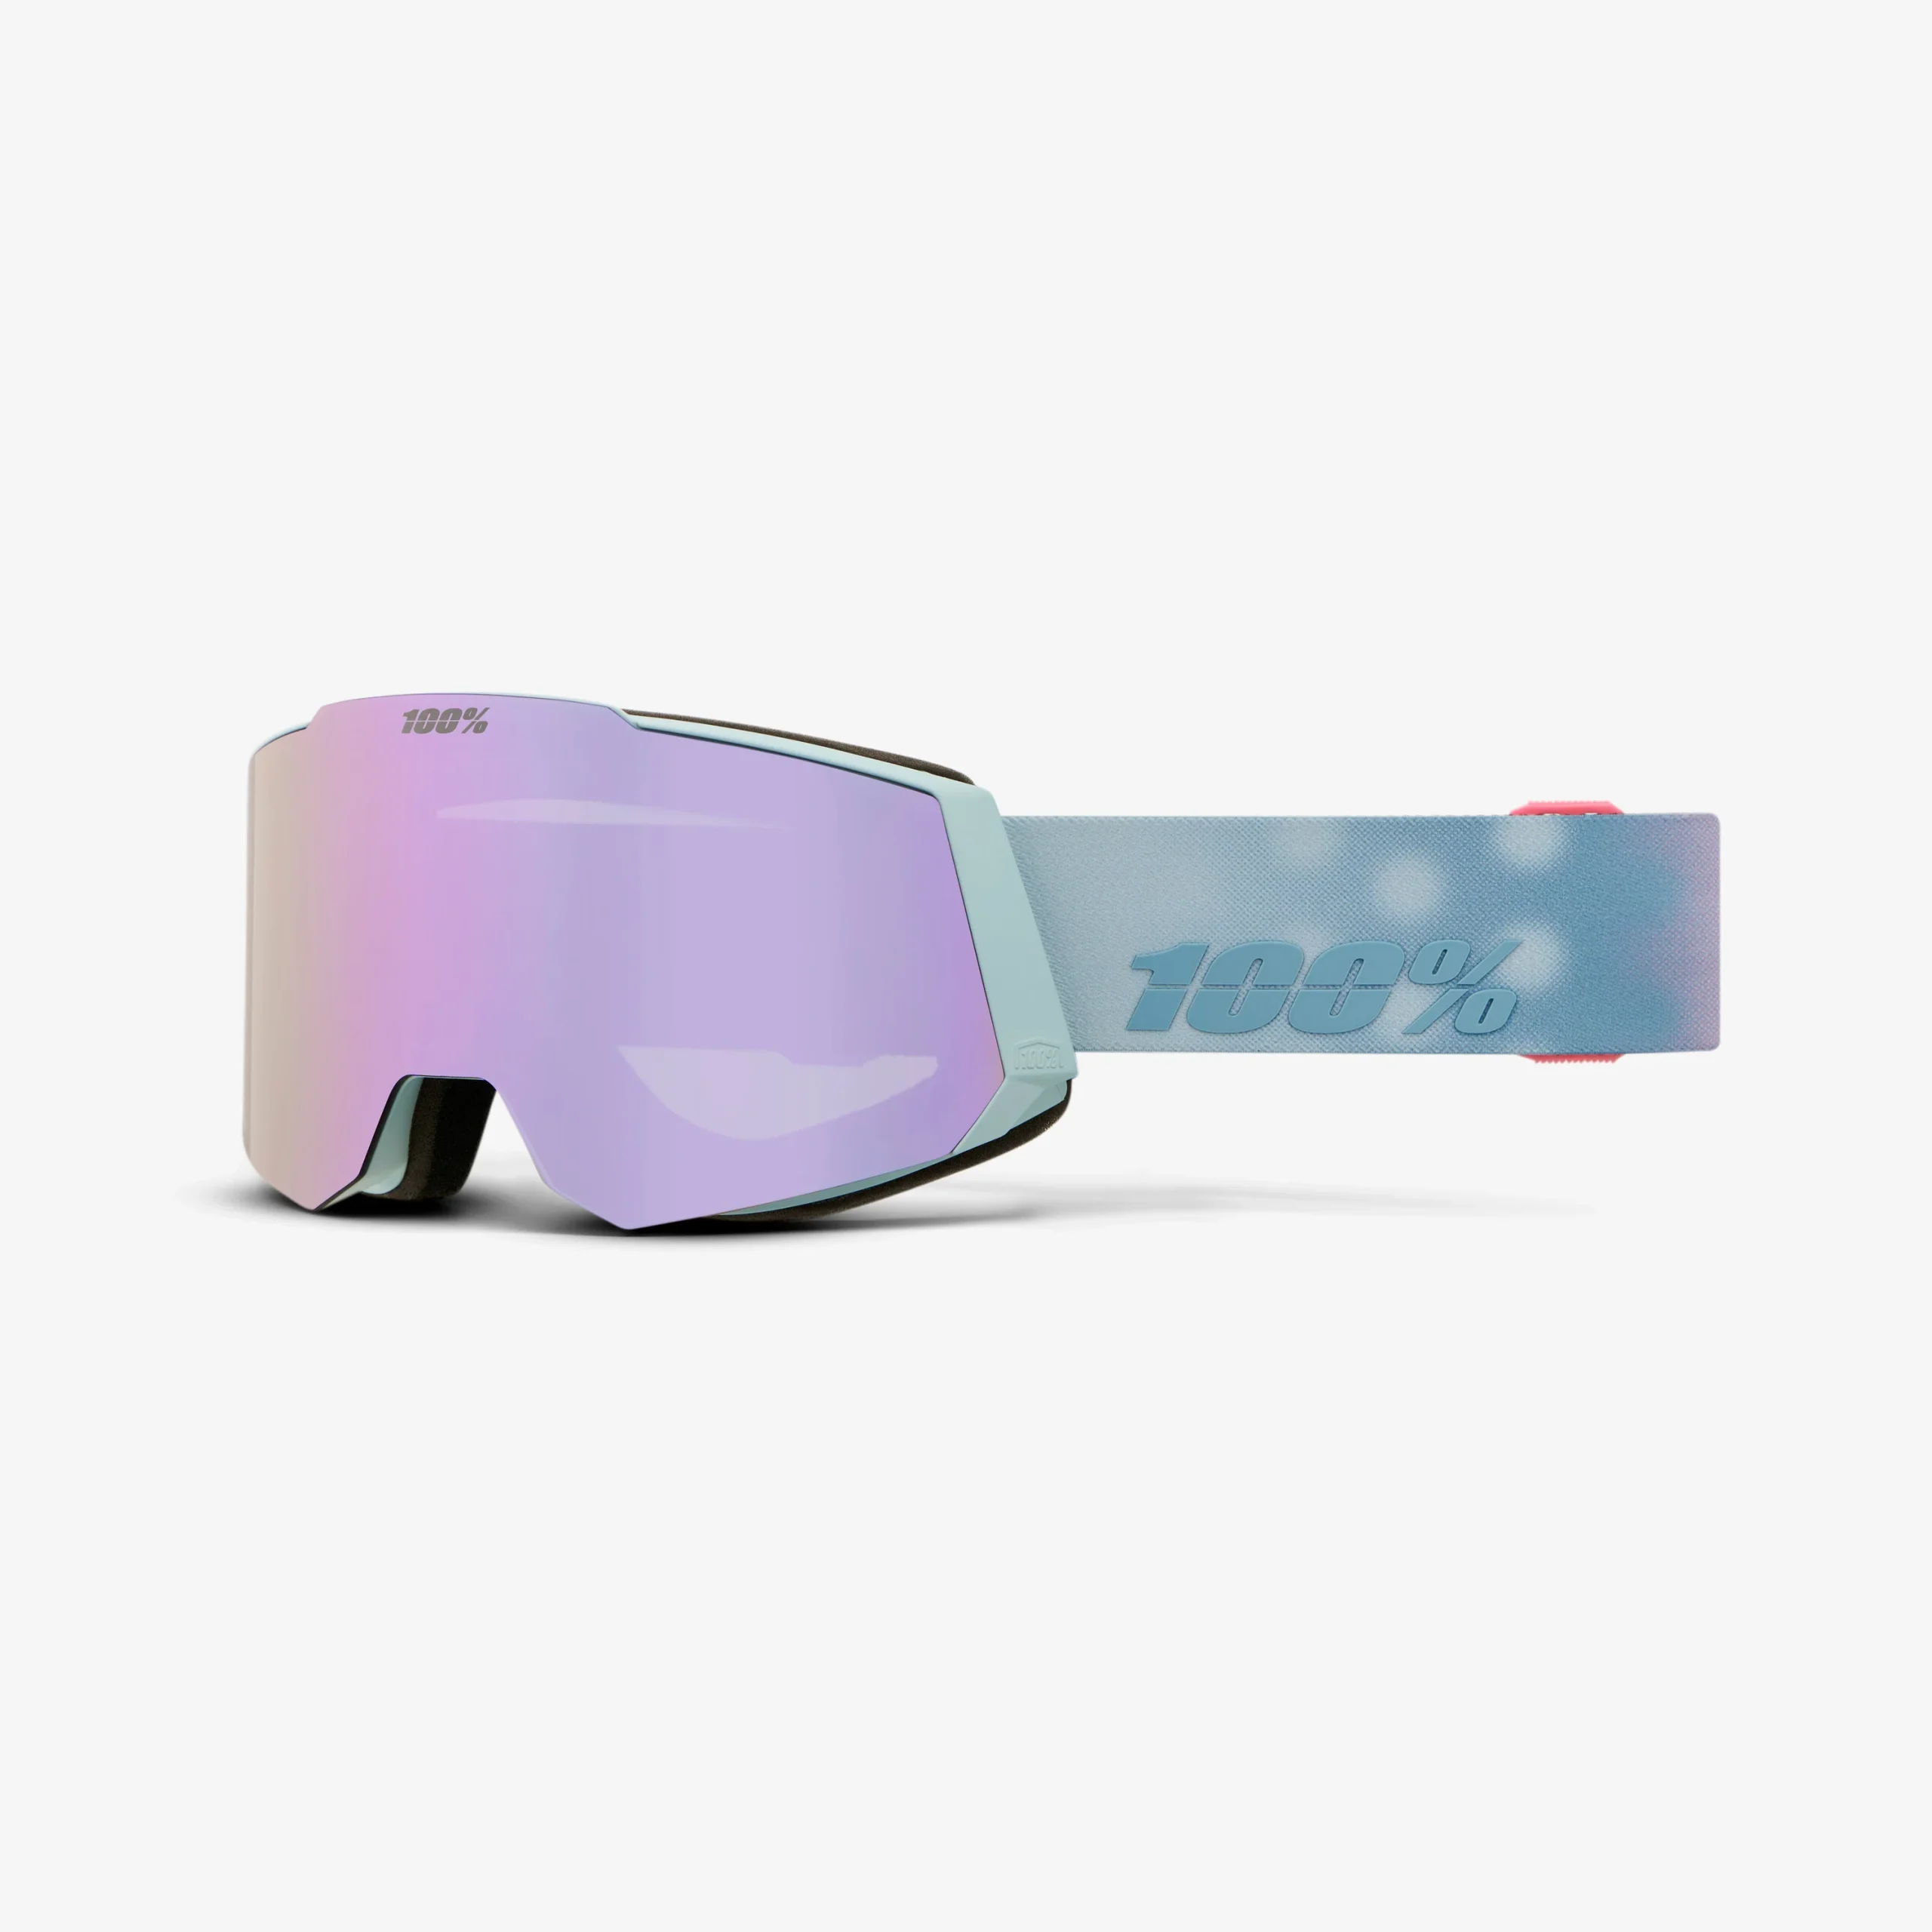
100% Snowcraft
MSRP: $180 (includes 2 HiPER lenses) | select models on sale for $135 as of publishing
Lenses Tested (VLT%): HiPER Lavender Mirror (12%) & HiPER Pink/Turquoise Mirror (48%)
Reviewer: Dylan Wood
The Snowcraft sits just below the Norg in 100%’s lineup, with the main differentiators being that the Snowcraft features a more traditional and less efficient “hook & slot” lens-swap system, and has a slightly shorter fit. Swapping lenses on the Snowcraft is a bit easier than some other non-magnetic frames like the Giro Method and Smith Squad XL, but it’s not as dead-easy as magnetic alternatives like the 100% Norg.
That said, the Snowcraft still gets you two of 100%’s nice, high-contrast HiPER lenses, and it’s one of the most comfortable goggles we’ve recently tested. Its frame is pretty flexible and the foam that 100% uses on it has done an impressive job of contouring to our faces. That said, its frame extends over the top (with cutouts) to make the top vents less prone to accumulating snow (and making it easier to brush off snow, relative to regular foam vents).
All in all, the Snowcraft is well worth a look if you want higher-end optics, comfortable face foam, and aren’t as concerned with swapping lenses as quickly and easily as possible (in exchange for paying a good bit less than most quick-swap systems).
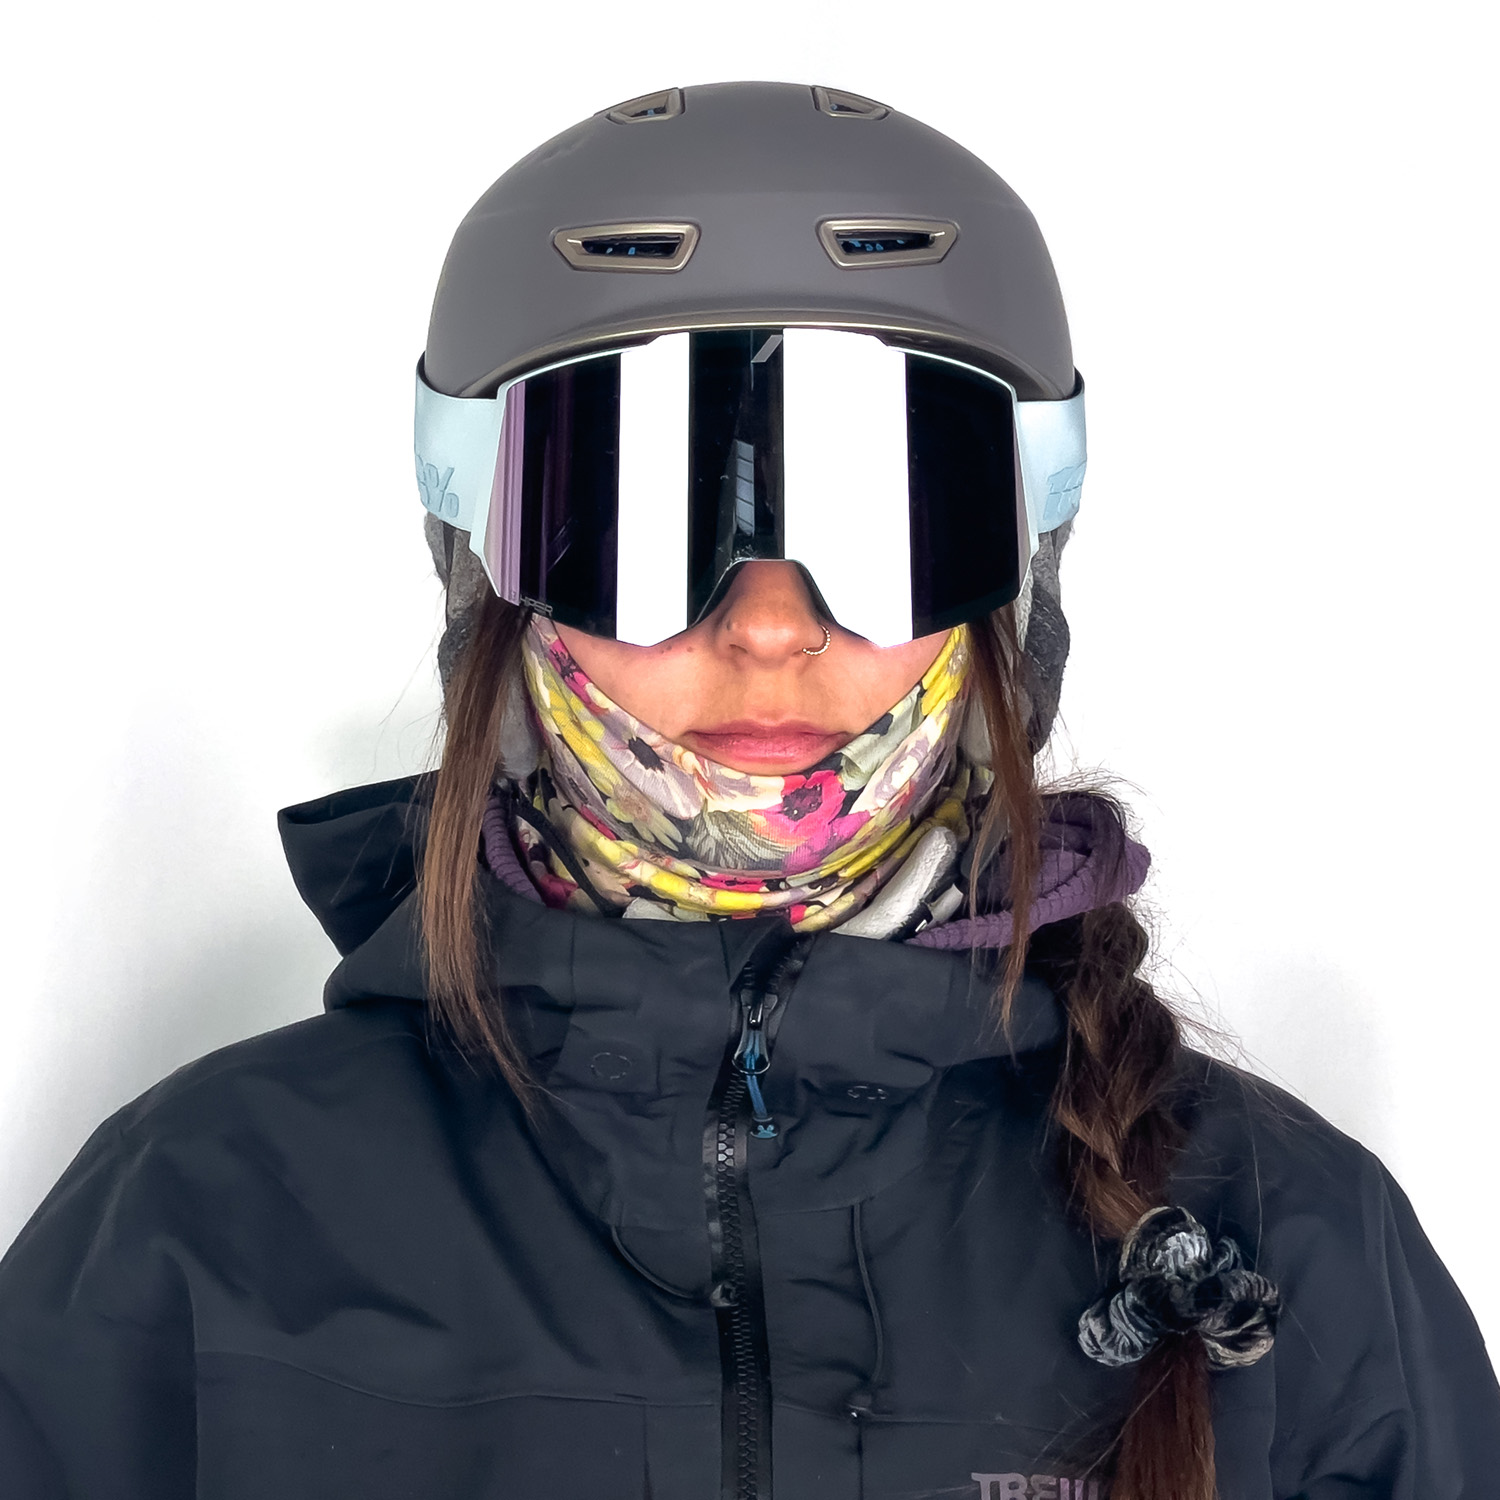
Anon M5 & M5.S
MSRP: $300 (includes 2 Perceive lenses & MFI face mask) | select models on sale for $240 as of publishing
Lenses Tested (VLT %): Perceive Sunny Bronze (17%), Perceive Cloudy Burst (59%), Perceive Sunny Onyx (6%), Perceive Variable Violet (34%),
Reviewers: Luke Koppa & Mark Danielson
The M5 and smaller M5.S are the two newest additions to Anon’s longstanding “M” series of magnetic goggles, which have long been a big hit with our reviewers. Historically, the numbers in those goggles’ names corresponded to how large they were, but the M5 bucks that — it’s smaller than the Anon M4, slotting between that and the M2 in terms of overall size. However, Anon also offers the M5.S, which we’ve also been testing and is a better choice for folks with fairly small faces.
The M5 and M5.S feature what Anon calls a “Flat Toric lens,” which is meant to combine the reduced distortion and increased field of view (FOV) of Toric lenses with the sleeker, less spherical look of cylindrical lenses. In practice, the M5 does offer an impressive FOV for its size, and several of us like the look of its not-super-bulbous lens (especially relative to many “spherical” goggles).

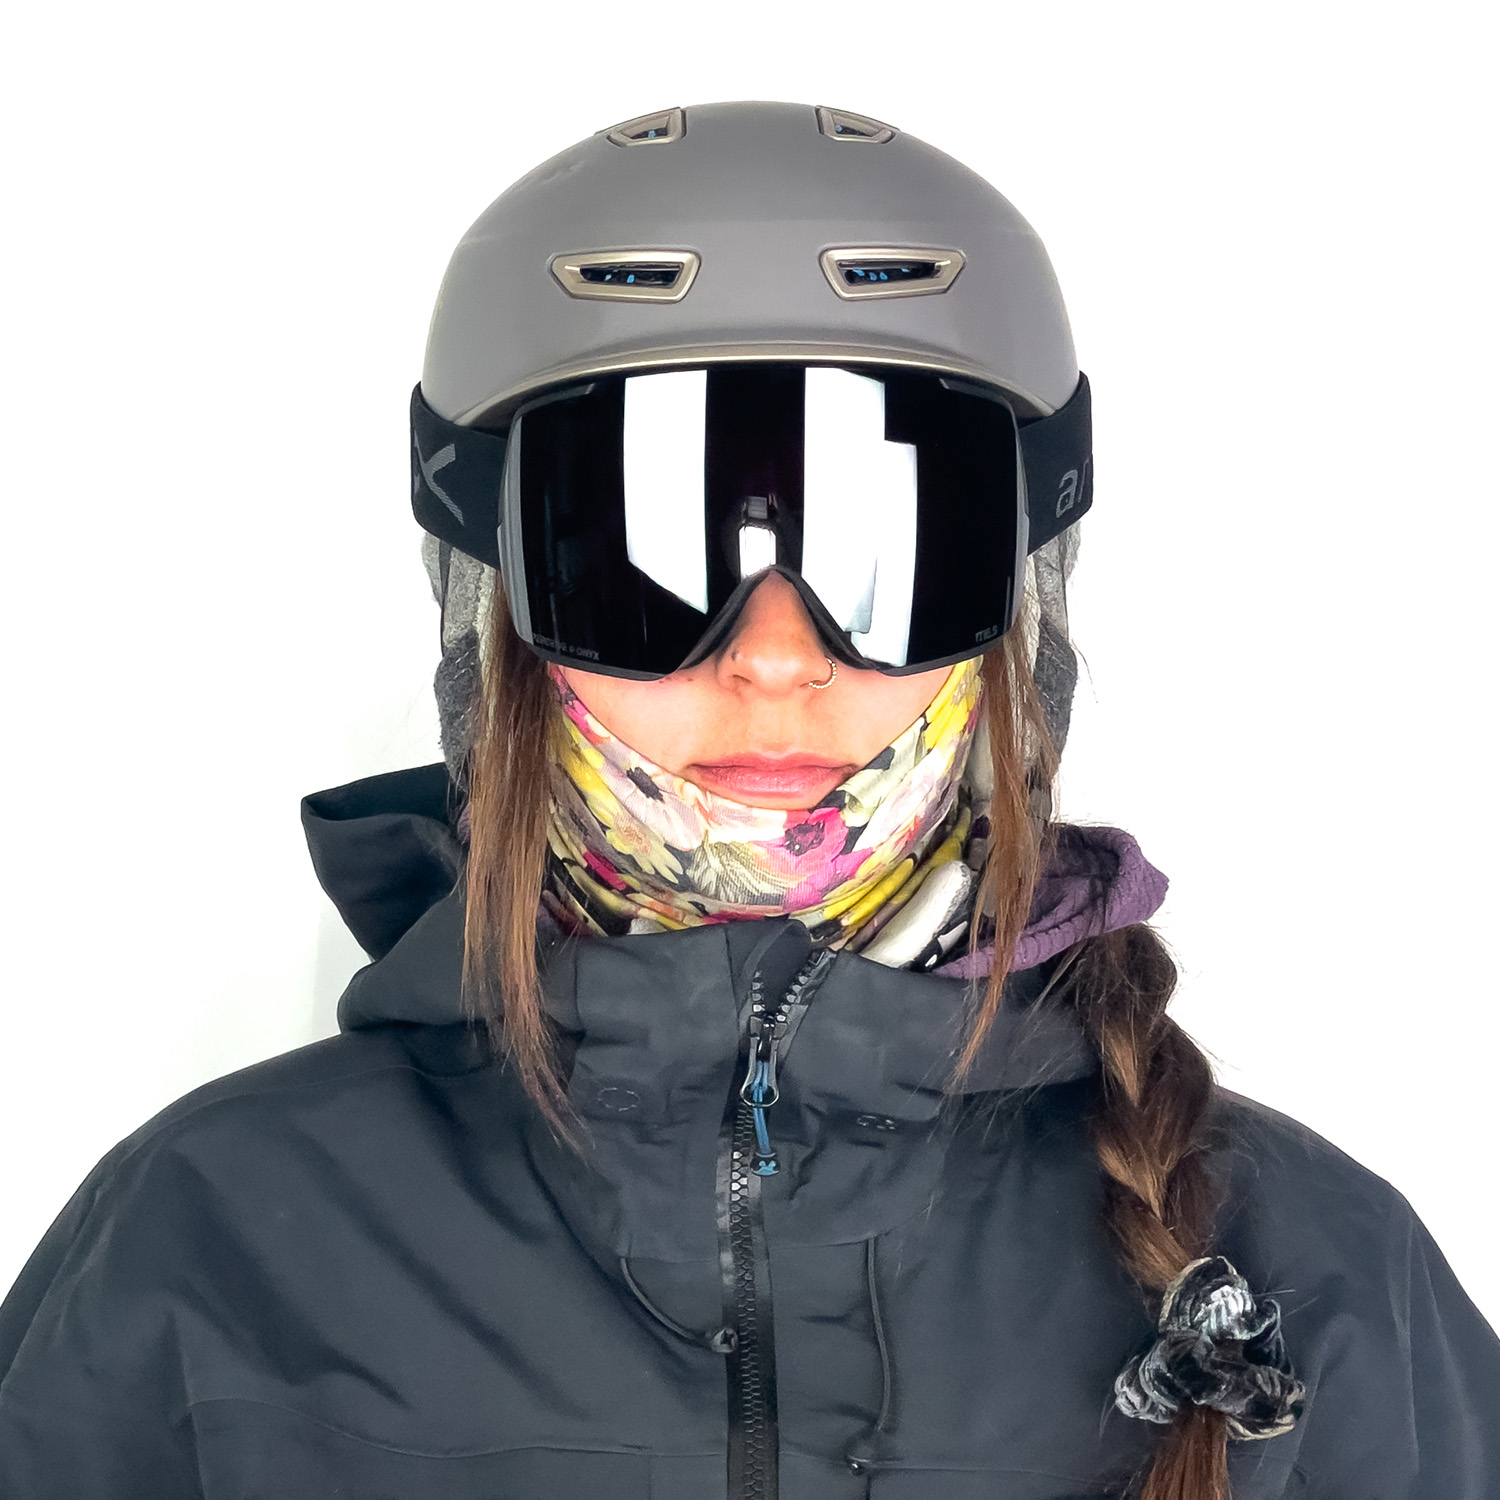

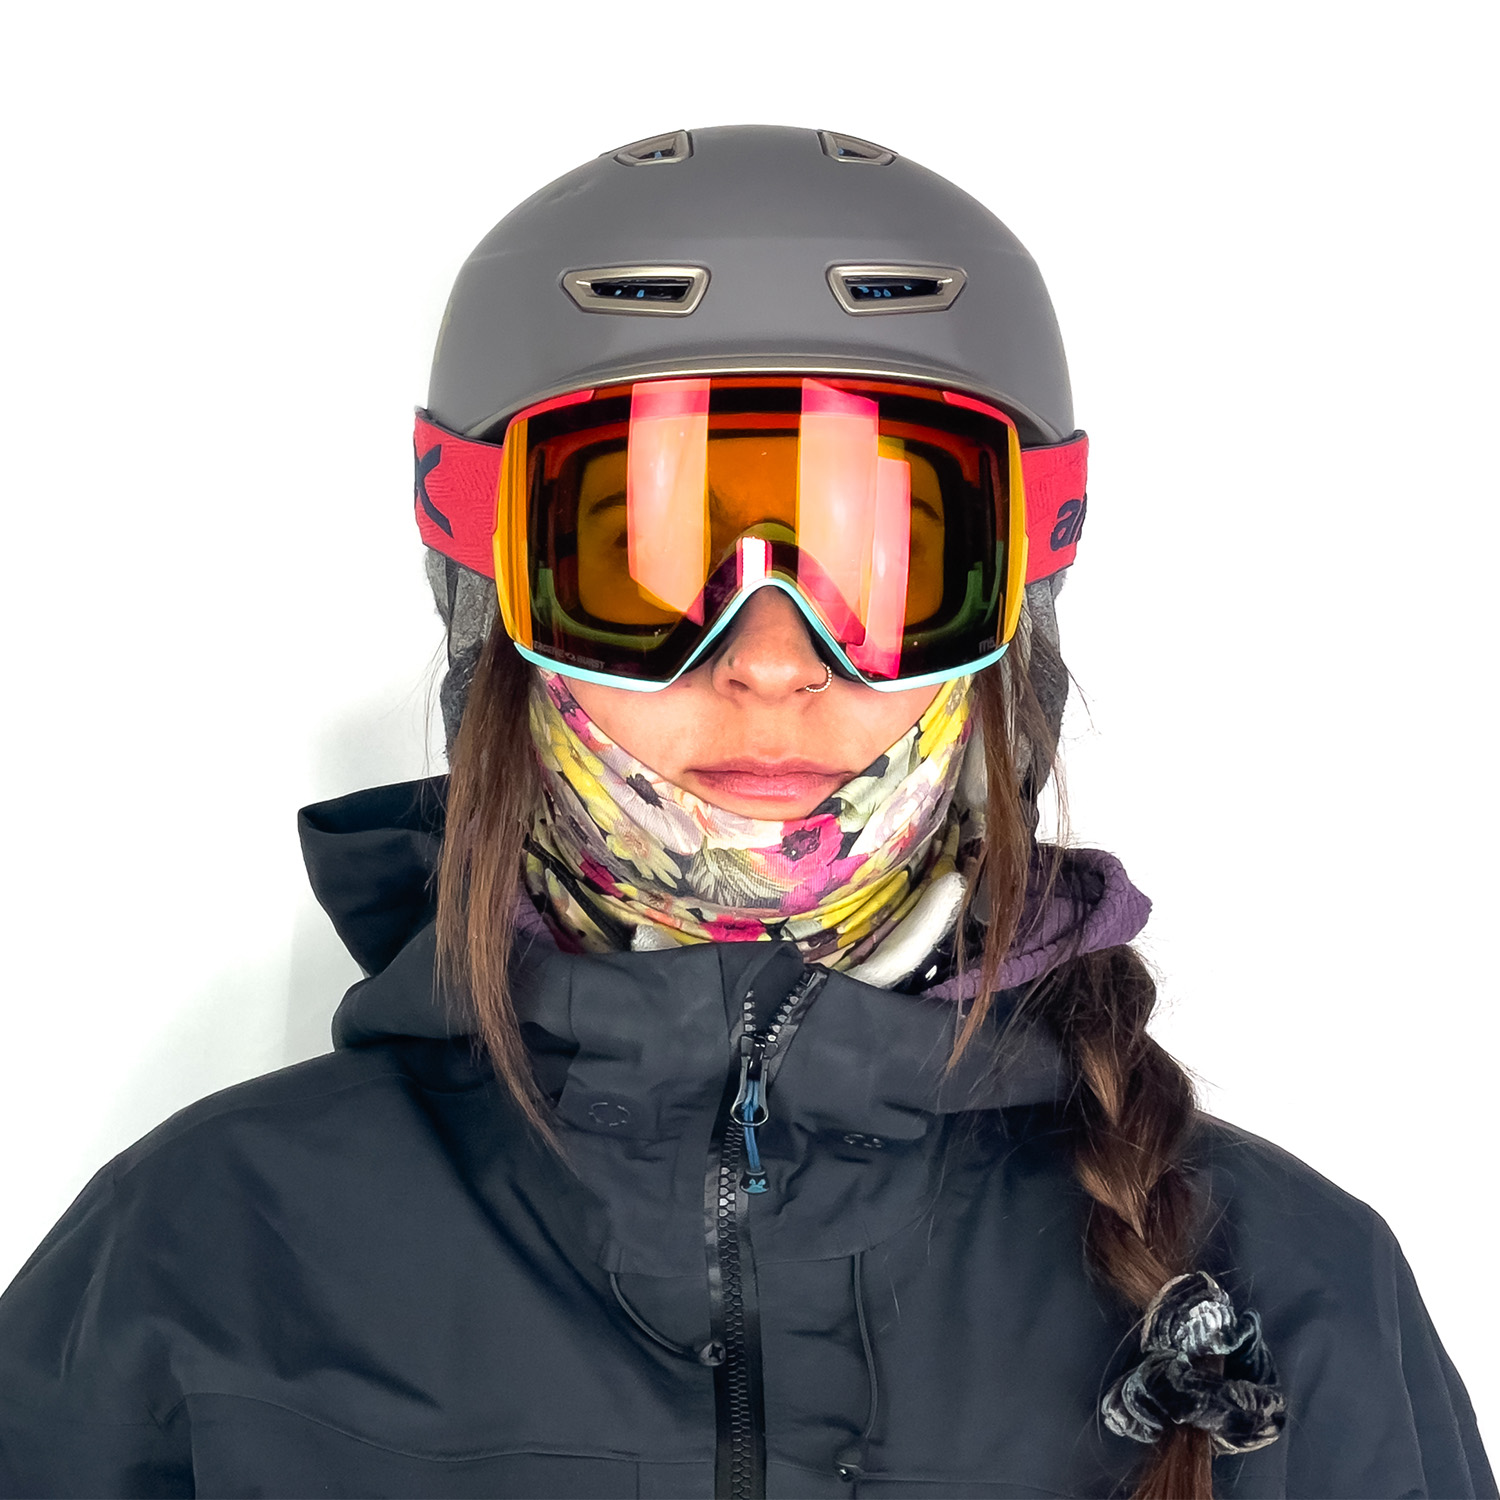
Like the other “M” series goggles, swapping lenses on the M5 is super easy, thanks to its fully magnet-based system, and we haven’t yet been able to accidentally dislodge a lens from any of the Anon M frames (despite plenty of crashes in them over the years). Their high-contrast “Perceive” lenses also seem at least on par with high-contrast lenses from other brands — i.e., quite good in that regard.
Another highlight of the M series goggles is their corresponding “MFI” face masks, which have a removable nose piece that has its own magnets, which pair with those on the goggles. This means that you can open and close the gap between the MFI accessories and the M goggles, which is great if you frequently like to do so but don’t love stuffing your face mask back under your goggles to achieve a sealed fit. It’s a really slick system.
The one thing to note is that, on cold, snowy days, the masks do tend to freeze when you pop them down from the goggles. As a result, some of our reviewers prefer the most breathable options (e.g., Anon’s “MFI Mesh Neck Warmer”) since they’re less prone to retaining moisture from your breath and therefore less prone to freezing up and becoming stiff. That said, usually if we pop up an MFI mask and breathe through it for a couple minutes, that quickly thaws any frozen moisture.
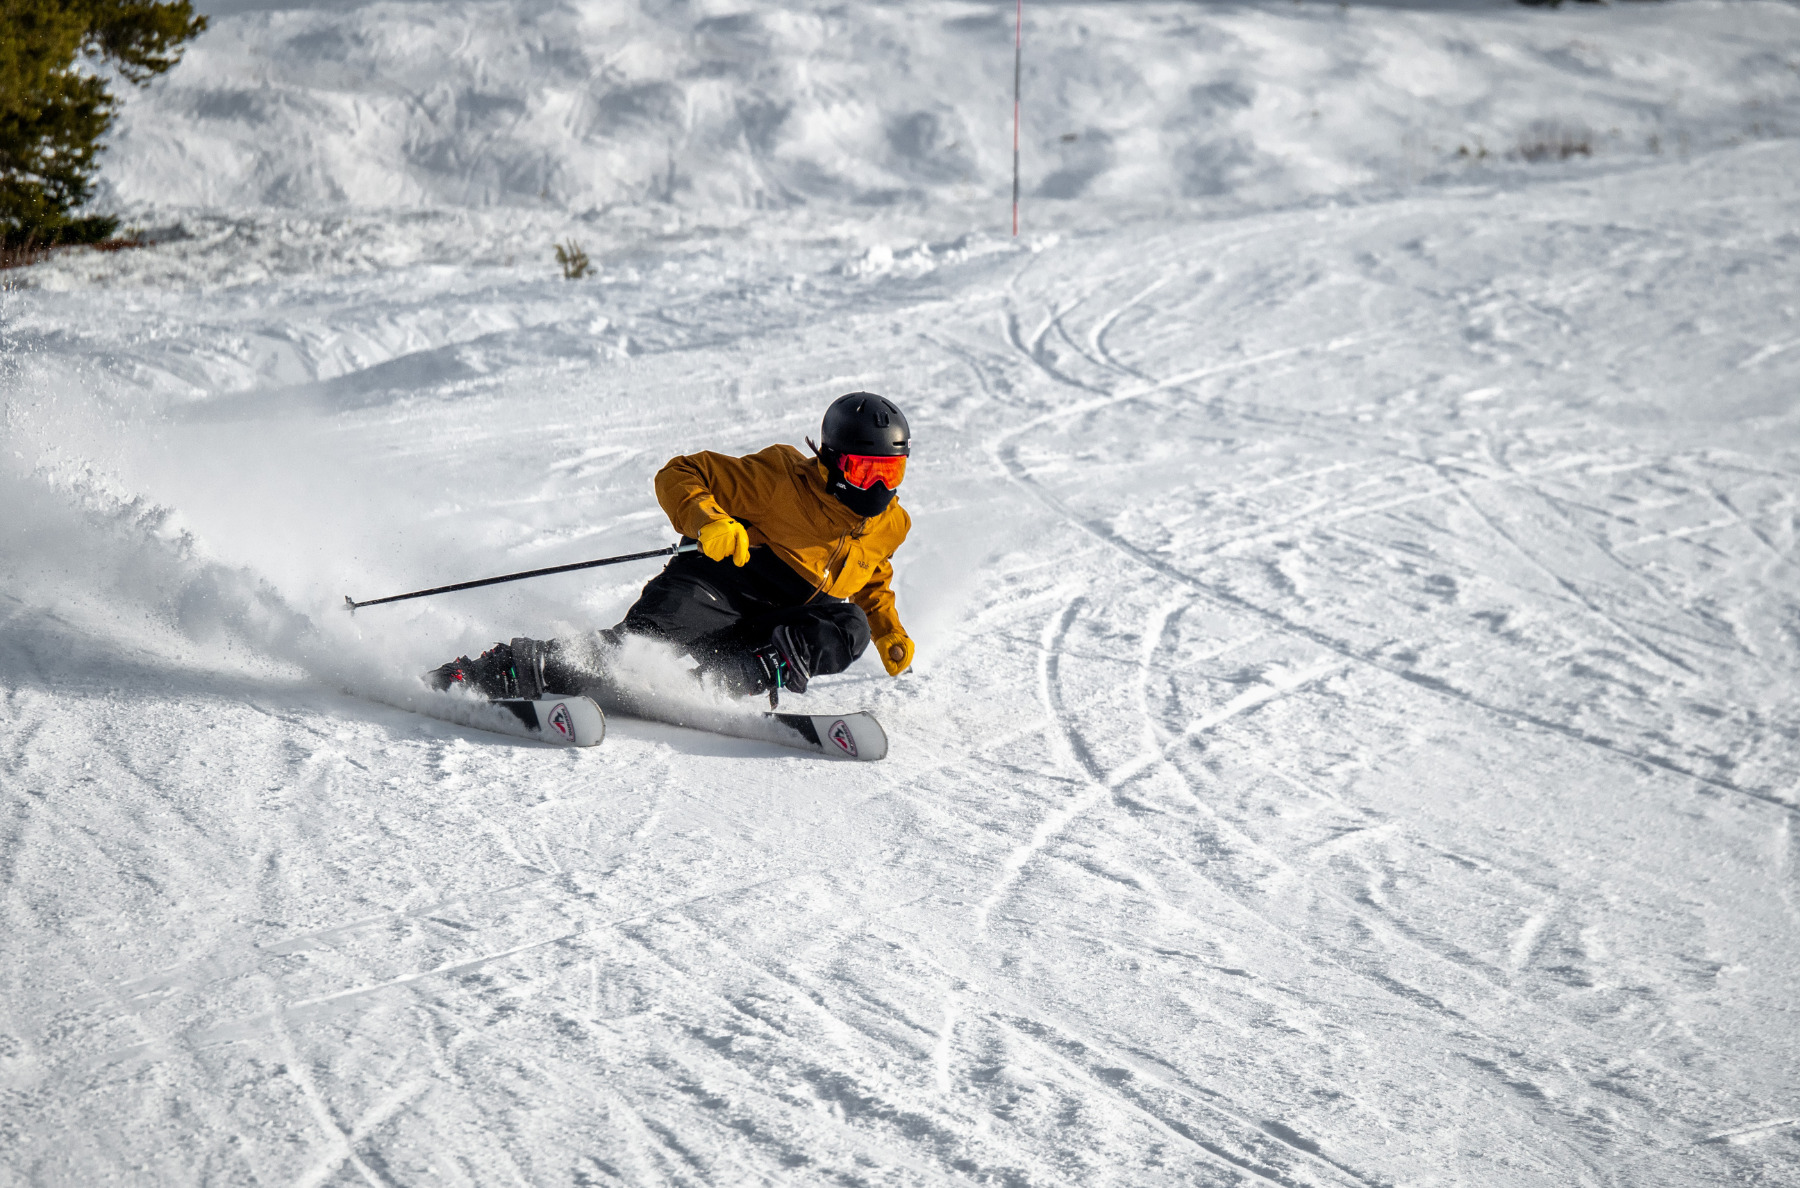
All of this comes at a price — Anon’s M goggles are some of the most expensive on the market. But if you prioritize easy lens swapping and/or like the sound of their MFI face masks, they do offer a unique combo that helps justify their price.
The M5 might be the most versatile in terms of fit (especially given the smaller M5.S offering), while our larger-faced reviewers have also really enjoyed the M4. The M3 and M2 are better if you want more of a “medium-coverage” goggle with similar tech, and our petite reviewer, Sascha Anastas, has gotten along really well with the smaller-framed WM1.
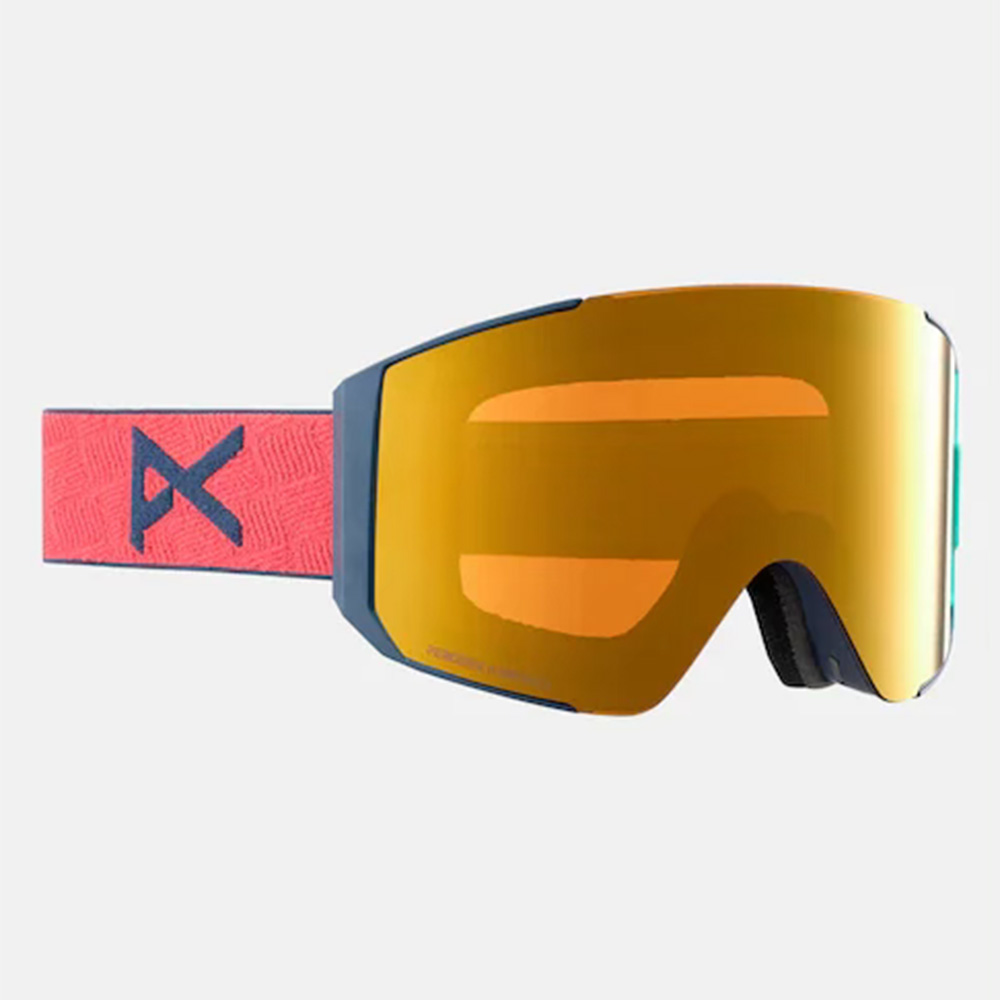
Anon Sync
MSRP: $200 (includes 2 Perceive lenses) | select models on sale for $160 as of publishing
Lenses Tested (VLT %): Perceive Sunny Bronze (17%) & Cloudy Pink (53%)
Reviewers: Luke Koppa & Jonathan Ellsworth
In short, the Anon Sync is a great option for those who are intrigued by the high-end optics and quick lens-swap system of Anon’s “M” goggles but who would like to save some money by downgrading to a slightly less efficient lens-swap system.
Changing lenses on the Sync is still quite easy, since it has several magnets that help line up and attach the lens, but then it’s got additional latches to fully secure it to the frame. This makes swapping lenses on the Sync notably quicker and easier than most non-magnetic systems, but we haven’t been able to do so with the Sync still on our face.
Otherwise, the Sync shares a lot in common with Anon’s higher-end M goggles. It still comes with two of their high-contrast Perceive lenses, is compatible with their MFI face masks, and has a fit that’s pretty comparable to the Anon M5 — i.e., just a touch larger than average.

Dragon RVX Mag OTG
MSRP: $280 (includes 2 Lumalenses)
Lenses Tested (VLT%): Lumalens Red Ion (23%) & Lumalens Light Rose (66%)
Reviewers: Mark Danielson & Luke Koppa
The RVX Mag OTG is one of Dragon’s flagship models, alongside the very similar-looking (on paper) NFX Mag OTG. The RVX Mag features a big-looking (but pretty “medium size”) “frameless” cylindrical lens that can be easily swapped via Dragon’s “Swiftlock Magnetic” system. This is fairly similar to the Anon Sync and SPY Marauder, in that the RVX Mag has several magnets that help line up the lens, and then you fully secure it to the frame via a small latch.
The RVX Mag comes with two lenses, both of which feature their high-contrast “Lumalens” tech, which we’ve found to be competitive with most other brands’ “high-contrast” options. The Lumalens Red Ion lens we’ve been testing has so far been a nice option for full-bluebird conditions while also not being so dark that it feels excessive in mixed light. We need to spend more time with their Lumalens Light Rose low-light option, but we’re optimistic right now.
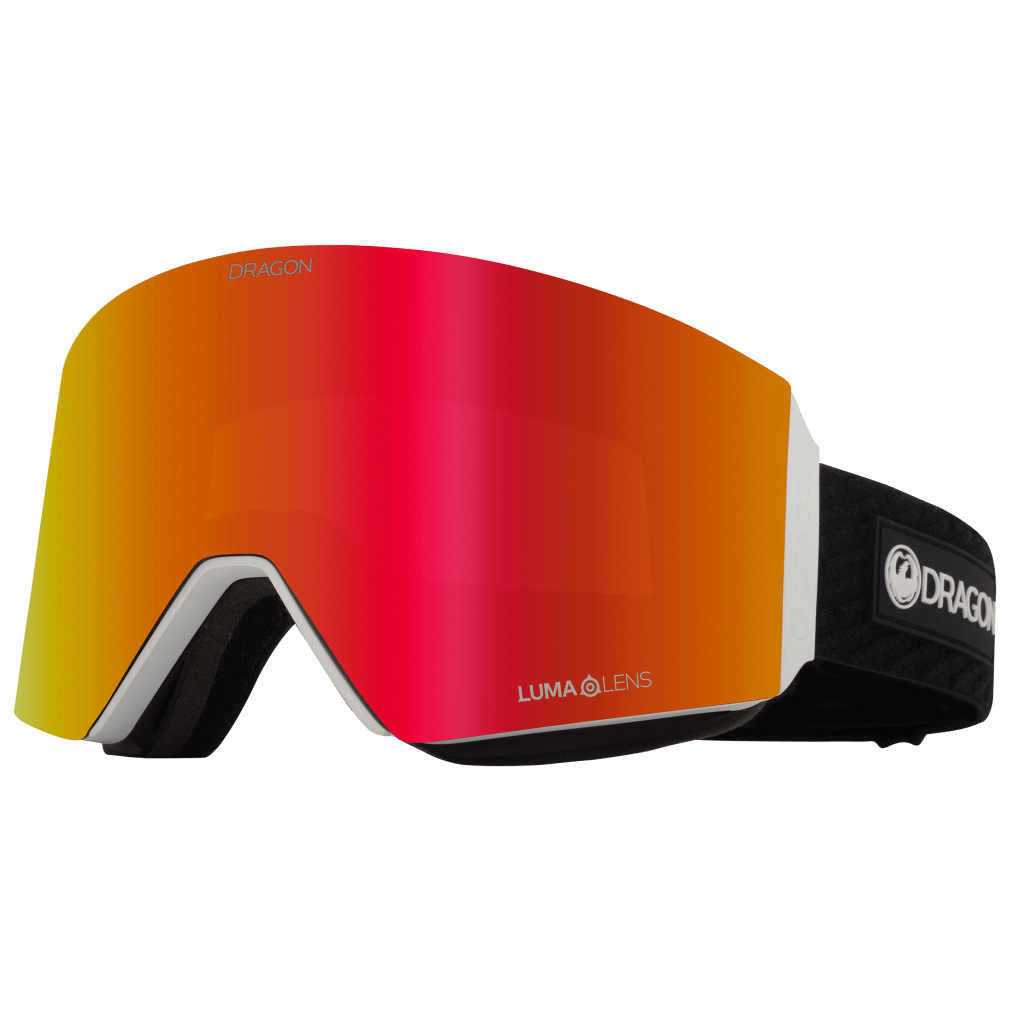

The RVX Mag, like many of Dragon’s other goggles, features their “Armored Venting” — in short, the top of the frame features a harder, more water-resistant (but still ventilated) plastic material to reduce the chance of snow sticking to it and blocking the vents, and make it easier to quickly swipe snow off the goggle. So far, it’s been pretty useful, especially in that latter regard, whereas some goggles’ foam top vents can really want to hang onto snow that’s gotten on top of them and started to melt a bit.
We’ve also spent some time using Dragon’s PXV2, which has a similar feature set as the RVX Mag but uses the non-magnetic version of their Swiftlock system, has a Toric-shaped lens, and a slightly larger overall silhouette for larger faces and an even broader field of view.
Glade Adapt 2 & Adapt 2S
MSRP: $149 (includes 1 Reveal Photochromic lens) | select models on sale for $104 as of publishing
Lenses Tested (VLT%): Reveal Photochromic Gold (16-61% photochromic) & Reveal Photochromic Blue (16-61%)
Reviewer: Luke Koppa & Kristin Sinnott
Glade quickly made a name for themselves due to their simple — but effective — photochromic lenses, and the Adapt 2 (and smaller-fit Adapt 2S) are some of the latest models. The current versions feature the same, very wide stated VLT range for each of their tint-changing lenses (16–61% VLT), with the idea that you can just pick the color and tint you prefer and not have to worry about one being better or worse for certain light conditions.
In practice, we’ve consistently been impressed by the, well, adaptability of Glade’s photochromic lenses. When the light changes, whether due to variable weather or hitting different aspects of the mountain, they change pretty quickly. It’s typically not a drastic change, but rather, we find ourselves thinking less about our lenses when using a nice photochromic one like the Adapt 2, compared to most other goggles that come with dedicated bright-light and low-light lenses. I.e., it’s more of a “set and forget” system.
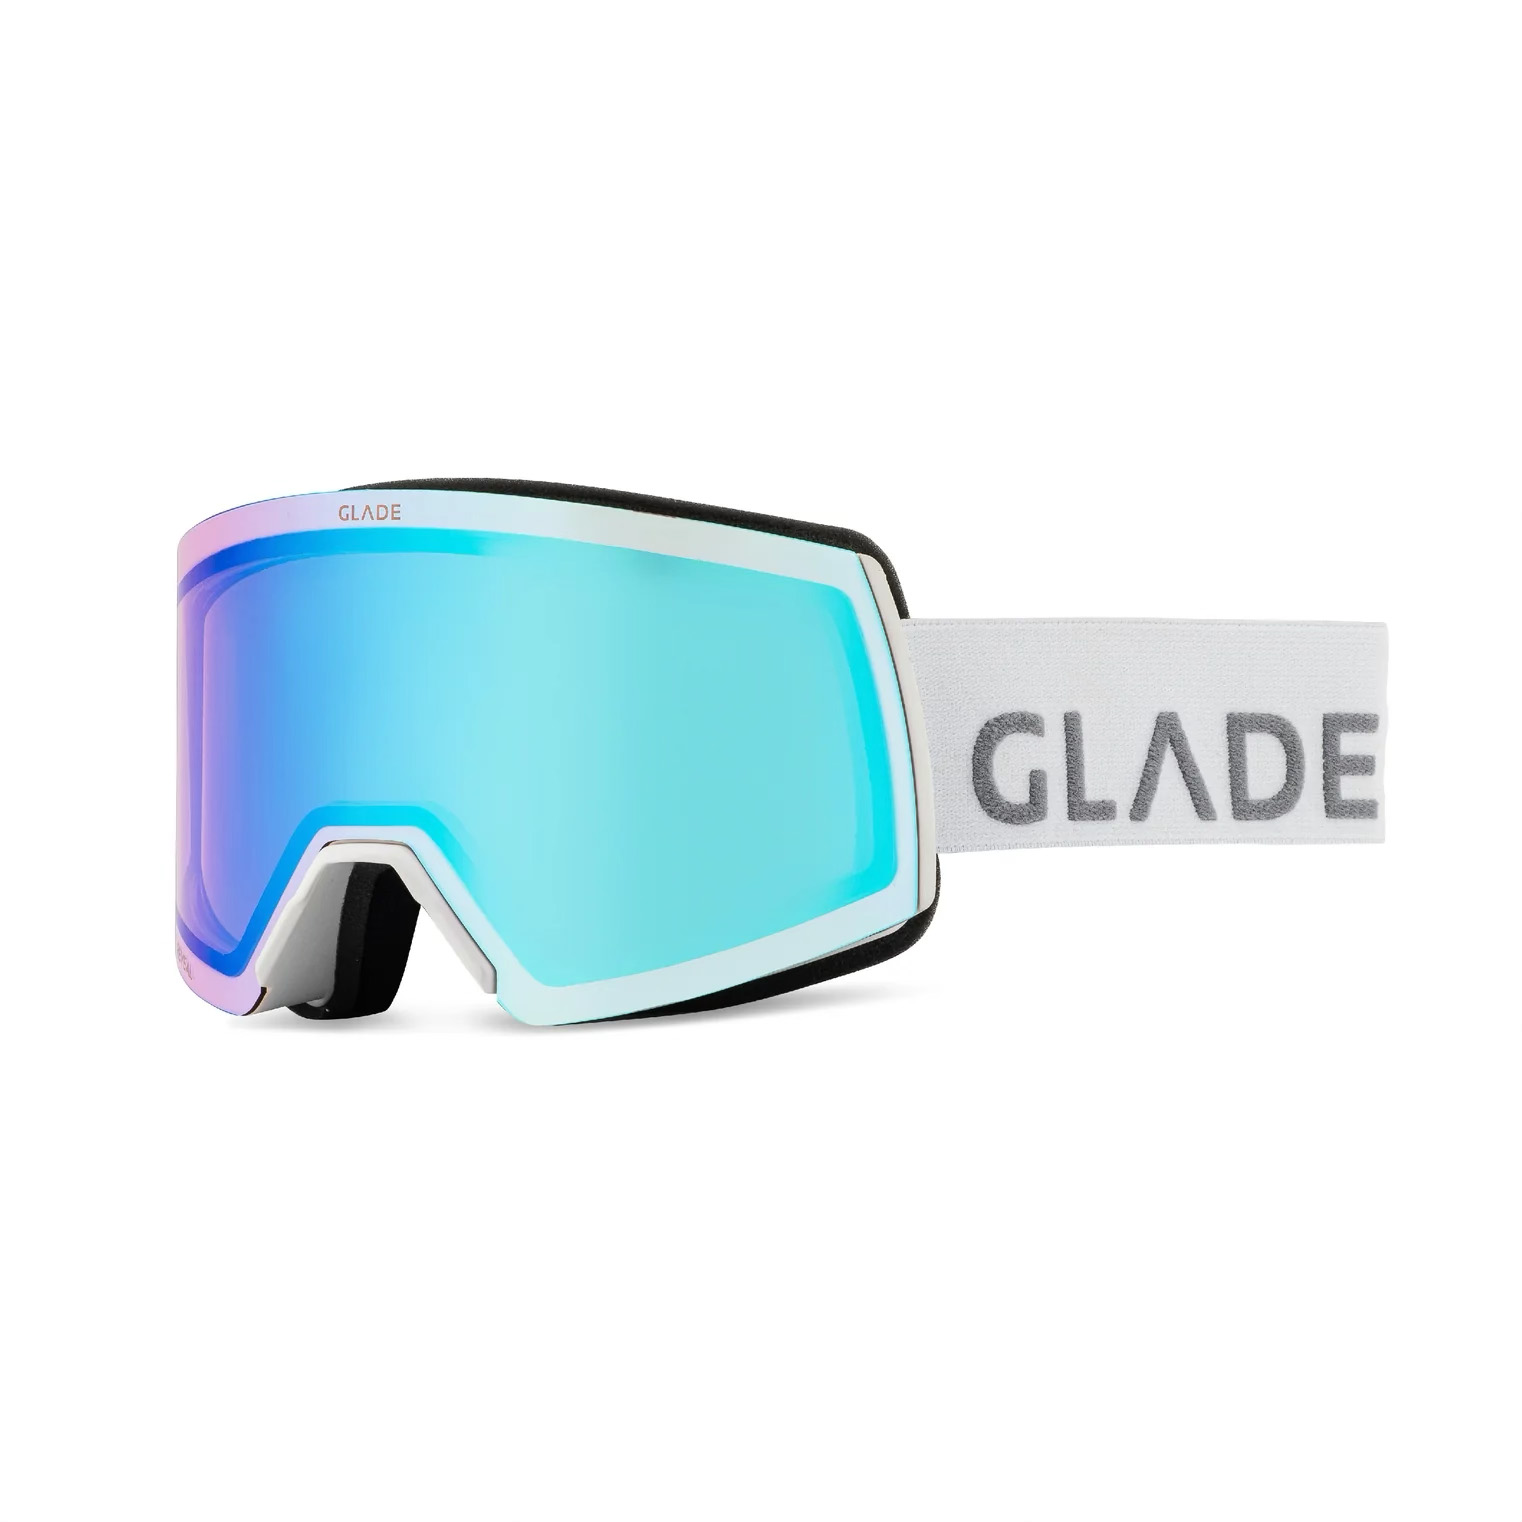
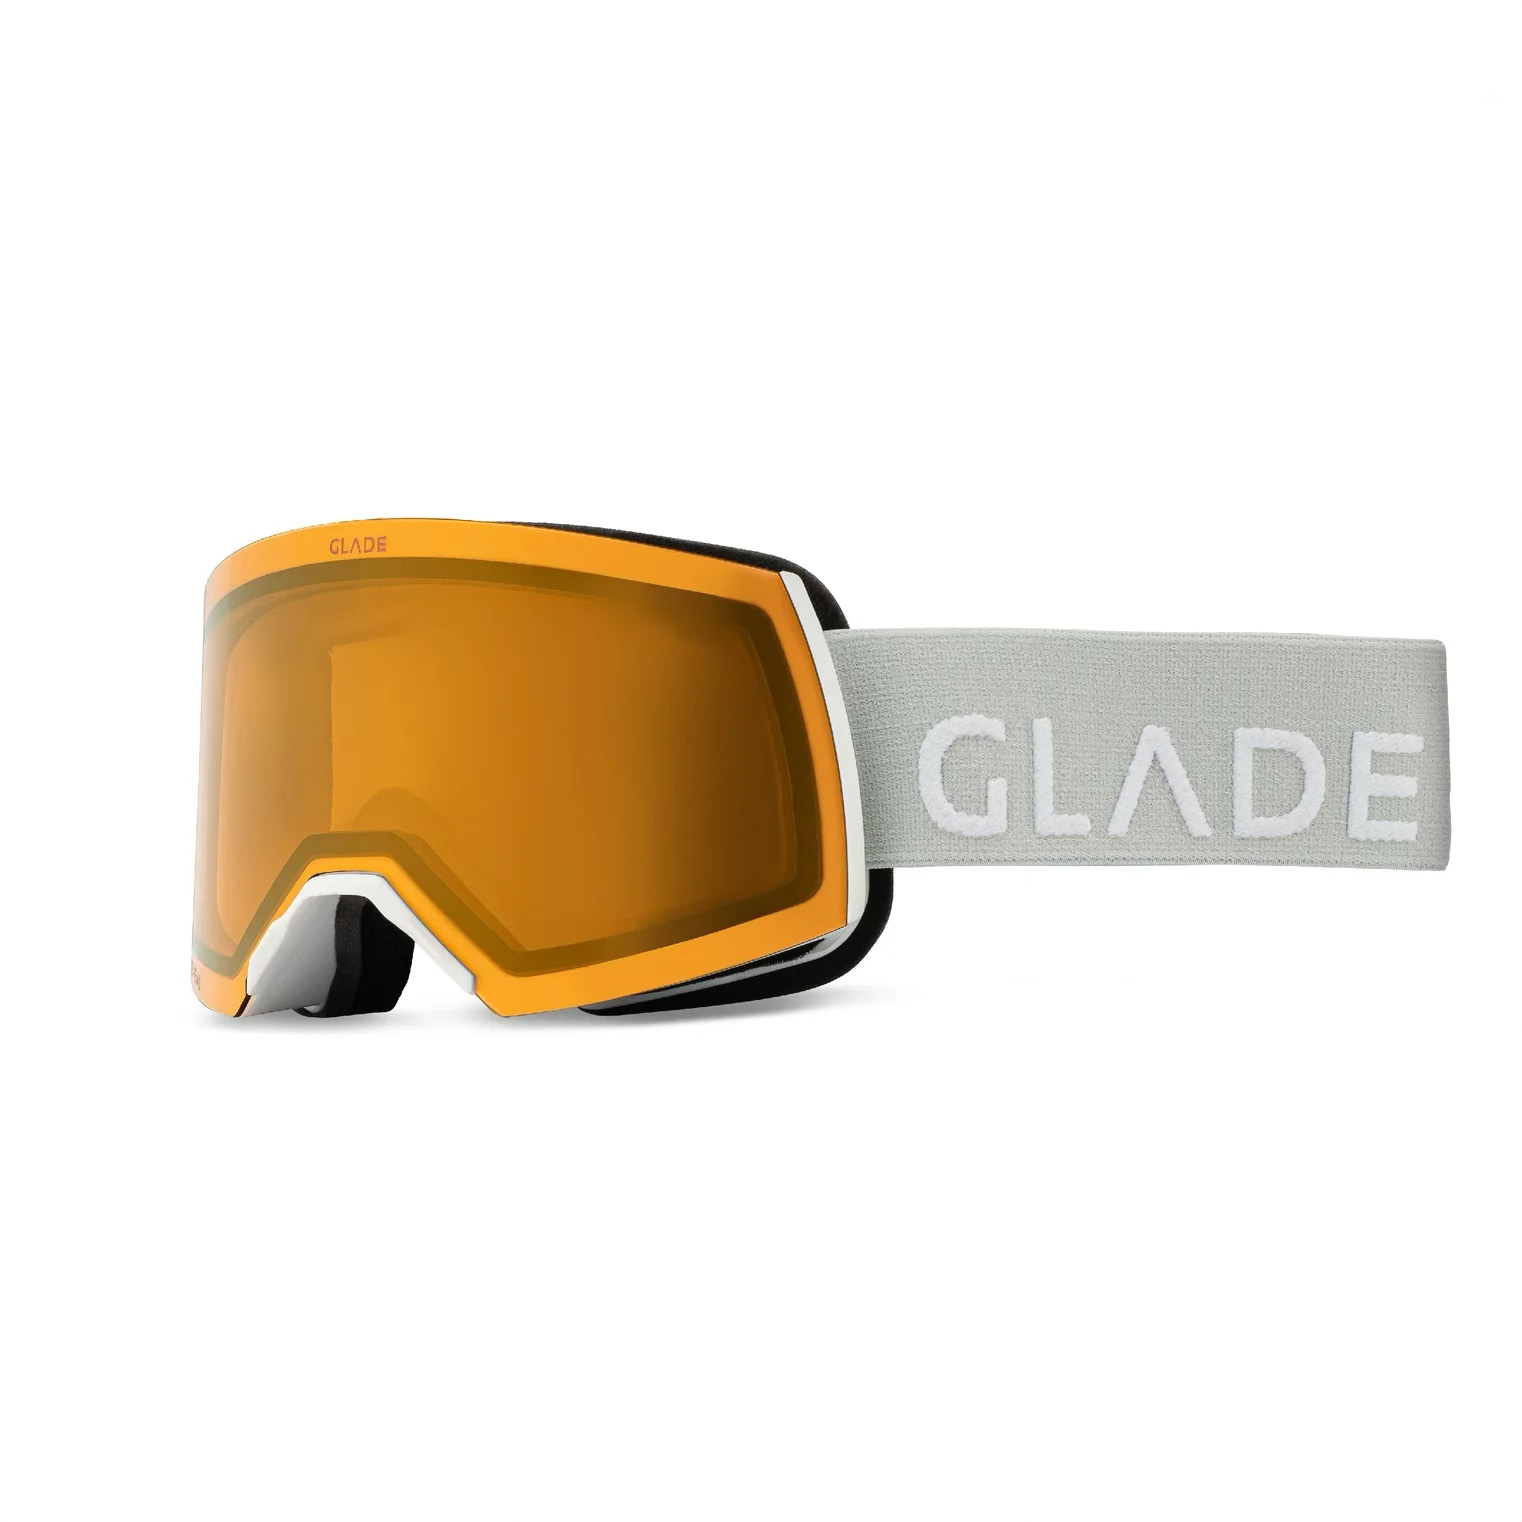
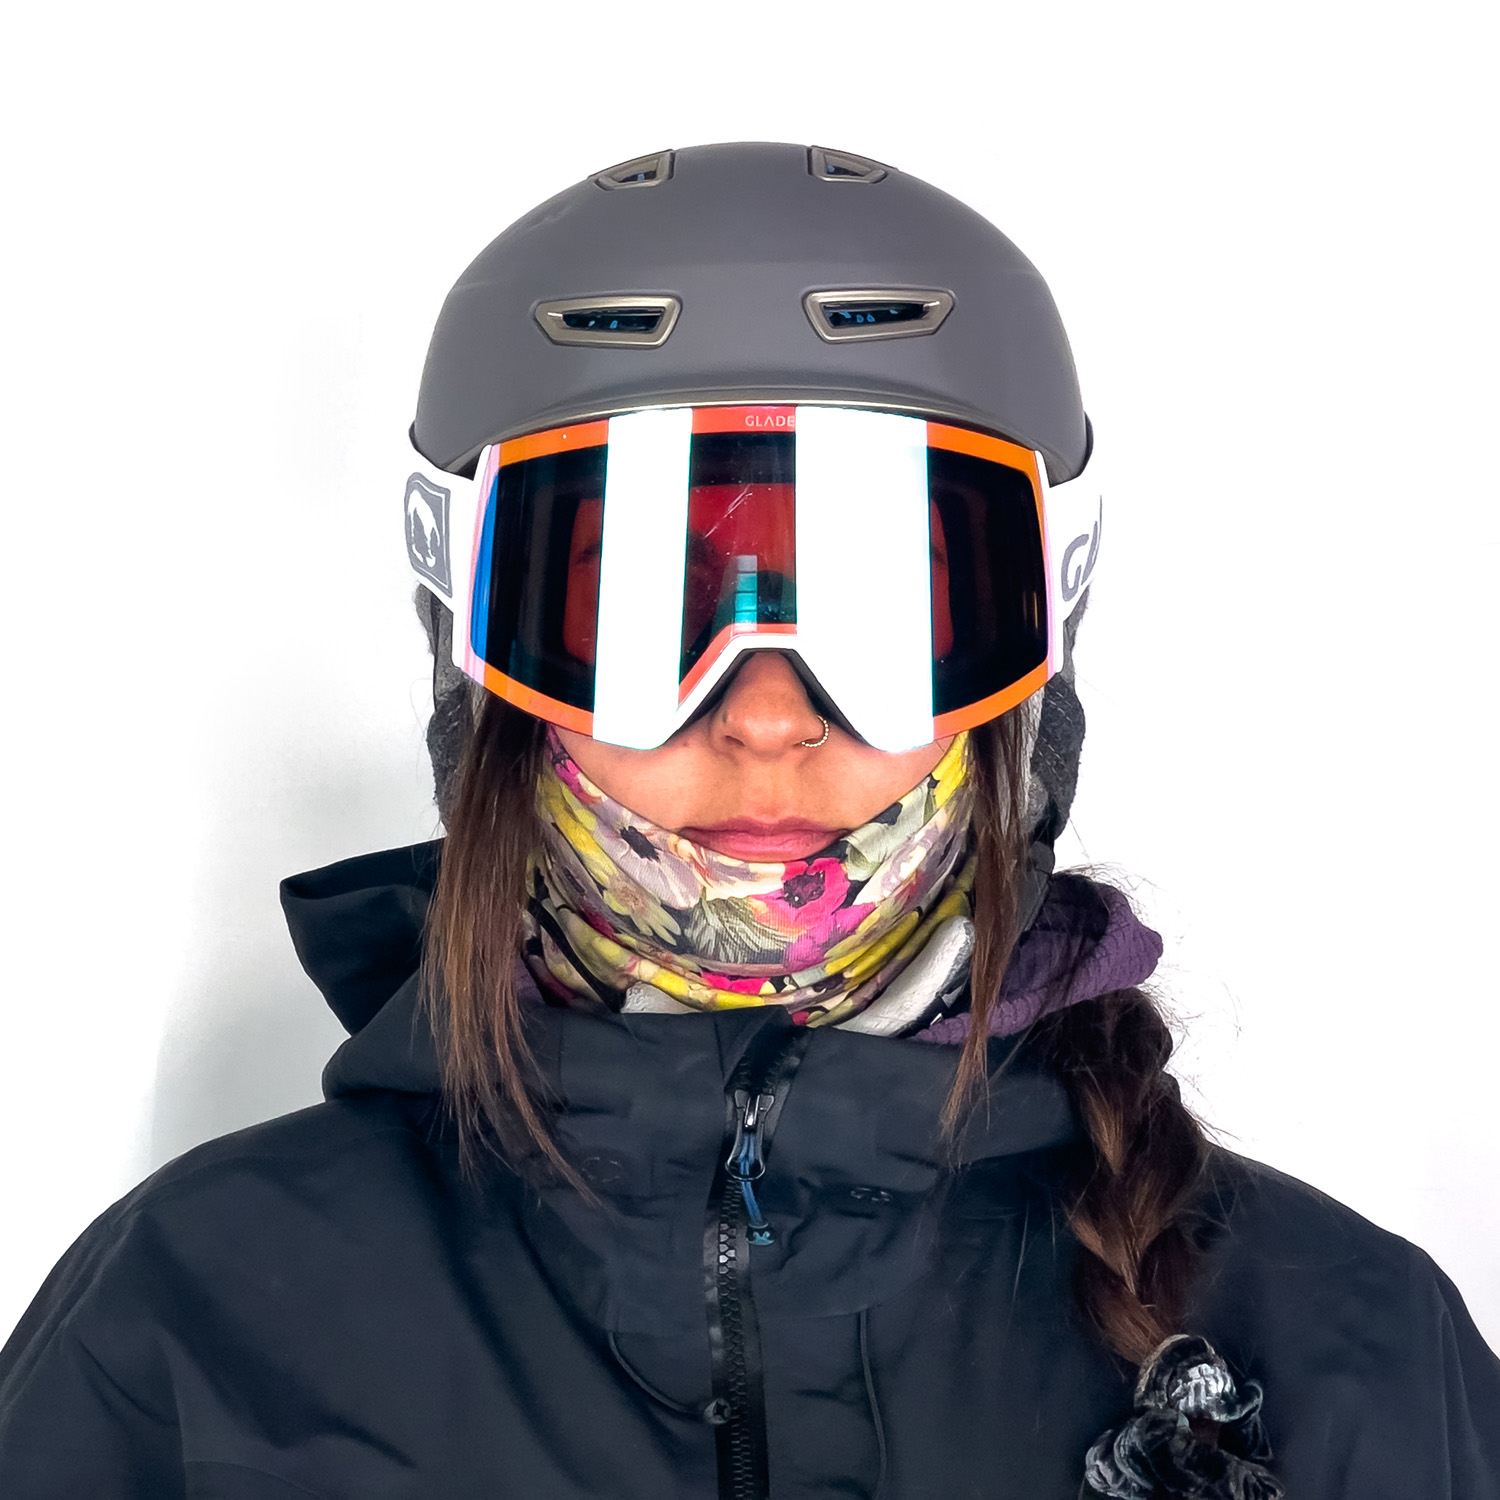
Glade’s photochromic lenses also do a very admirable job of handling most light conditions. They are notably better in both versatility and how quickly they change tint than the photochromic lenses we tested back in the earlier 2010s, which often lacked in transition speed and light versatility.
The one area where Glade’s photochromic lenses fall a bit short of high-end, 2-lens systems is in extremely low-light conditions — especially if it somehow goes from full bluebird to fully overcast in a few minutes. We haven’t found this to be a drastic difference, but high-contrast, dedicated low-light lenses typically provide a bit more contrast in really poor light.
As for fit, the Adapt 2 is a pretty large, “frameless” style with a cylindrical lens. We’ve generally found its face foam very comfortable and it’s been quite good in terms of resisting fogging. The Adapt 2S offers the same features, but in a smaller silhouette. For reference, our reviewer who wears a size L or XL helmet prefers the Adapt 2, while our reviewer who typically wears size S or M helmets fits better in the Adapt 2S.
If you prefer simplicity over having a range of lenses for very specific conditions, the Adapt 2 and Adapt 2S are excellent options, and they come in at a very respectable price point, too.
Glade Fathom & Fathom+
- Fathom MSRP: $169 (includes 1 Reveal Photochromic lens & 1 low-light lens) | select models on sale for $118 as of publishing
- Fathom+ MSRP: $199 (includes 1 Toric Reveal Photochromic lens, 1 Toric low-light lens, & protective case)
Lenses Tested (VLT%): Reveal Photochromic Orange (16-61% photochromic), Yellow Low-Light (73%), Toric Reveal Photochromic Blue (16-61% photochromic), Toric Rose Low-Light (70%)
Reviewers: Luke Koppa & Kristin Sinnott
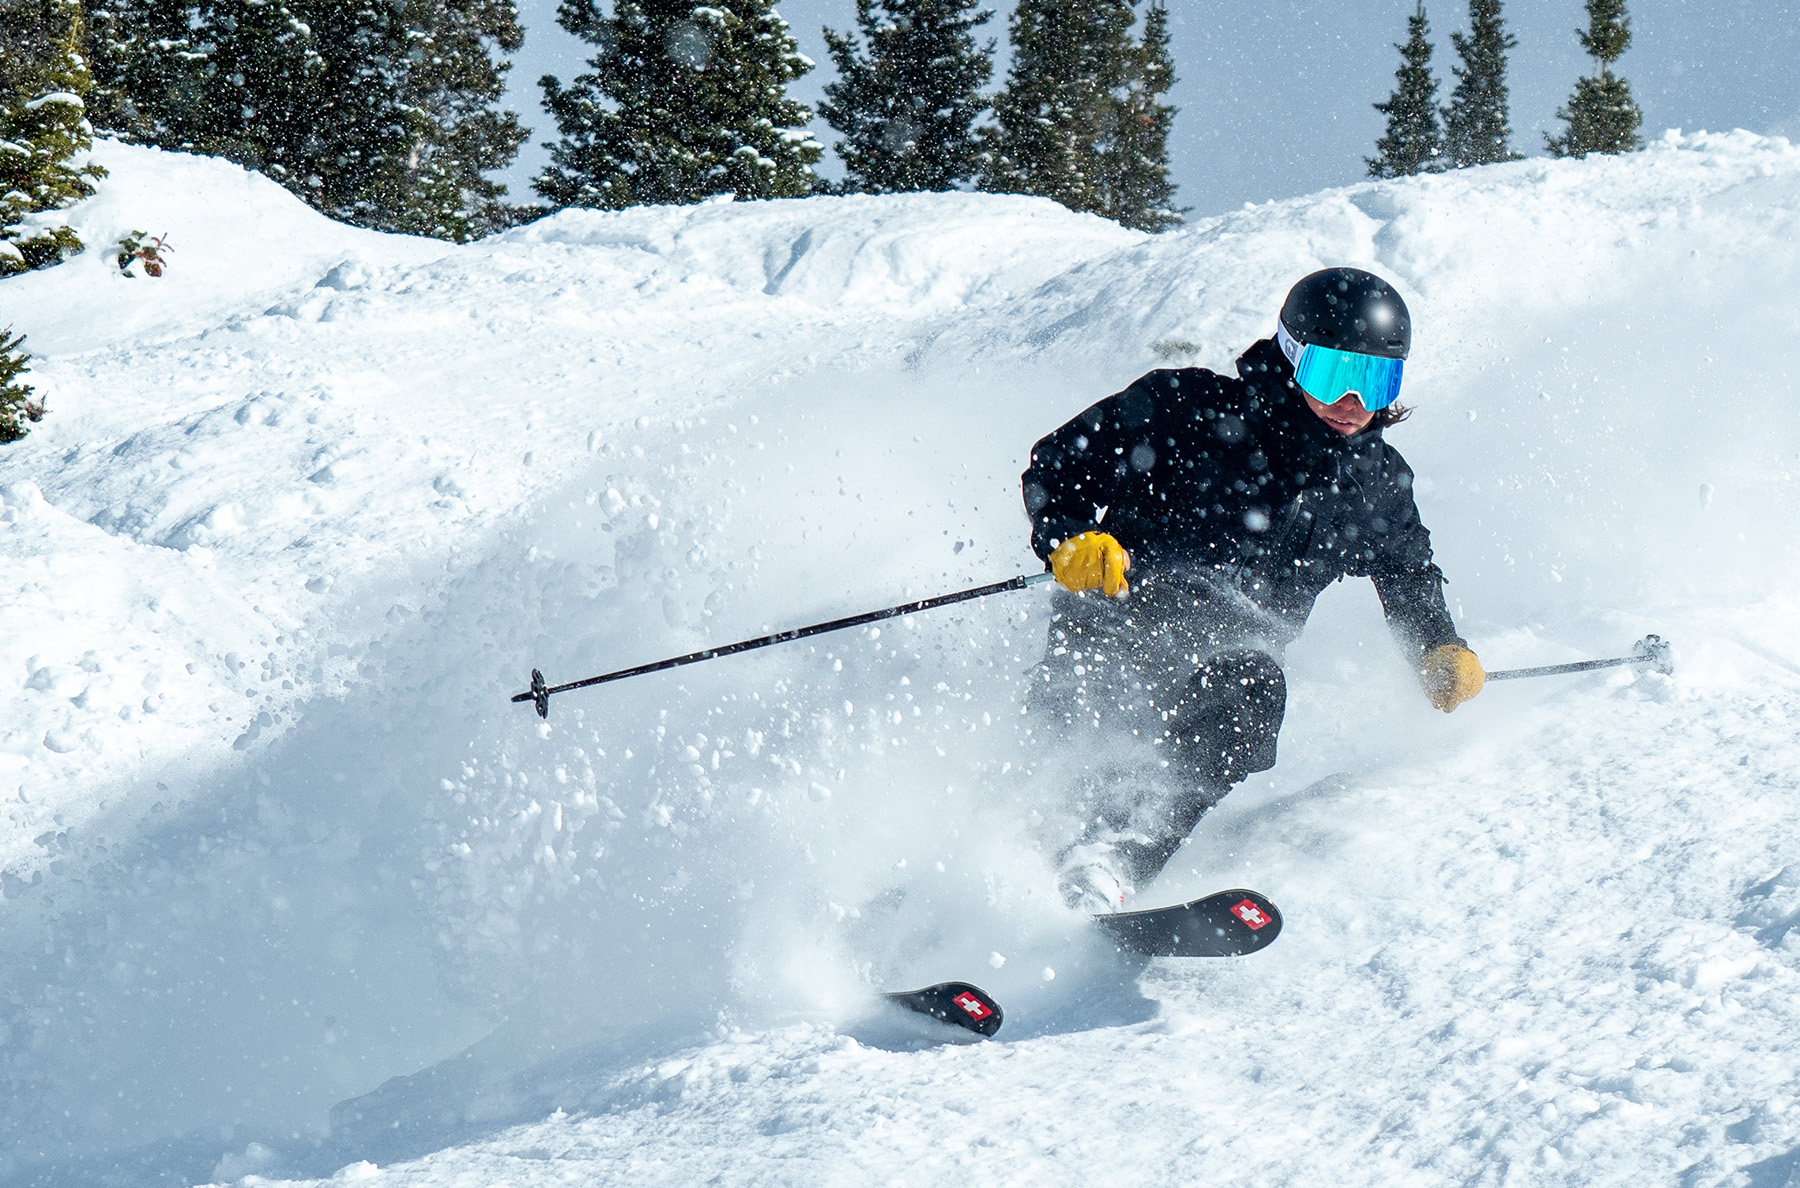
Glade’s Fathom series offers the same wide-range photochromic optics as their Adapt series, but the Fathom goggles feature a really quick and easy magnetic lens-swap system, and come with an extra low-light lens.
The standard Fathom features a cylindrical lens and has a frame shape that’s similarly wide vs. the Glade Adapt 2, but not quite as tall, making it pretty versatile in terms of fit.
The Fathom+ is Glade’s flagship model and features a very similar profile and fit to the standard Fathom, but the Fathom+ uses dual-curvature Toric lenses, which are designed to reduce distortion and improve field of view since they’re meant to mirror the shape / curvature of your eyes.
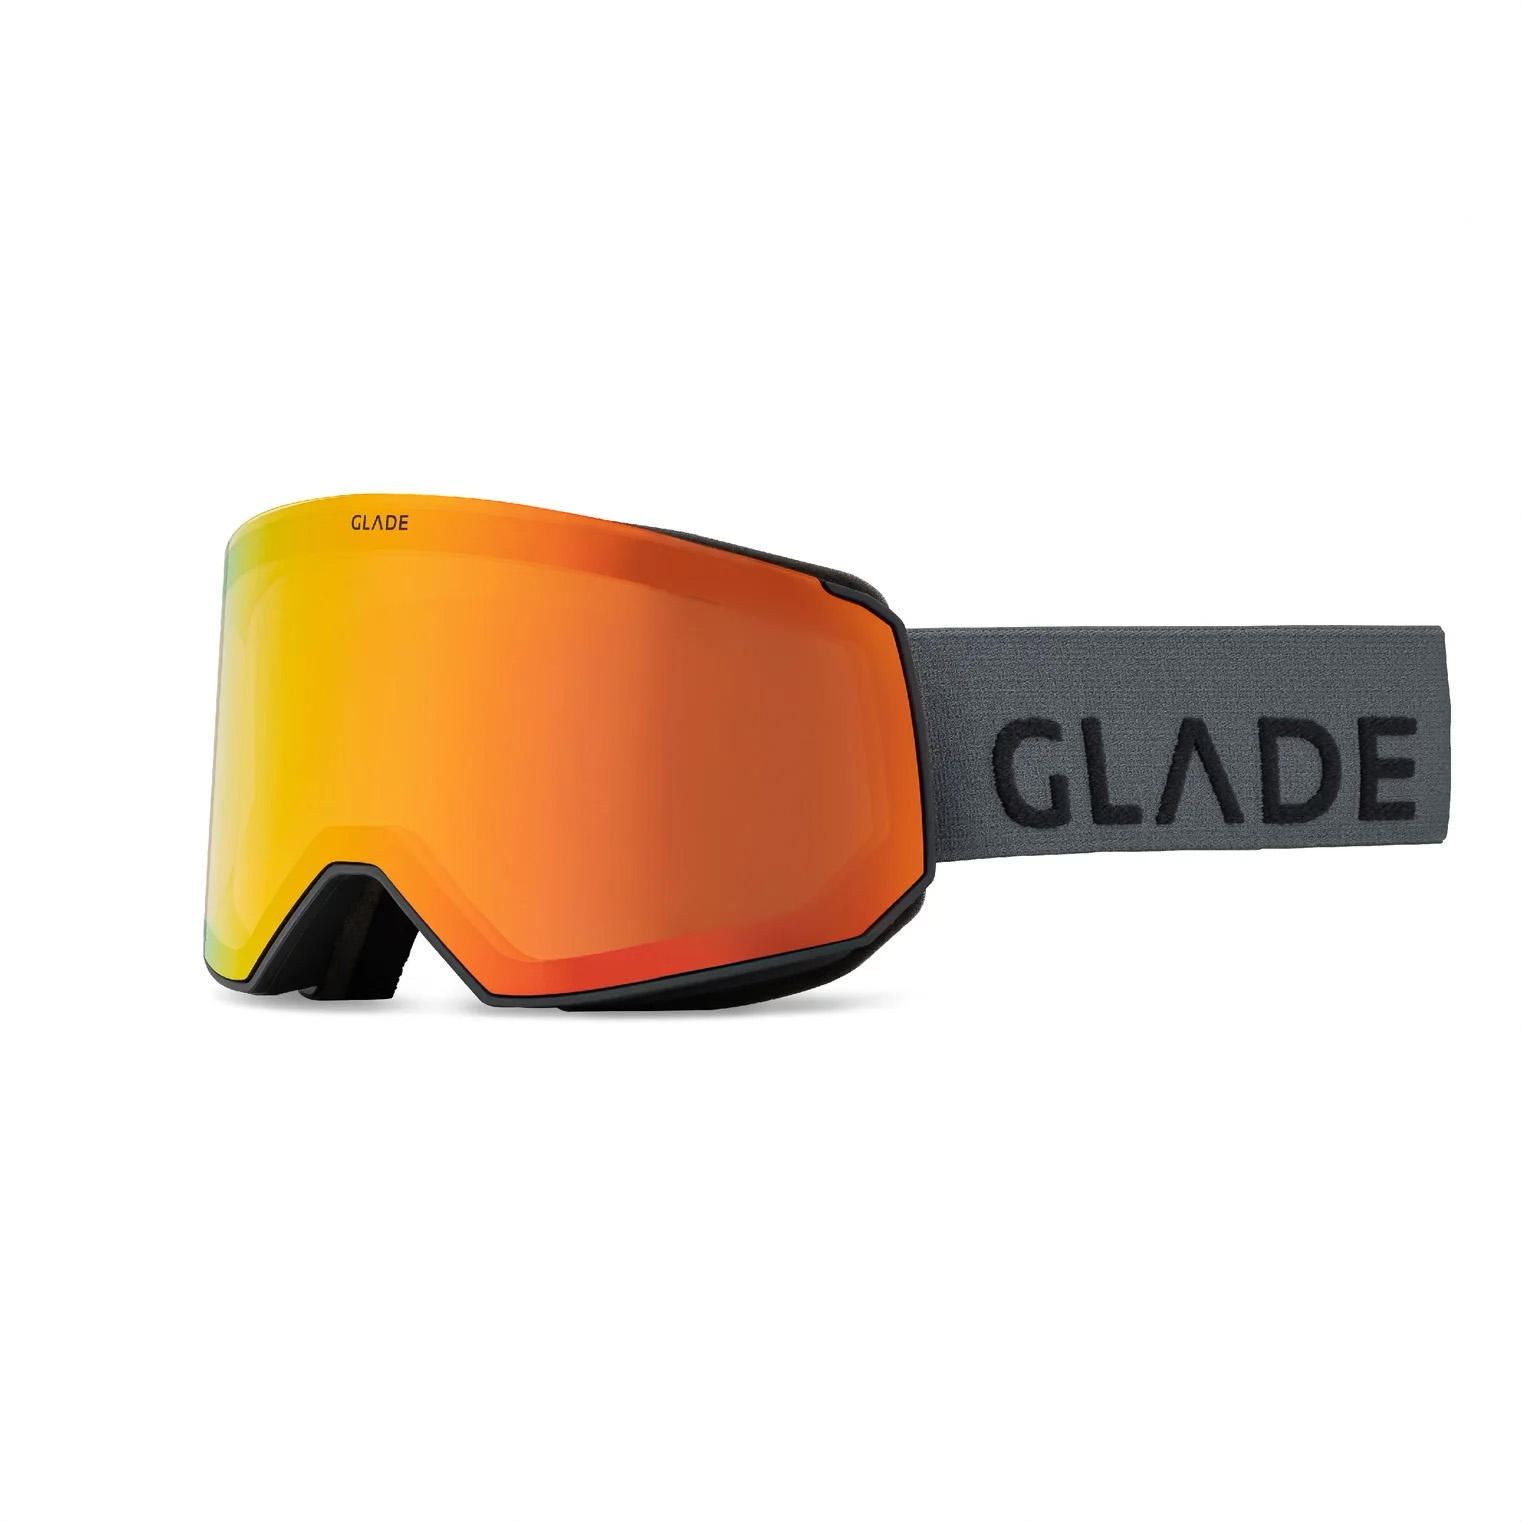
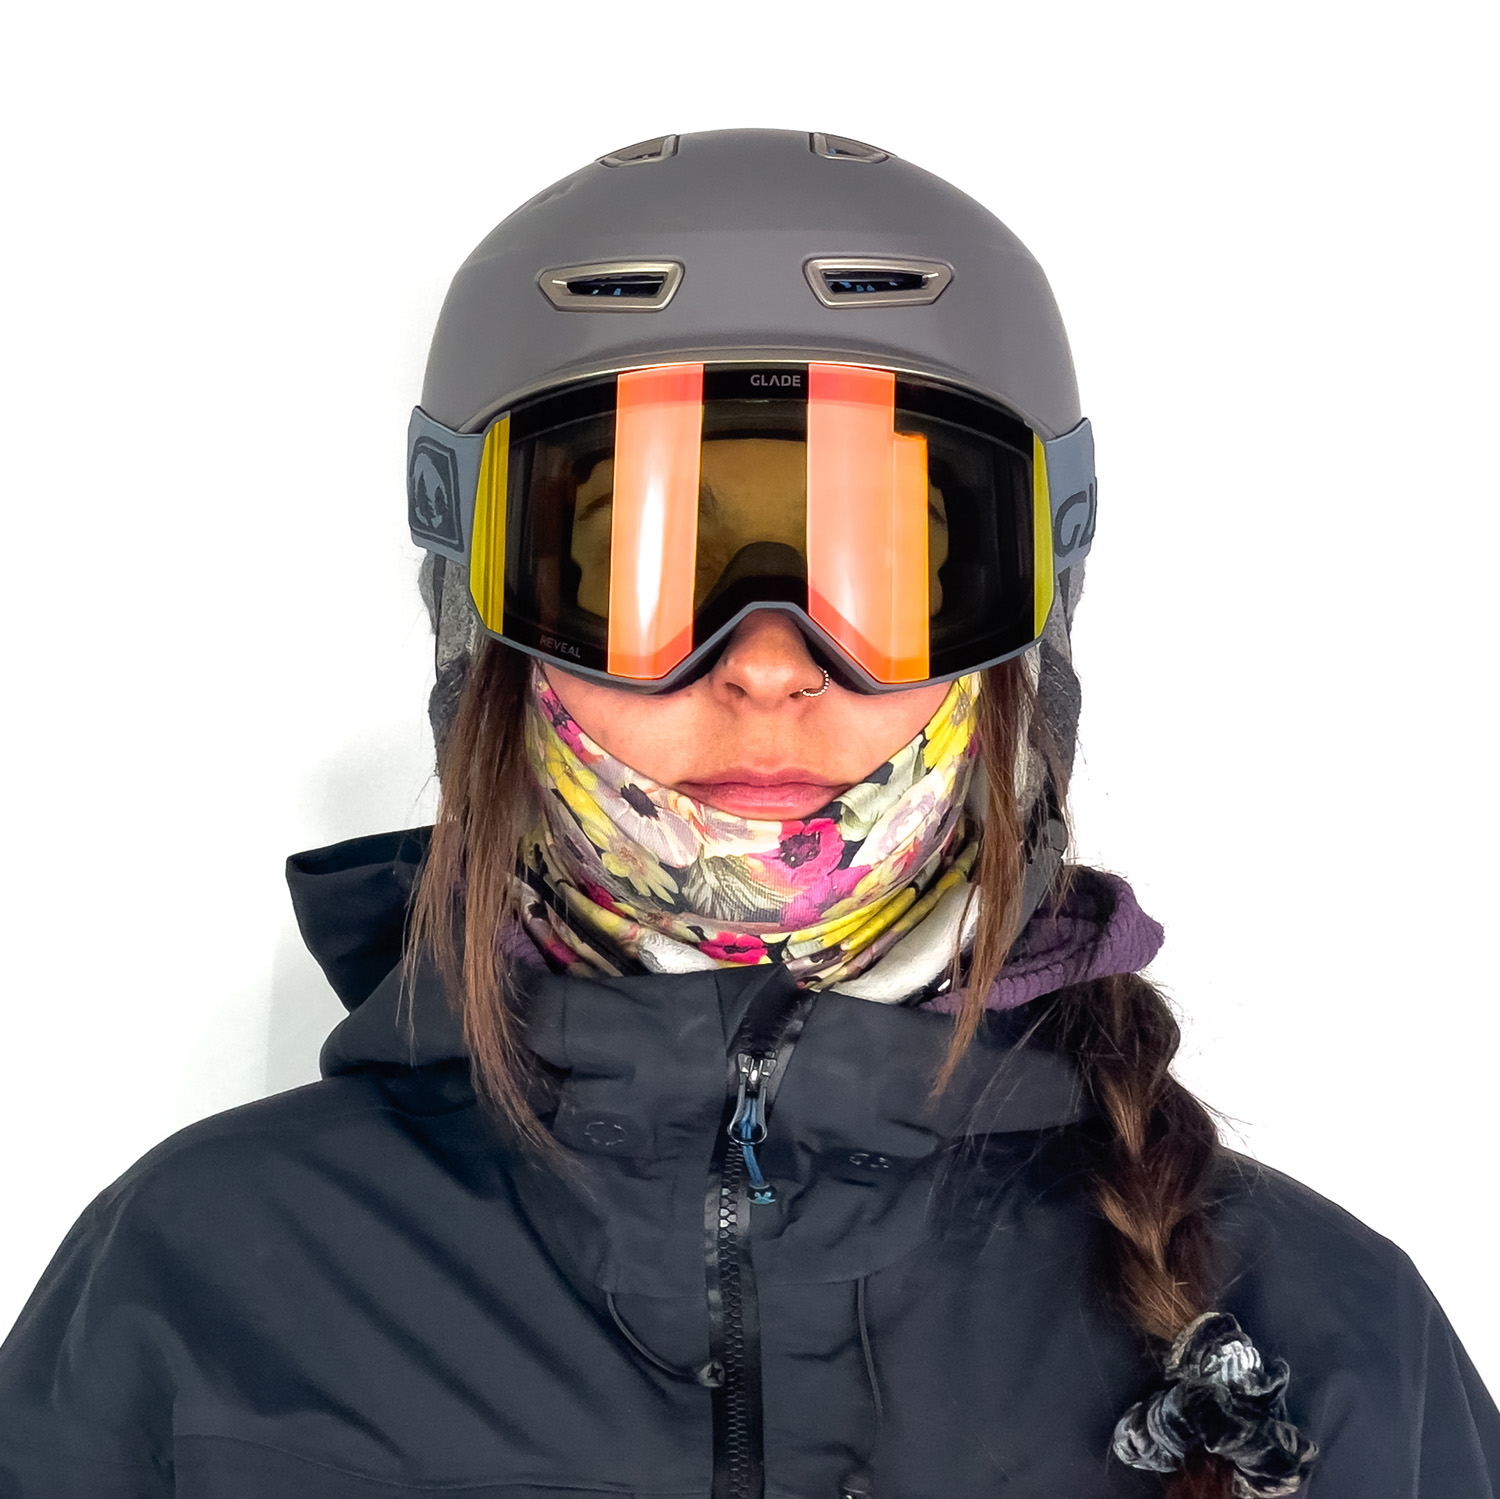
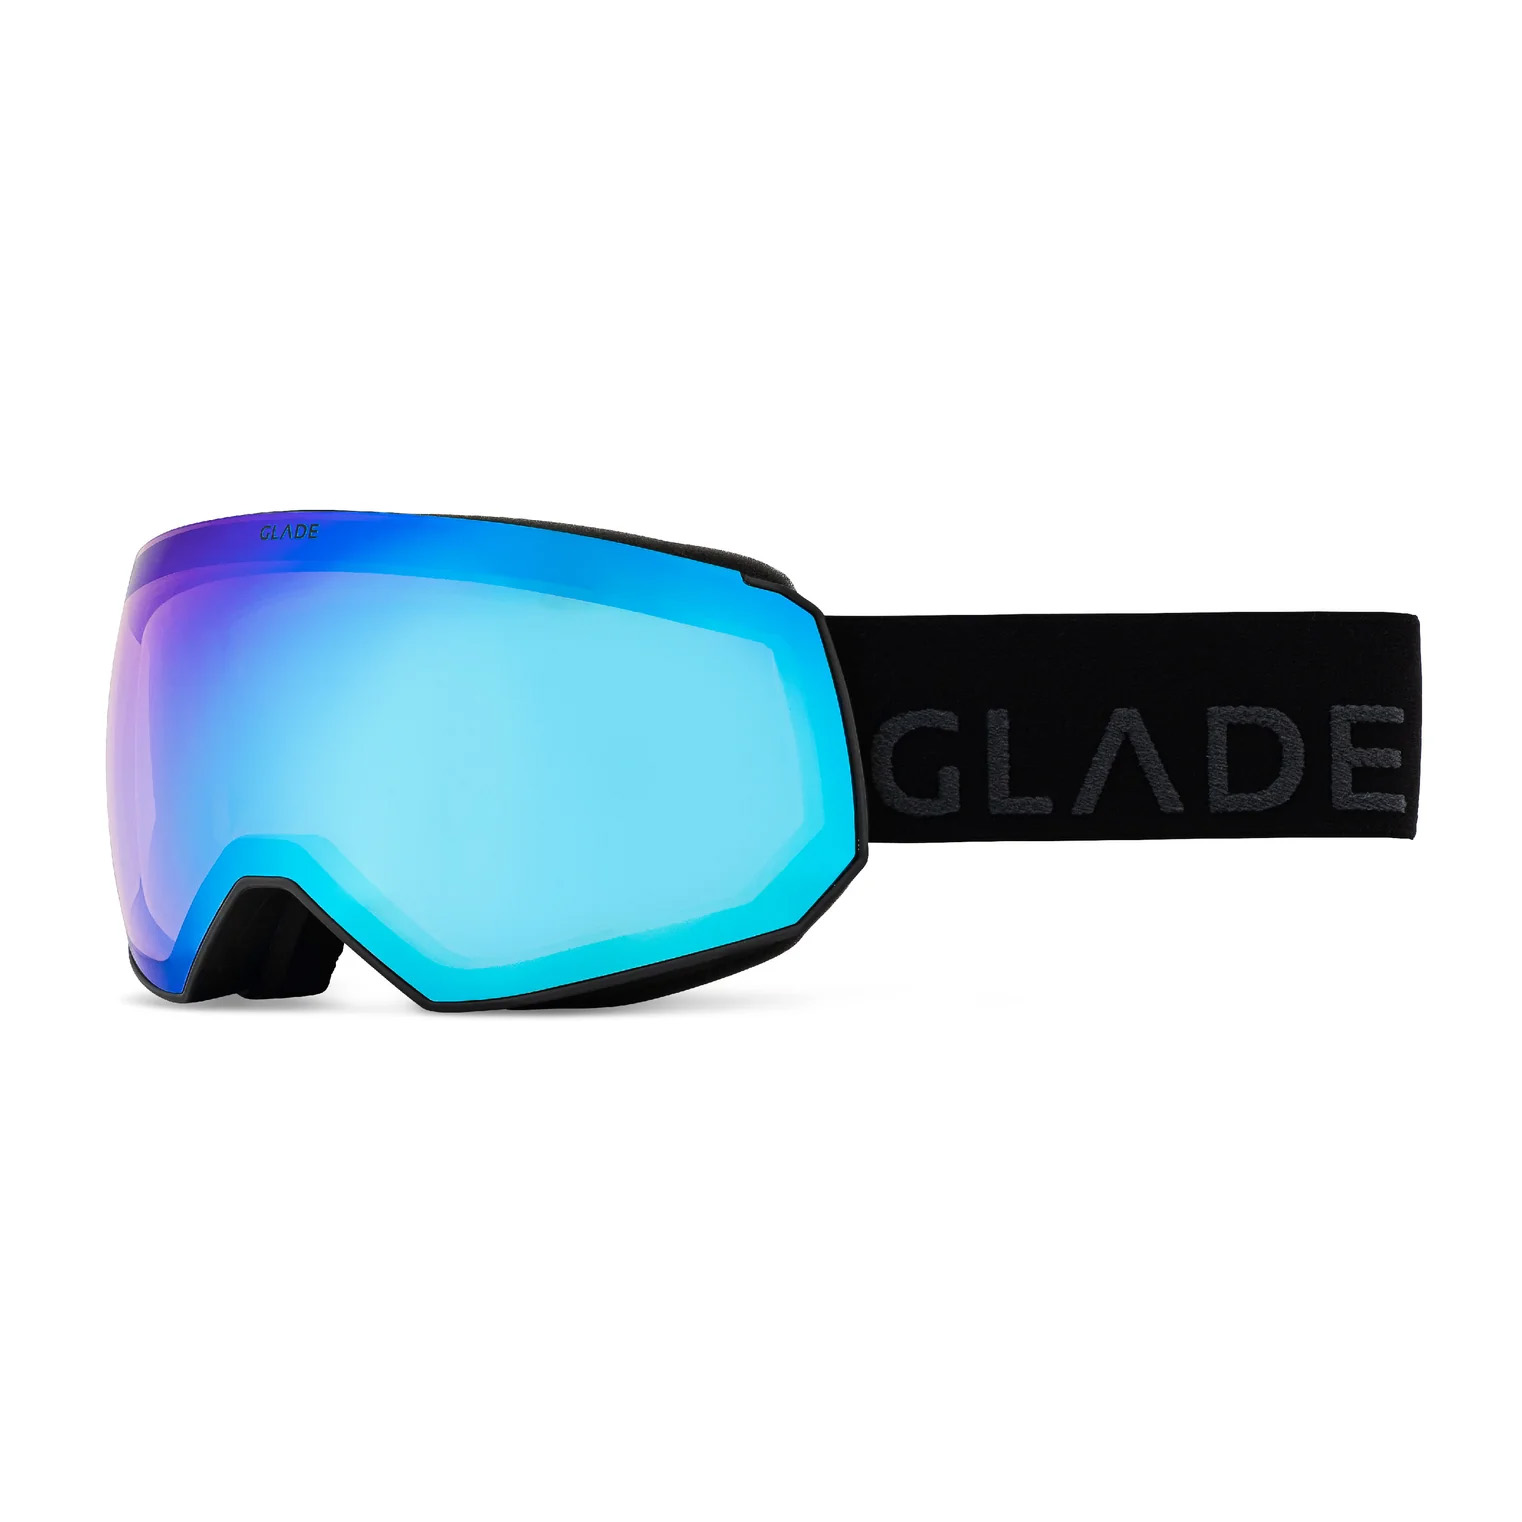
Just like the Glade Adapt series, the Fathom goggles’ photochromic lenses do an impressive job of performing well in a huge range of light conditions. But for those who frequently end up skiing in consistently low-light conditions, the Fathom and Fathom+ goggles’ dedicated low-light lenses do provide slightly better vision in those conditions. And it only takes a few seconds to swap between lenses, thanks to the simple magnetic system.
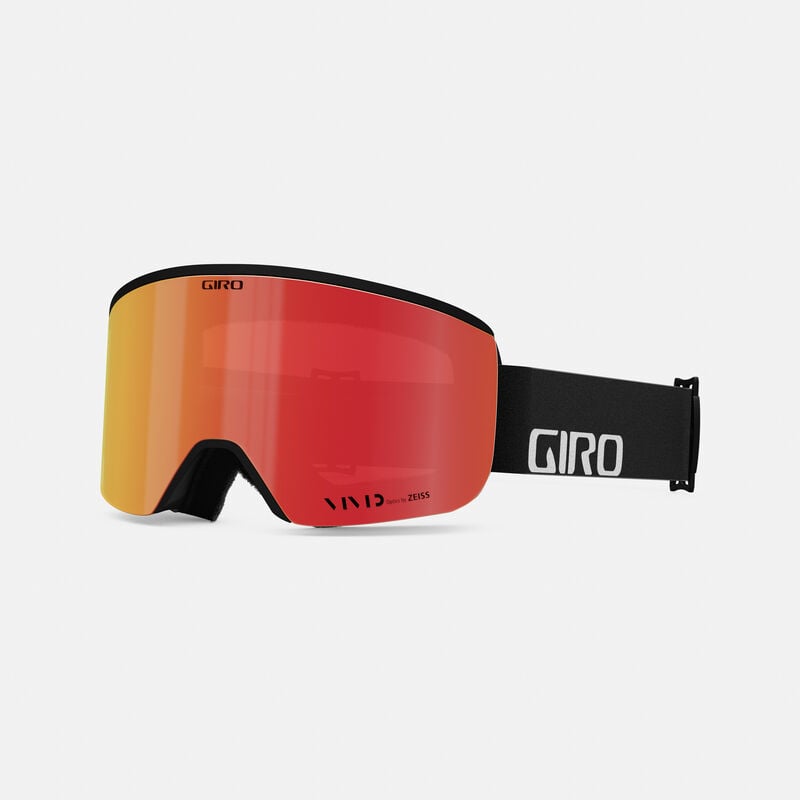
Giro Axis
MSRP: $190 (includes 2 VIVID lenses) | select models on sale for $142 as of publishing
Lenses Tested (VLT%): VIVID Ember (35%) & VIVID Infrared (58%)
Reviewer: Luke Koppa
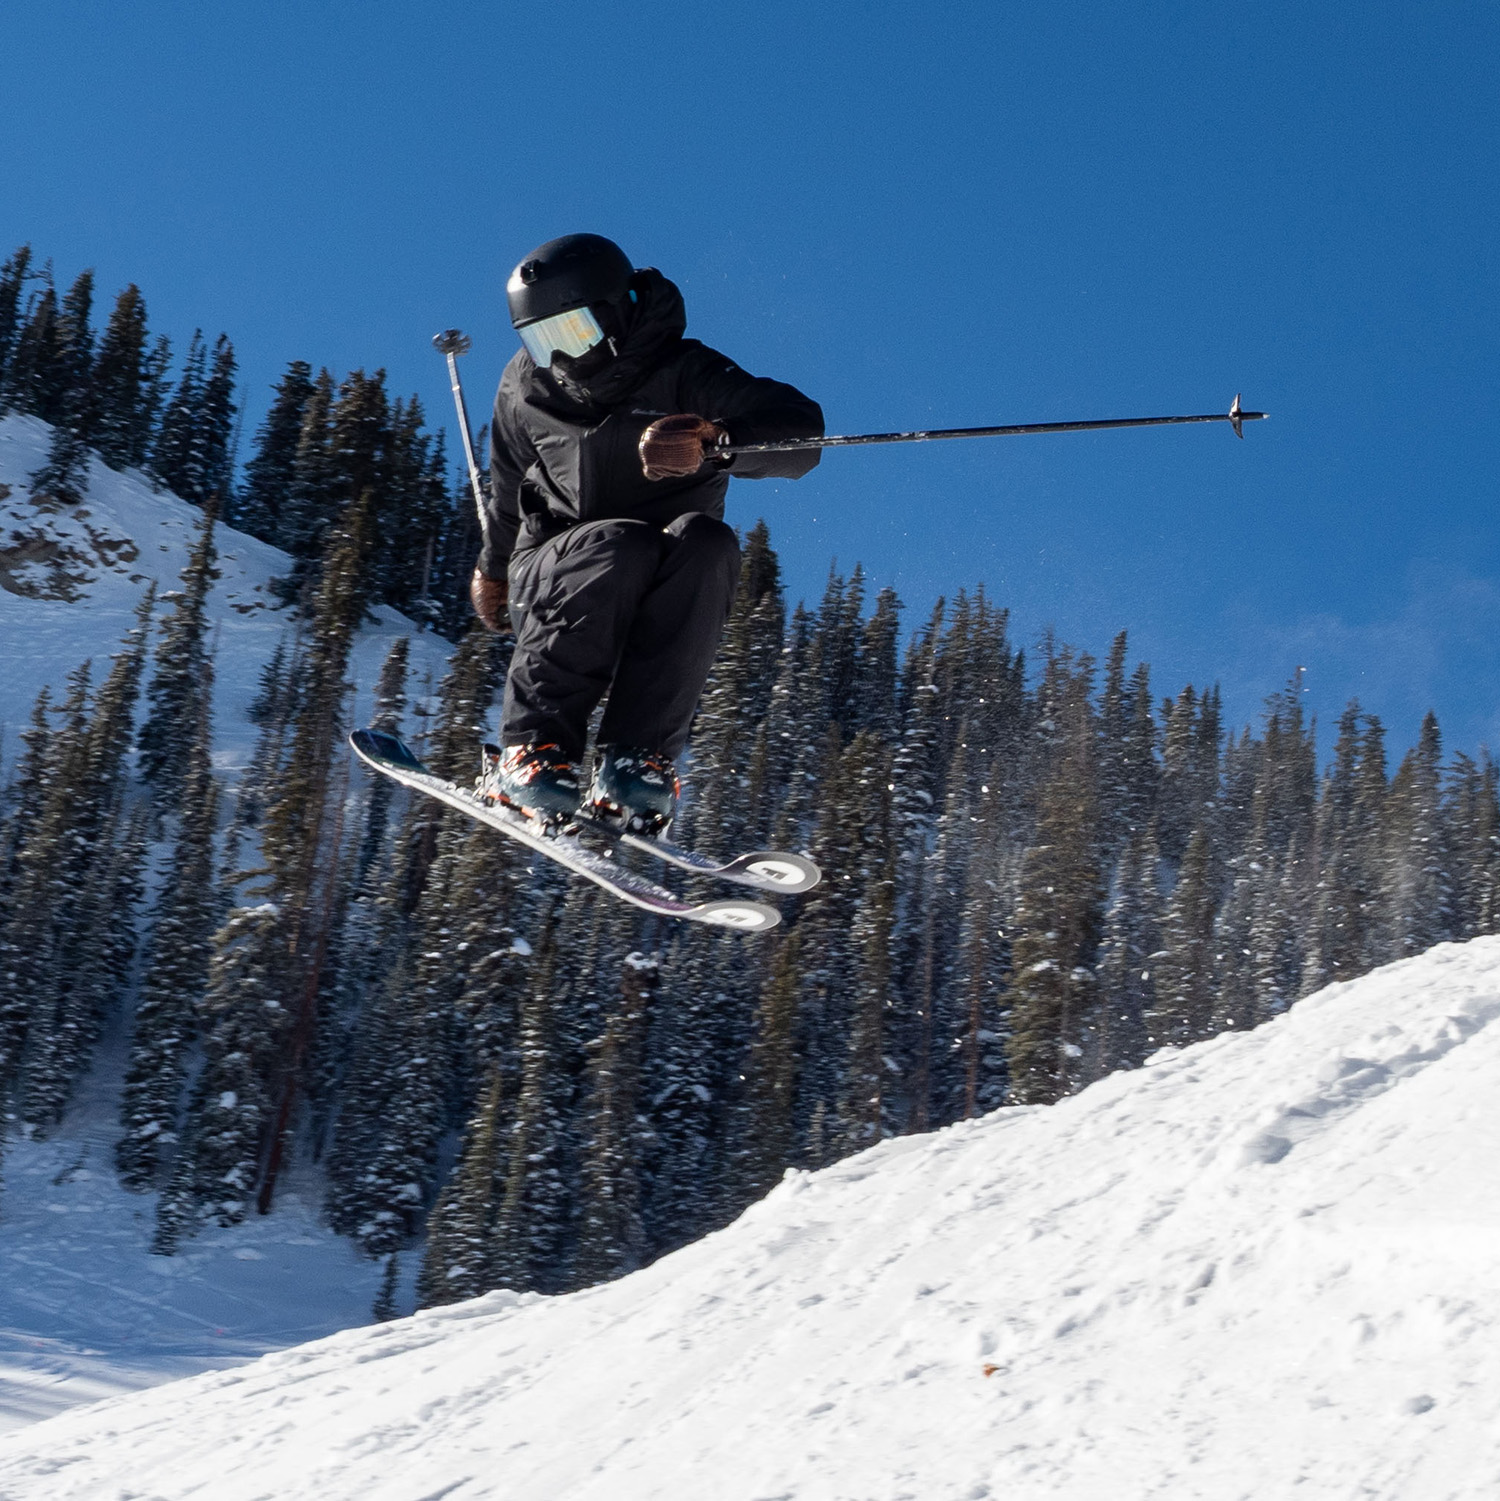
The Axis has long been a top pick of ours for folks who prioritize easy lens swapping but who don’t want to shell out $200+ to get that. The Axis features a series of magnets that help line up the lens when attaching it to the frame, and then you push the lens into the frame to further secure it via a series of little “snap pins.” This process isn’t quite as ultra-quick and easy to do with the goggle on your face as full-magnetic frames like the Anon M series or Glade Fathom, but it’s substantially easier than non-magnetic systems.
The Axis comes with two of Giro’s high-contrast VIVID lenses, which we’ve found to be pretty similar to most other brand’s “high-contrast” lenses — i.e., quite good. The Axis is a cylindrical goggle with what we’d call a “Medium Short” fit; it’s worked well for several of our reviewers and is a nice alternative to taller frames like the Giro Method and Anon Sync if those frames push down on your nose.
All in all, the Axis gets you a lot of high-end features and optics at a price that falls below many of the flagship options on the market, making it an easy goggle to recommend.
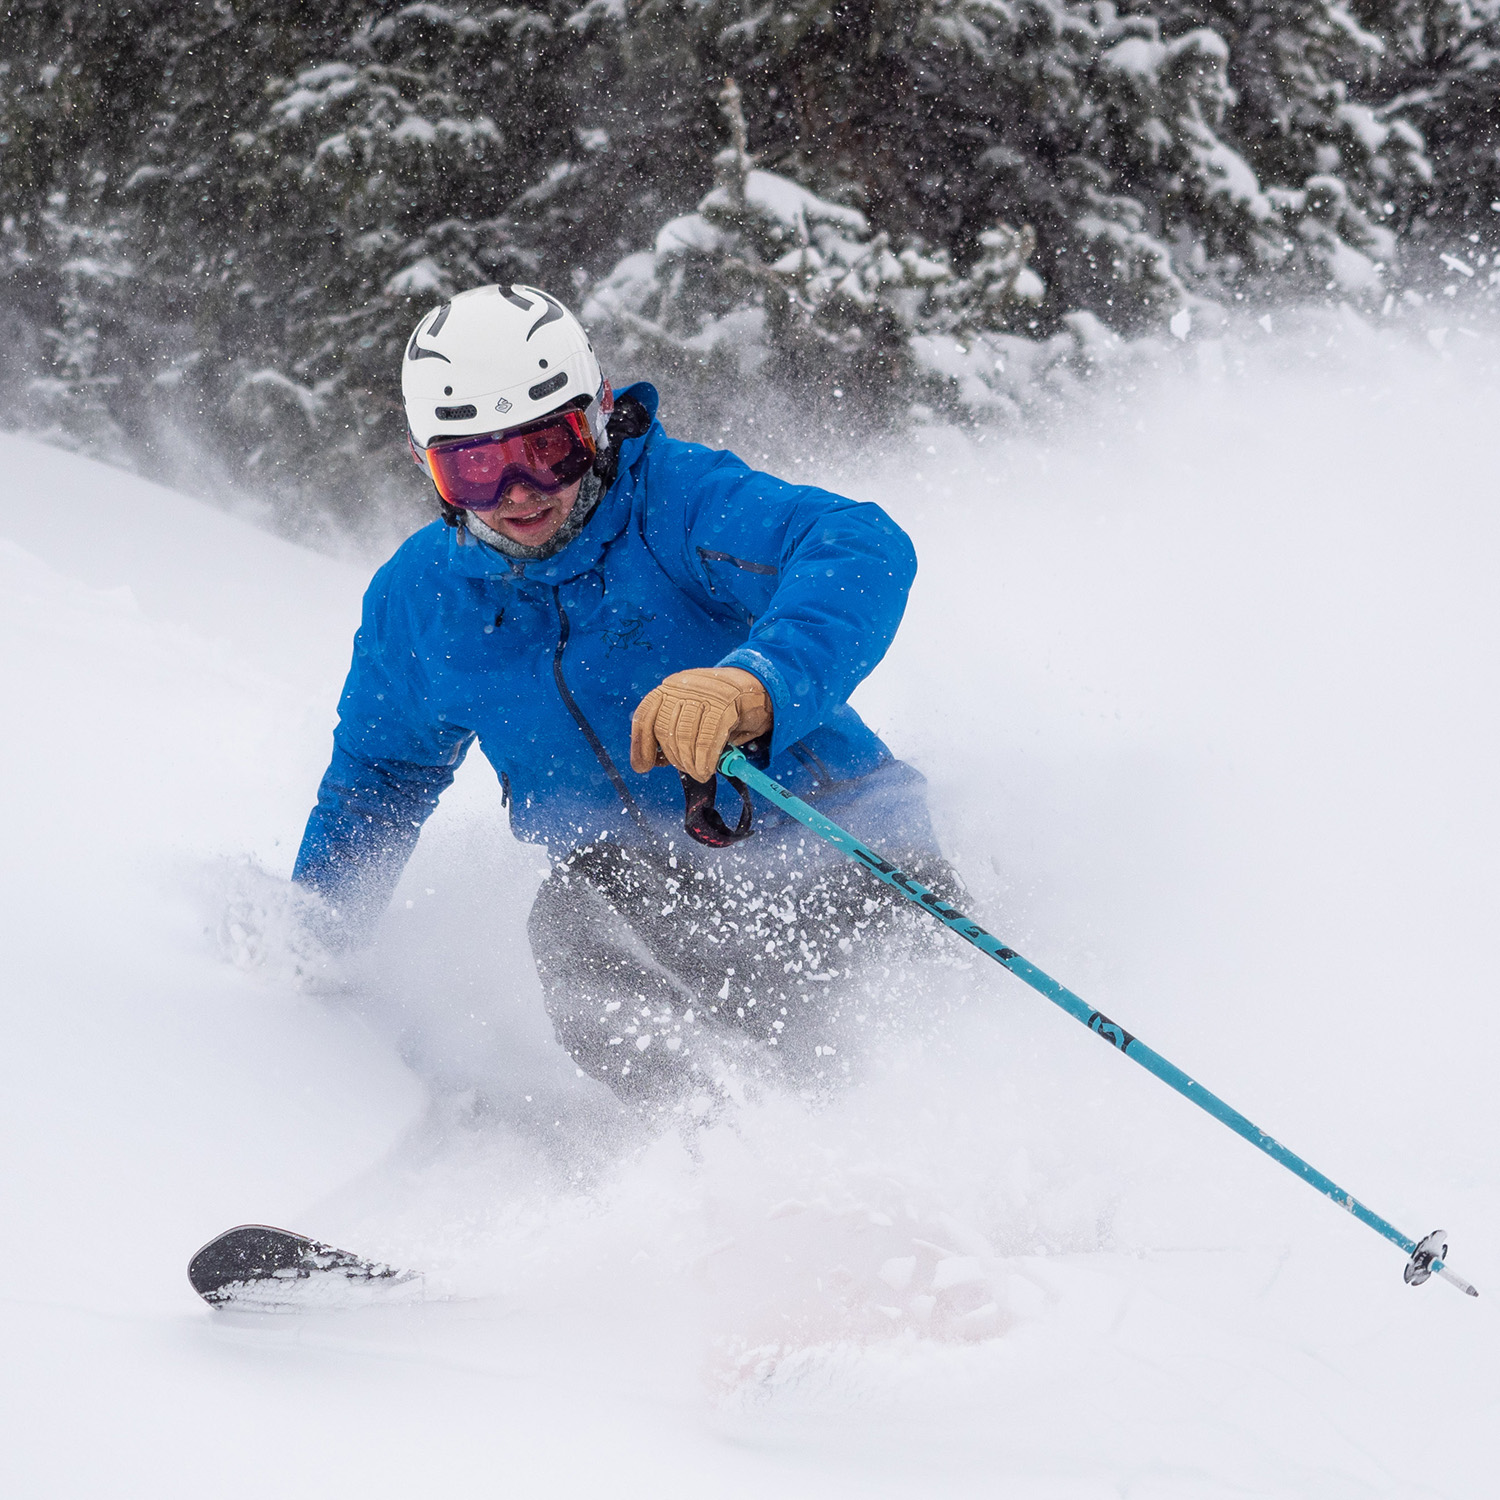
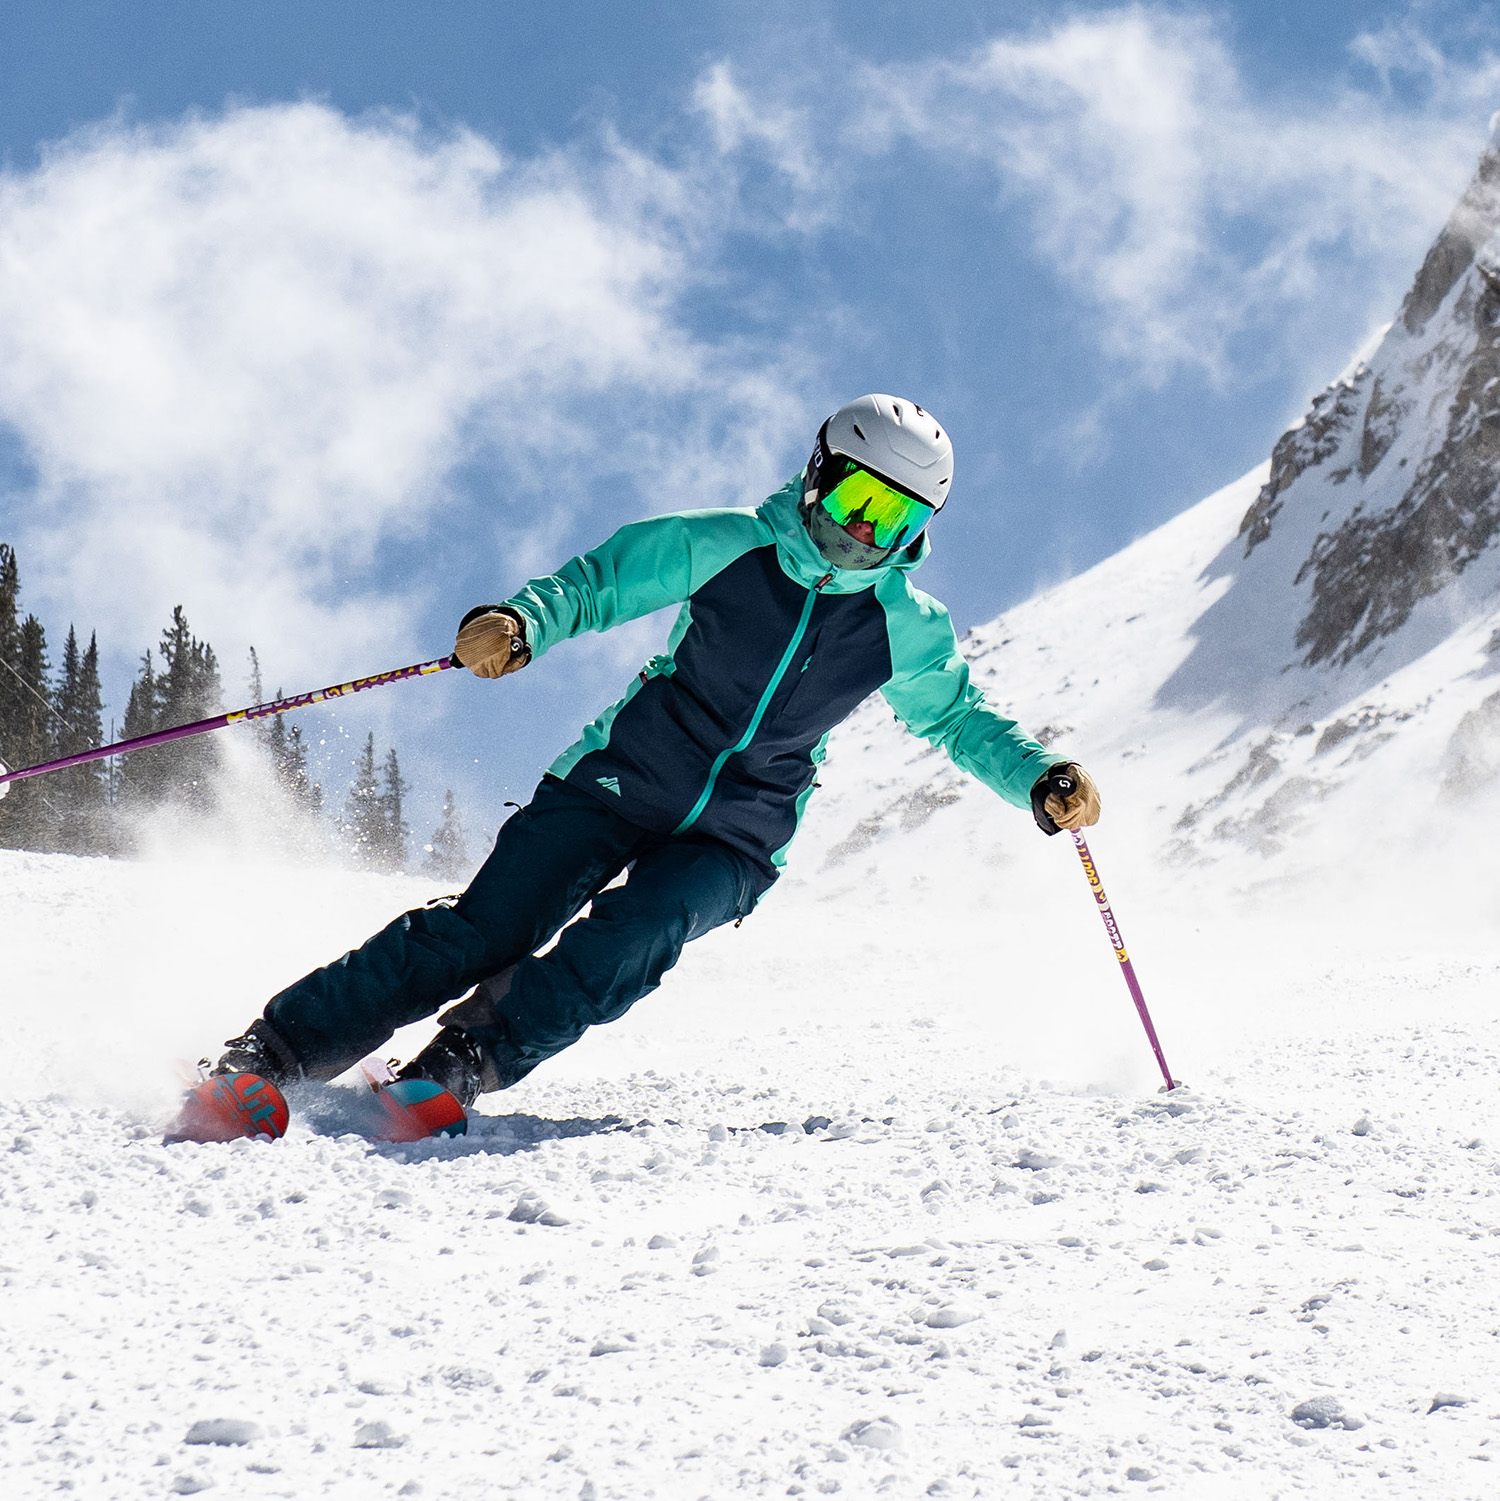
Giro Contour
MSRP: $270 (includes 2 VIVID lenses) | select models on sale for $202 as of publishing
Lenses Tested (VLT%): Toric VIVID Onyx (16%) & Toric VIVID Infrared (50%)
Reviewer: Dylan Wood, Sascha Anastas, & Luke Koppa
The Contour is Giro’s flagship model, bringing many of the features of the Giro Axis to a slightly larger frame with Toric lenses. Those two aspects combine to create a very broad field of view, despite the Contour not looking like a massive goggle.
The Contour comes with two of Giro’s very nice VIVID lenses and you can swap between them using Giro’s “Quick-Change Lens System.” This lines up the lens with the frame via several magnets, and then you fully snap it into place by pushing in four pins. Like the Axis, the Contour’s system lets you change lenses in a matter of seconds, and we haven’t had any issues with the lenses popping out accidentally.
We’ve also had very good experiences with all the Giro goggles here when it comes to avoiding fogging, aside from really hot, stationary situations (which tend to make just about any of the goggles we tested begin to fog up). If you prefer a Toric lens for the look and/or generous field of view, and you prioritize high-end optics and quick lens changes, the Contour is another worthy contender.
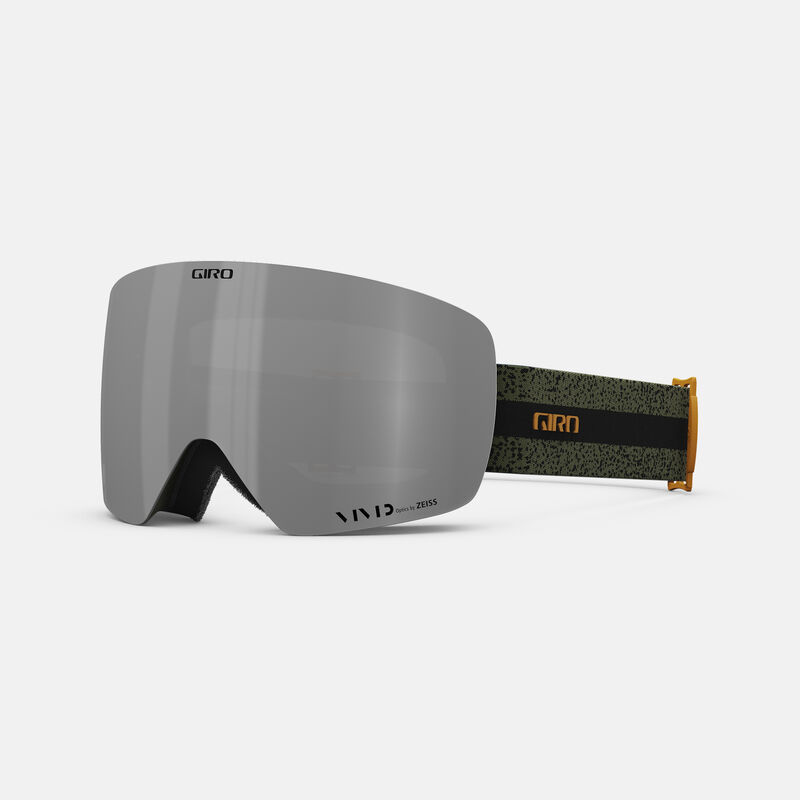
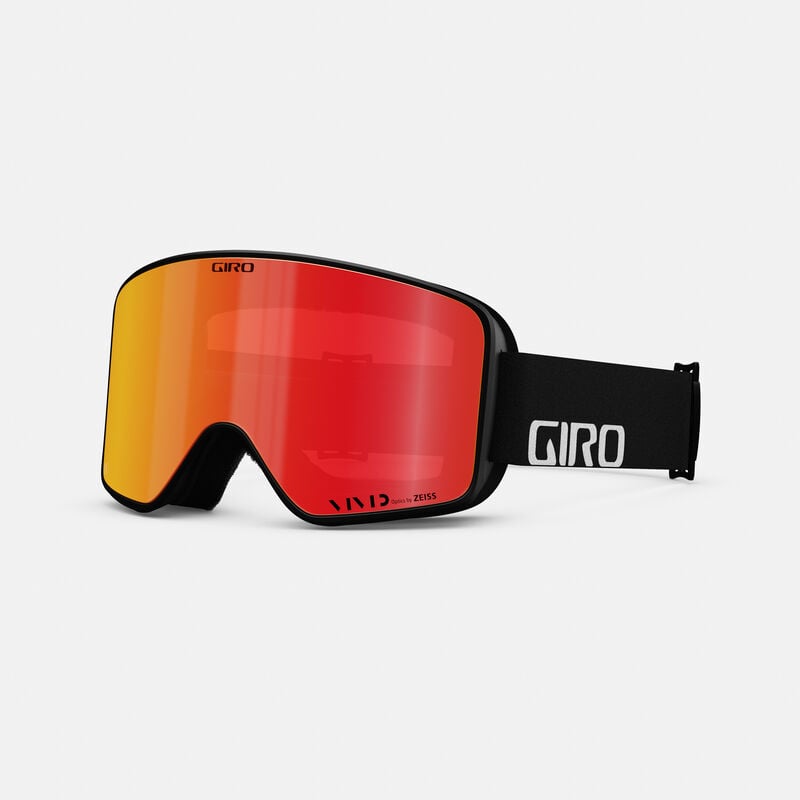
Giro Method
MSRP: $150 (includes 2 VIVID lenses) | select models on sale for $112 as of publishing
Lenses Tested (VLT%): VIVID Onyx (14% VLT), VIVID Ember (35% VLT), & VIVID Infrared (58% VLT)
Reviewer: Luke Koppa
The Method is one of Giro’s more budget-oriented models, but since it still gets you two of their high-contrast VIVID lenses, it makes for a nice value, at an MSRP of $150.
So, if you still get nice lenses, what do you lose, relative to pricier alternatives? Mostly, it comes down to changing between those lenses. The Method uses a simpler system, requiring that you line up hooks / protrusions on the lens with slots in the frame in order to lock everything into place. It still only takes a minute or two, especially once you’ve done it a few times, but it’s notably less quick and easy than magnetic-based systems. And, while the Method’s near-frameless lens style makes for a very nice lens-to-frame seal once situated, it does make it a bit trickier to remove and attach the lens without getting some smudges on the lens.
As for fit, the Method is a fairly large goggle, being taller than the Giro Axis, but it’s not as big as, say, the Anon M4 or Pit Viper Proform. Overall, the Method is a great option if you like having two high-contrast lenses that you can swap between depending on the day, but you’d rather save some dough than be able to change those lenses as quickly and easily as possible.

Julbo Cyrius
MSRP: $240 (includes 1 REACTIV photochromic lens) | select models on sale for $187 as of publishing
Lenses Tested (VLT%): REACTIV 1-3 High Contrast (17–75%)
Reviewer: Jonathan Ellsworth
Julbo is one of the primary brands that has been implementing and evolving photochromic technology for many years now, and their latest REACTIV goggles are really impressive.
Available in several different variations, the REACTIV lenses are far quicker to change tint and effectively cover a broader range of light conditions than the photochromic lenses of old. We found Julbo’s “REACTIV 1-3 High Contrast” lens to be extremely versatile, and it makes a strong case for “one lens to rule them all.”
The Cyrius is one of Julbo’s larger cylindrical frames and offers a wide field of view, though it should fit most “medium” faces. All of this doesn’t come cheap, but true to their name, the “High Contrast” versions of Julbo’s REACTIV lenses do seem to be a slight step above most other photochromic lenses we’ve used in terms of boosting contrast and clarity (especially in low-light conditions).
For similar features in a smaller fit, see Julbo’s Cyclon; for a larger alternative, check out their Razor Edge.


Pit Viper French Fry
Pit Viper has dipped their proverbial toes into the goggle market in the past, but this season, they started offering multiple models. The French Fry is the most affordable of the bunch, with $70 getting you a single lens in either a size Small or size Large cylindrical frame.
We’ve been testing the size Large, which is still a bit smaller than Pit Viper’s higher-end Proform goggle, and should work for a lot of face sizes (the size Small French Fry would likely be one of the smaller goggles in this roundup).
As you’d expect from this price point, the French Fry is pretty bare bones, but it definitely comes in some of the most eye-catching colorways, and it seems like a solid value for the money. We’ve found the face foam to be comfortable and it does a good job of venting.
The Smoke lens we’ve been using is a solid option for bluebird and slightly mixed-light conditions, but we’d recommend adding the optional clear lens for an additional $20 if you end up in a lot of low-light situations. If you do that and need to swap lenses, the French Fry features a traditional system where you line up hooks on the lens with slots on the frame — not quick compared to magnetic options like the Proform, but plenty doable.

Pit Viper Proform
MSRP: $150 (includes 2 lenses)
Lenses Tested (VLT%): Pink Revo (12%) & Yellow Snow (64%)
Reviewer: Luke Koppa
The Proform is Pit Viper’s highest-end goggle, coming with two lenses that can be easily swapped via its fully magnetic system — it’s as simple as grabbing the lens, yanking it out, and slapping a new one on in its place. This system has worked great in our time with the Proform, though, especially when the goggle is new and the strap is a bit less elastic (as with the case with most goggles), we have occasionally separated the lens from the from when yanking it up over our helmet.
Some of the more expensive alternatives offer slightly better contrast than the Pit Viper lenses, but this difference is pretty subtle unless you’re quickly switching between goggles. The Proform’s “Pink Revo” lens has been great for sunny days, while its “Yellow Snow” low-light lens is a pretty solid option for overcast conditions.
As for fit, the Proform is a pretty big frame, particularly in terms of height — its overall size is similar to the Anon M4. But we’ve had reviewers who wear Medium and Large helmets achieve a good fit with it.

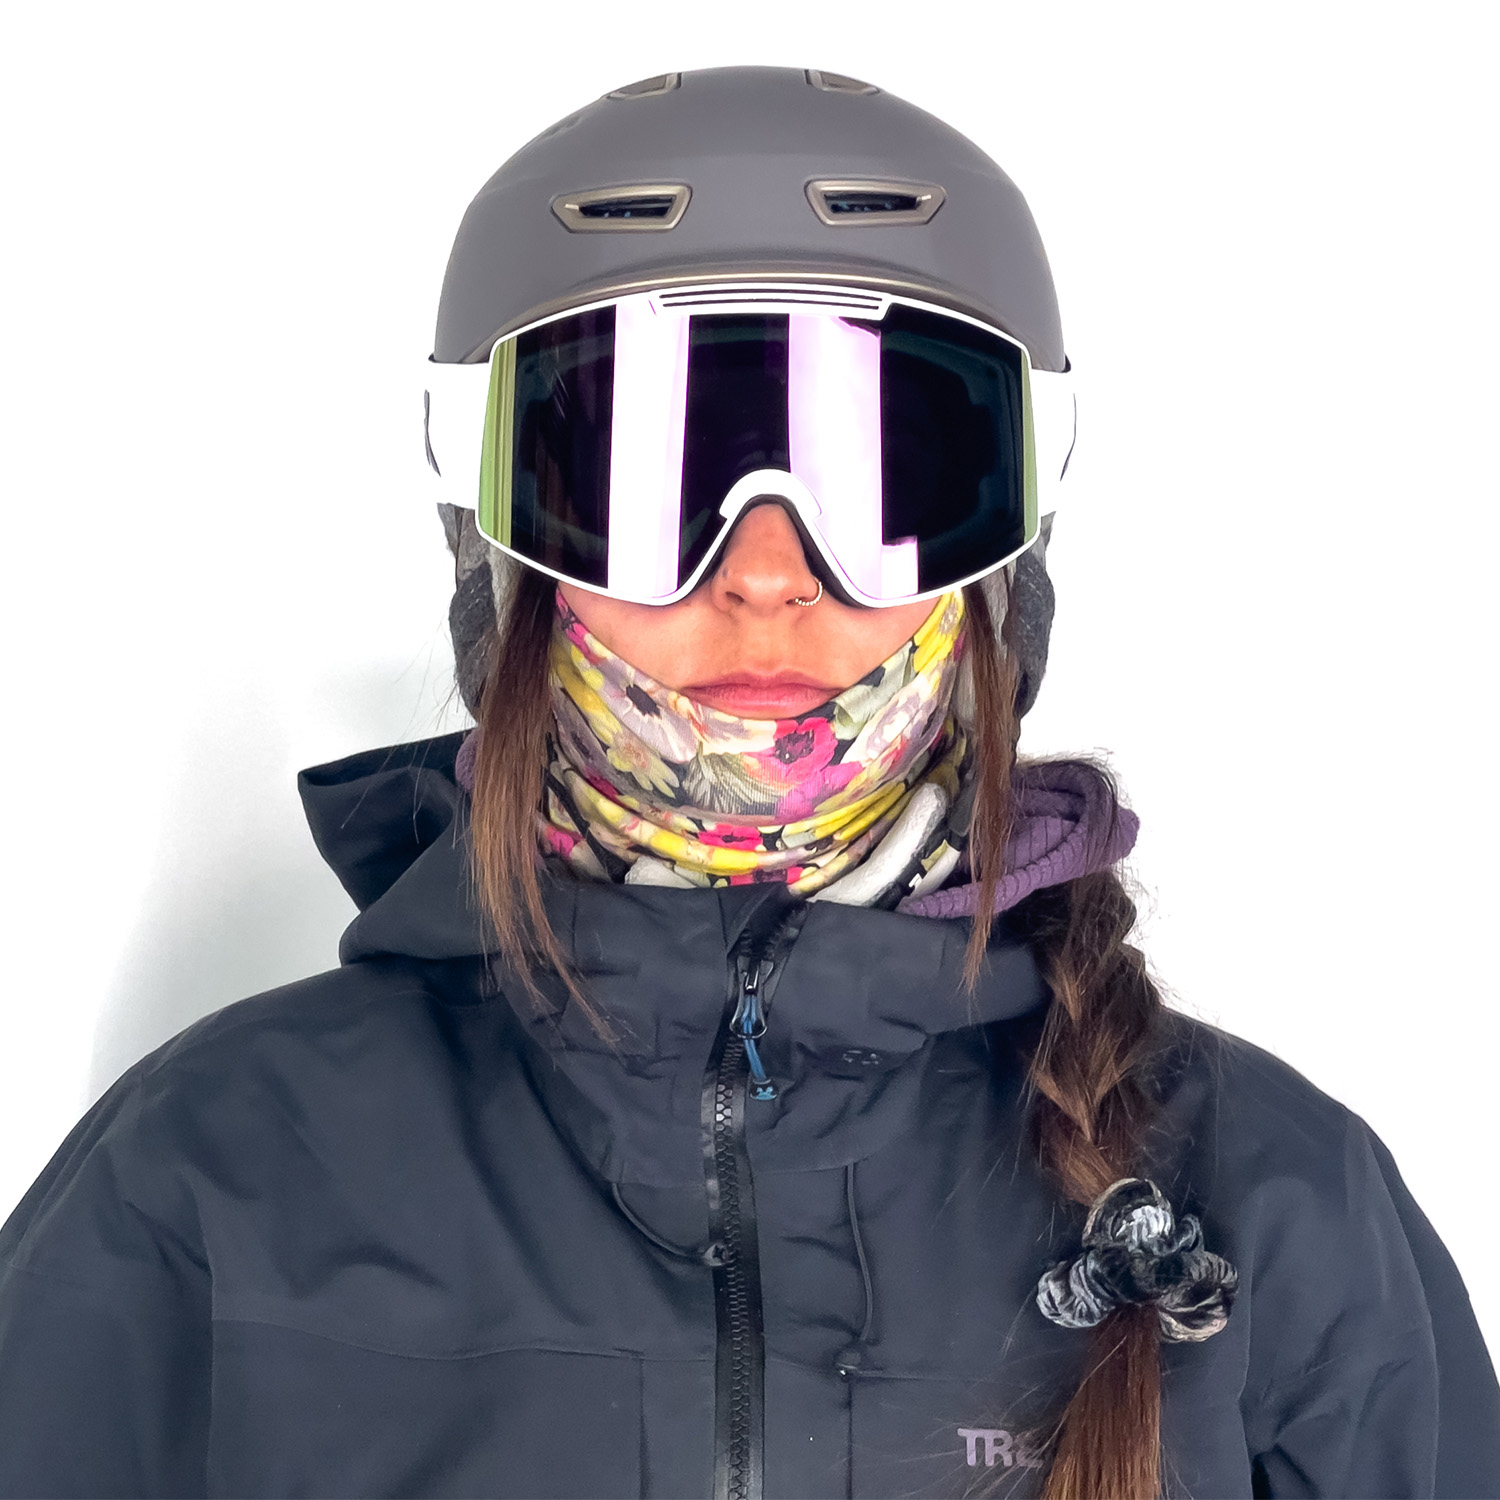
If you want a broad-coverage cylindrical goggle with a super quick lens-change system at a great price, the Proform warrants a close look.
It’s also worth mentioning some of Pit Viper’s non-goggle eyewear — we’ve been spending a lot of time this season ski touring in their Try Hard and Synthesizer glasses, the latter of which is a bit of a glasses / goggle hybrid, due to its removable face foam. You can read more about our thoughts on those in the January edition of our Stuff We Like series.
POC Retina Big Clarity Comp
MSRP: $210 (includes 2 Clarity Comp lenses) | select models on sale for $126 as of publishing
Lenses Tested (VLT%): Clarity Comp Spektris Blue (22%) & Clarity Comp No Mirror (49%)
Reviewer: Mark Danielson
The Retina Big Clarity Comp goggle provides crisp optics with great contrast and an exceptionally large field of view.
The tall and wide cylindrical lens is pretty typical these days, but what might be a bit less common is the overall look of the very rounded contours of this extra-large frame. I (Mark Danielson) found that those frame contours fit great with all 3 helmets that I tried (2 helmets by Giro and 1 by Pret).
The Retina Big Clarity Comp’s plush triple-layer face foam and fleece have delivered a comfortable yet snug cushion on my face, and the frame seems to have just enough flex to conform to a variety of individual facial features.
While skiing, I often breathe very hard, and not once did fogging ever become an issue in this frame. At most, sometimes I’d notice a very brief pulse of slight fogging on the outer surface of the lens, but it would evaporate immediately within a quarter of a second, so it did not affect my skiing experience at all.

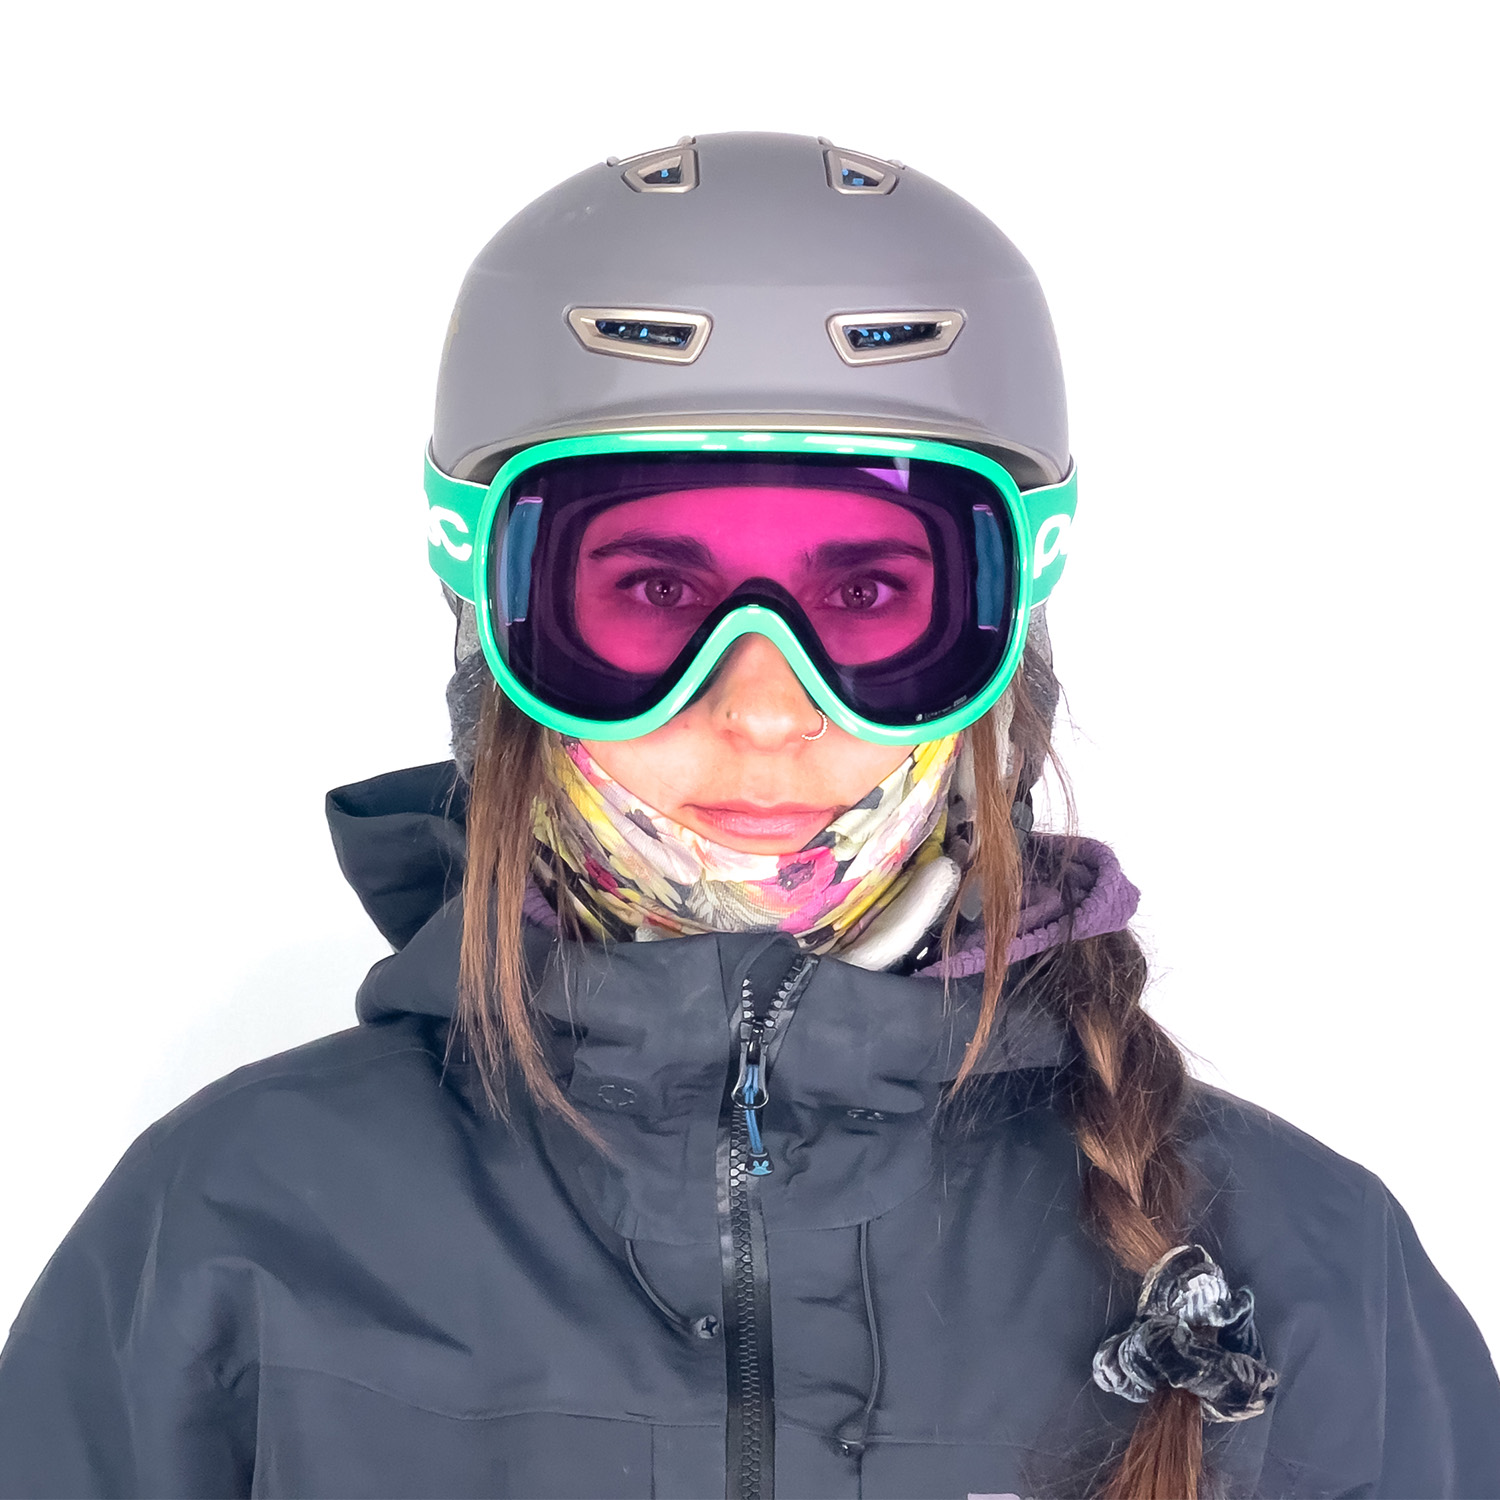
I have been impressed with the clarity and contrast of both the Clarity Comp Spektris Blue lens and the Clarity Comp No Mirror low-light lens, which POC made in partnership with Carl Zeiss. I enjoyed the optics while using the appropriate lens in a variety of conditions, from bright sun to flat light. Swapping lenses is not nearly as quick as magnetic models, but I find it to be pretty easy when I simply take the time to sit down, focus, and make the swap.
Interestingly, POC claims that the “Comp” model is optimized for premium vision, clarity, and contrast for shorter intense periods of use during competition events, and apparently not intended for all-day use. However, I wore it all day many times and never experienced any eye-strain issues, and POC claims this goggle does indeed include complete UV protection. That said, POC also offers a non-Comp version of this goggle simply called the “Retina Big Clarity.”
Overall, the Retina Big Clarity Comp could be a good match for people who prioritize sharp clarity and contrast; who like an exceptionally large field of view; enjoy the look of its rounded frame contours; who don’t require the quickest lens swapping — and/or who also just like to put on a goggle and forget about it (because it’s doing its job so well that you might not even notice it).

Scott LCG Evo
MSRP: $200 (includes 1 Enhancer or Solar lens, & 1 Illuminator lens)
Lenses Tested (VLT%): Spherical Enhancer Green Chrome (32%) & Spherical Illuminator Blue Chrome (55%)
Reviewer: Luke Koppa
The LCG Evo is a solid all-round option for folks who want a spherical goggle with a “Medium” fit, two high-end lenses, and that lets you swap between them pretty easily.
This frame uses a slider on the side that, when moved to the “open” setting, raises the lens so that you can grab it without getting a bunch of smudges on the front. The process isn’t quite as straightforward as most magnet-based systems, but it still typically only takes a matter of seconds, not minutes.
We’ve found Scott’s “Amplifier” lenses to be competitive against other brand’s high-contrast lenses. Scott further breaks down their lens naming scheme into “Solar” (Cat S3 / bright light), “Enhancer” (Cat S2 / mixed light), and “Illuminator (Cat S1 / low-light).

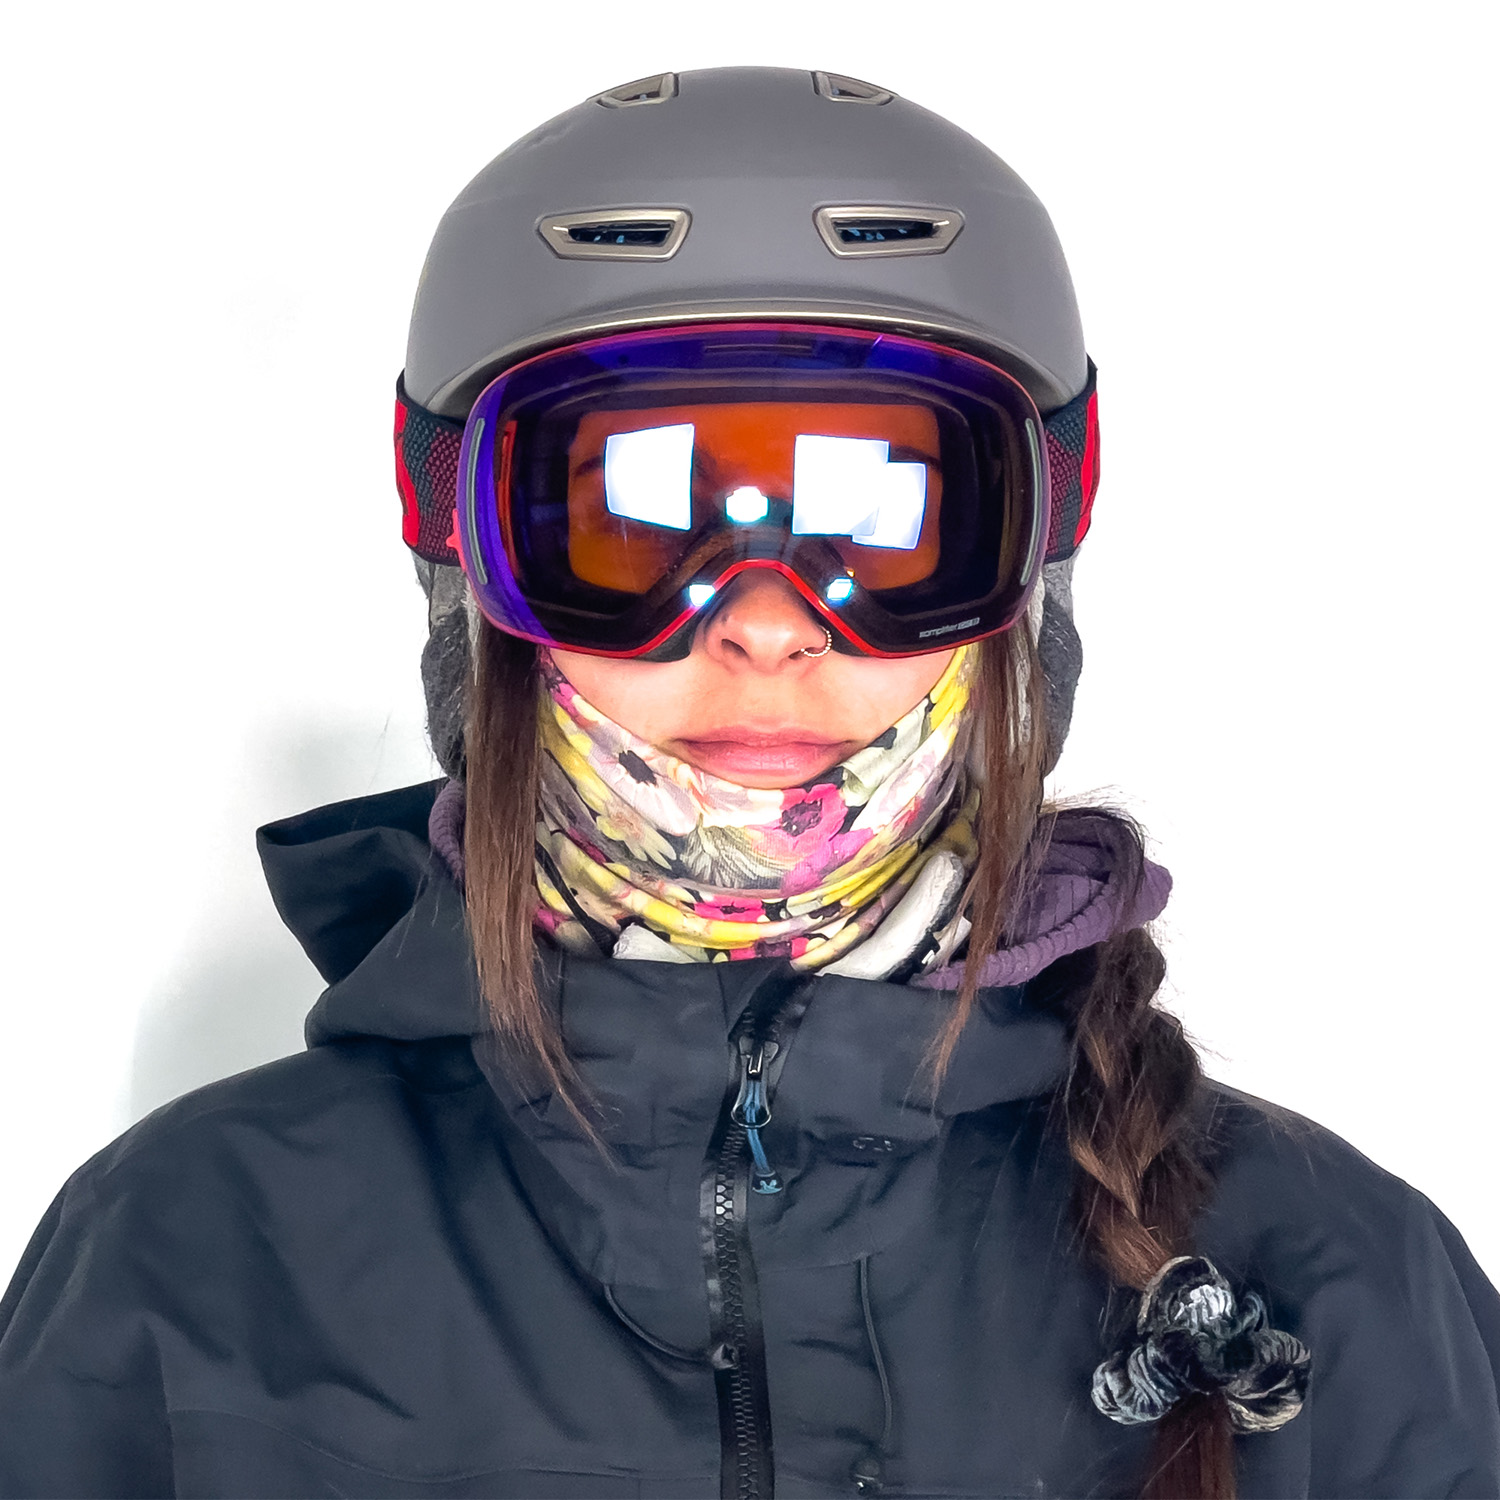
Scott offers the LCG Evo for $200 with one Illuminator lens and either a Solar or Enhancer lens. Or, for $220, you could get it with their photochromic Light Sensitive Blue Chrome lens, which has a stated VLT range of 8-22% (and still comes with a low-light Illuminator lens).
But wait, there’s more! Scott also makes an “LCG Compact,” which has all the same features, but comes in a slightly smaller overall fit for smaller faces.
Lastly, it’s worth shouting out the Scott Shield goggle, which we tested a few years back and found to be a competitive option in the same category as the Smith Squad XL and Giro Method. You can get the Shield with two of Scott’s Amplifier lenses for $130 or with one of their light-sensitive photochromic lenses for $120. Swapping lenses on the Shield is similar to the Squad XL and Method (i.e., not super quick or easy), but the Shield is a great bang for the buck if you want a moderate-size cylindrical goggle (a bit smaller than the Squad XL) with high-end optics.
SHRED Gratify
MSRP: $220 (includes 1 CBL 2.0 lens) | select CBL 1.0 models available for $180 as of publishing
Lens Tested (VLT%): CBL 2.0 Ice/Deep Blue Mirror (21%)
Reviewers: Kristin Sinnott & Jonathan Ellsworth
If you listened to our GEAR:30 podcast with SHRED founder, Ted Ligety, you’ll know that they take a somewhat different approach to goggle and lens design, relative to many other brands.
For starters, rather than focusing on the fastest lens-change systems or tint-shifting photochromic lenses to account for varied light conditions, most of their goggles are offered with a single lens. However, on their higher-end models, that lens features version 2.0 of their proprietary “Contrast Boosting Technology,” which was developed in partnership with MIT.
In short, MIT evaluated tons of lenses in different scenarios, via humans and AI, to develop a specific combination of traits to maximize contrast (again, listen to that GEAR:30 podcast if you haven’t already). In addition to proprietary tints / dyes, their specific, low-percentage polarization filter is meant to both increase contrast and clarity in low-light conditions, but also make the lenses more versatile across a broad range of conditions.

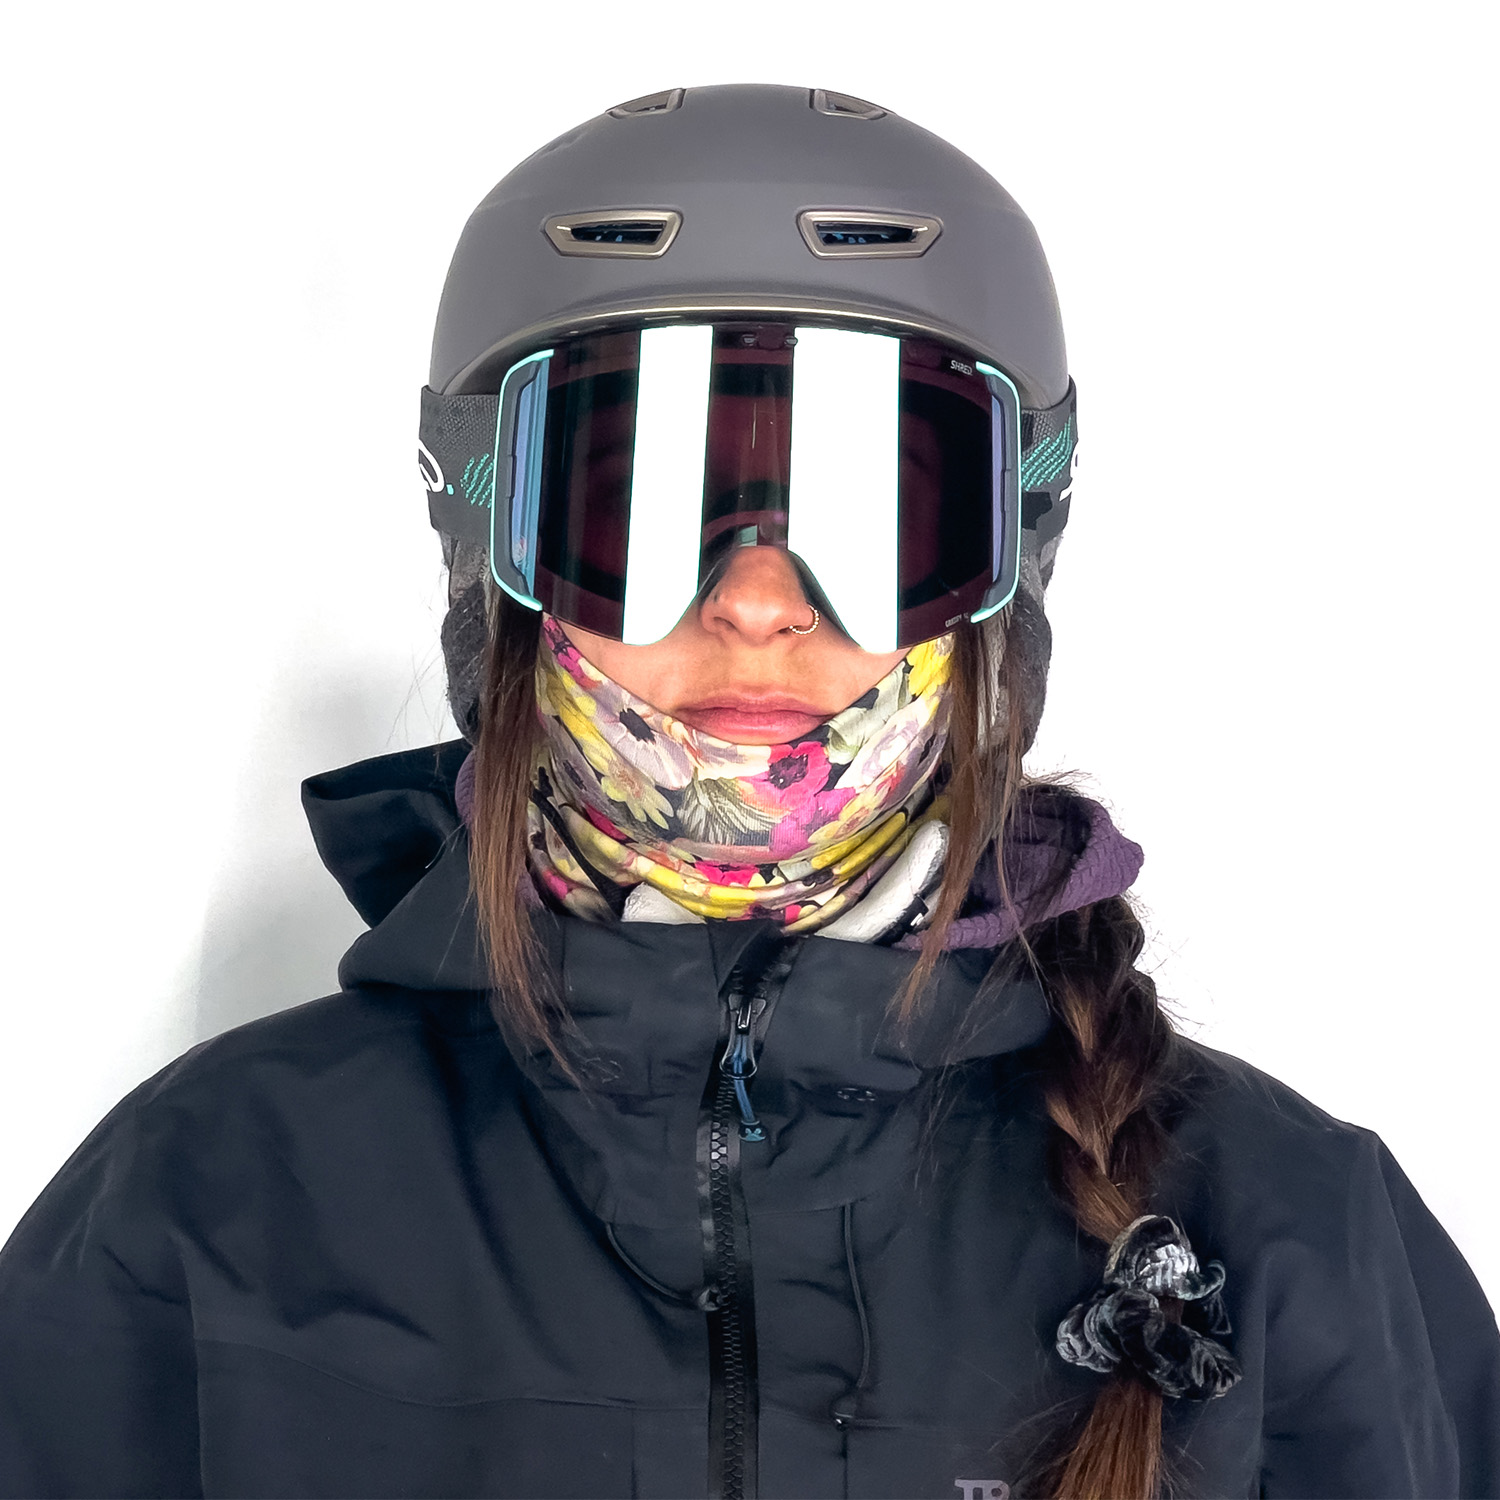
Shred makes a point of noting that “VLT% doesn’t fully capture the human eye’s experience with SHRED Contrast Boosting Lens™ 2.0 Technologies,” and our experience with their CBL 2.0 Ice/Deep Blue Mirror lens (stated VLT of 21%) on the SHRED Gratify goggle does seem to reflect that. Its VLT number is higher than many full-sun lenses from other brands and much lower than many dedicated low-light lenses, but we’ve found it quite versatile.
Jonathan Ellsworth, who is notoriously picky when it comes to lenses for low-light conditions, has found this lens sufficiently good in flat light, relative to his favorite dedicated low-light lenses from other brands. Kristin Sinnott has also enjoyed it as a low- and mixed-light option, though she prefers something a bit darker if it’s going to be bluebird all day.
That said, you can purchase additional lenses for the Gratify and other SHRED frames; the Gratify’s CBL 2.0 lenses go for $130, while its CBL 1.0 lenses are $90 and non-CBL lenses are $50. Swapping lenses on the Gratify is similar to most traditional “hook and slot” systems, but the Gratify is a bit quicker and easier than most since you can “pop” its hooks into place in the frame in three steps, rather than having to precisely align each one on its own.
If you want a SHRED goggle that comes with two lenses, their Simplify+ and Rarify+ models (both of which have an MSRP of $250) currently come with one CBL 2.0 lens and one low-light CBL 1.0 lens.
The Gratify also features several of SHRED’s other high-end features, including their “NODISTORTION” pressure-regulating valves, “NOCLOG” hydrophobic treatment on the vents to reduce snow buildup, and “SHREDWIDE” design to maximize field of view relative to overall frame size. As for its size, the Gratify is a pretty large goggle overall (170×100 mm), though Kristin and Jonathan (both of whom typically wear size Medium helmets) have found it comfortable on their faces (it’s actually one of Kristin’s favorites in terms of overall fit).
The Gratify also features very grippy straps, and while they’re not as stretchy as most others, we’ve found them to be really good at keeping the goggle secure, whether when over your eyes or when propping it up over the top of your helmet.
All in all, the Gratify is an impressively versatile goggle (especially with its CBL 2.0 Ice/Deep Blue lens) that offers excellent contrast and overall optics in a broad-coverage, cylindrical design. And given how well its do-it-all lens has performed, we’re very much looking forward to hopefully testing SHRED’s CBL 2.0 Nighttime lens in the future, too.

SPY Marauder & Maurader Elite with Happy Boost
- MSRP — Marauder: $220 (includes 2 Happy lenses) | select models on sale for $176 as of publishing
- MSRP — Marauder Elite Happy Boost: $310 (includes 2 Happy Boost lenses) | select models on sale for $248 as of publishing
Lenses Tested (VLT%): Happy Bronze Turquoise Mirror (12% VLT), Happy Boost Ice Blue Mirror (VLT n/a), Happy LL Persimmon Silver Mirror (46% VLT), & Happy Boost LL Coral (VLT n/a)
Reviewers: Luke Koppa, Dylan Wood, Kristin Sinnott, & Kara Williard
The Marauder and Marauder Elite are two of SPY’s larger-framed, quick-change goggle offerings. Both feature the brand’s “Deadbolt” lens-swap system, which aligns the lens to the frame via a series of magnets and then uses a latch on the side to fully secure them into place. In use, it’s very easy to use and has been totally secure in our experience.
The standard Marauder features a large cylindrical lens and comes with two of SPY’s high-contrast “Happy” lenses, which we’ve found to be very solid overall and reportedly filter out ultraviolet and short-wave blue light for reduced eye fatigue.

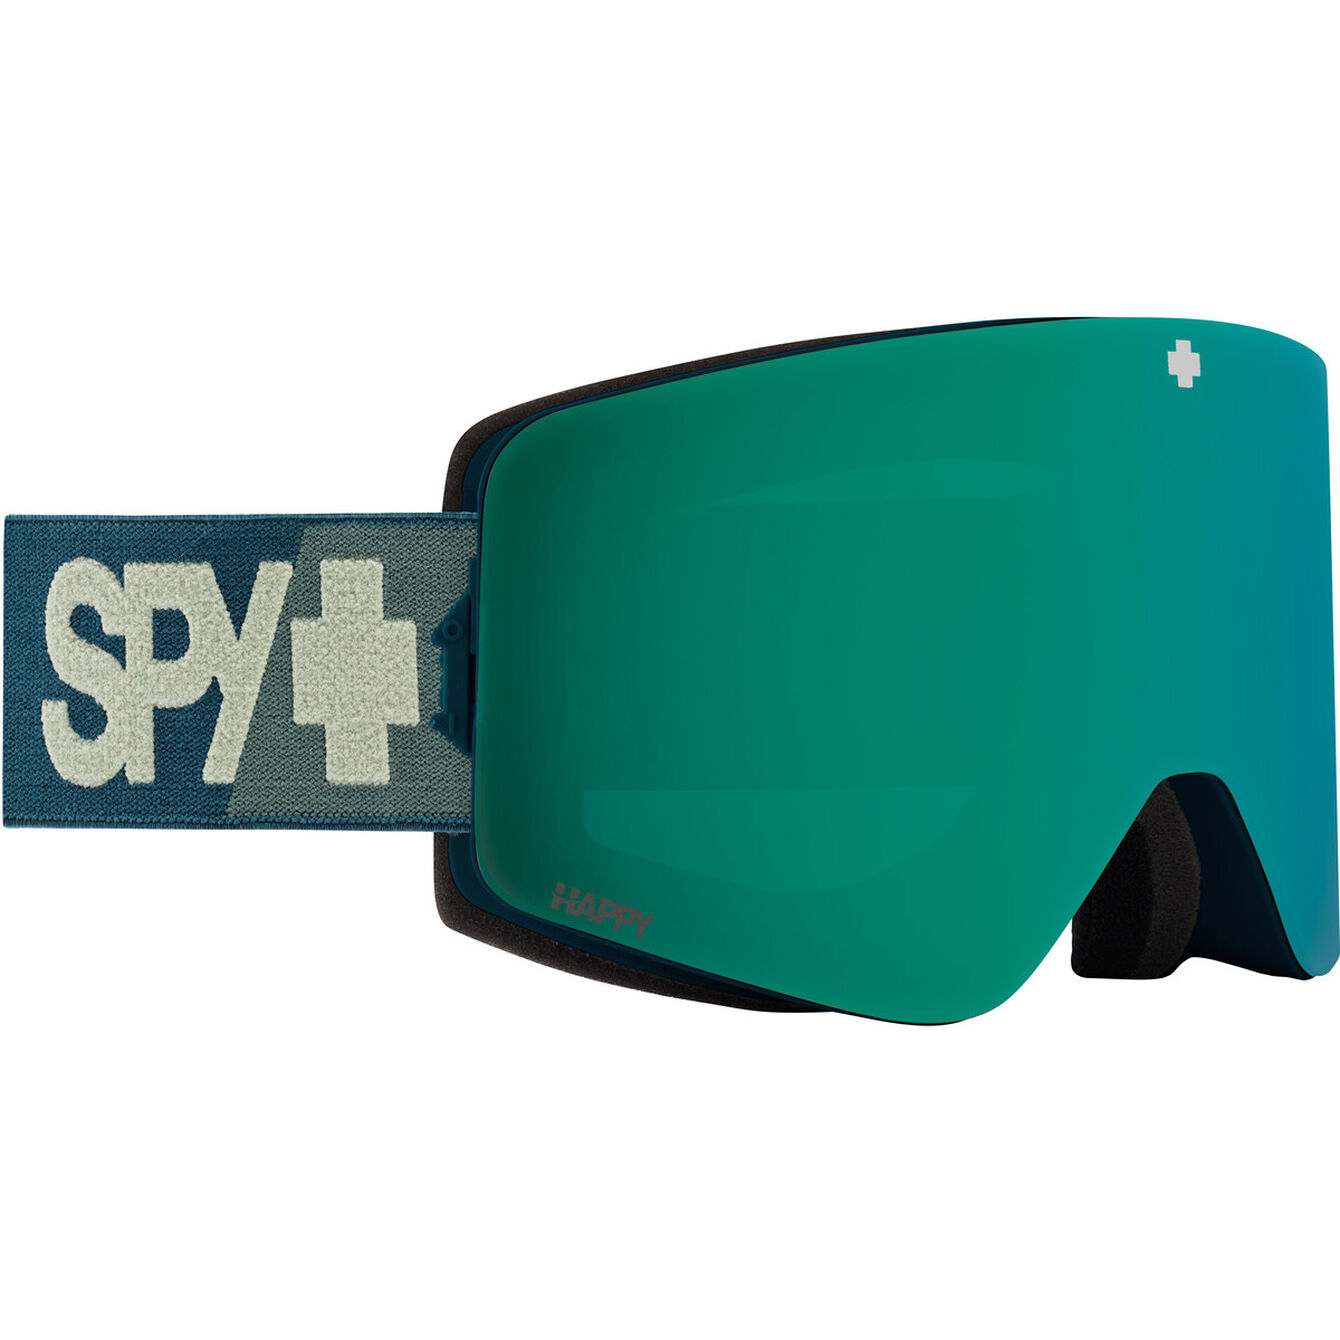
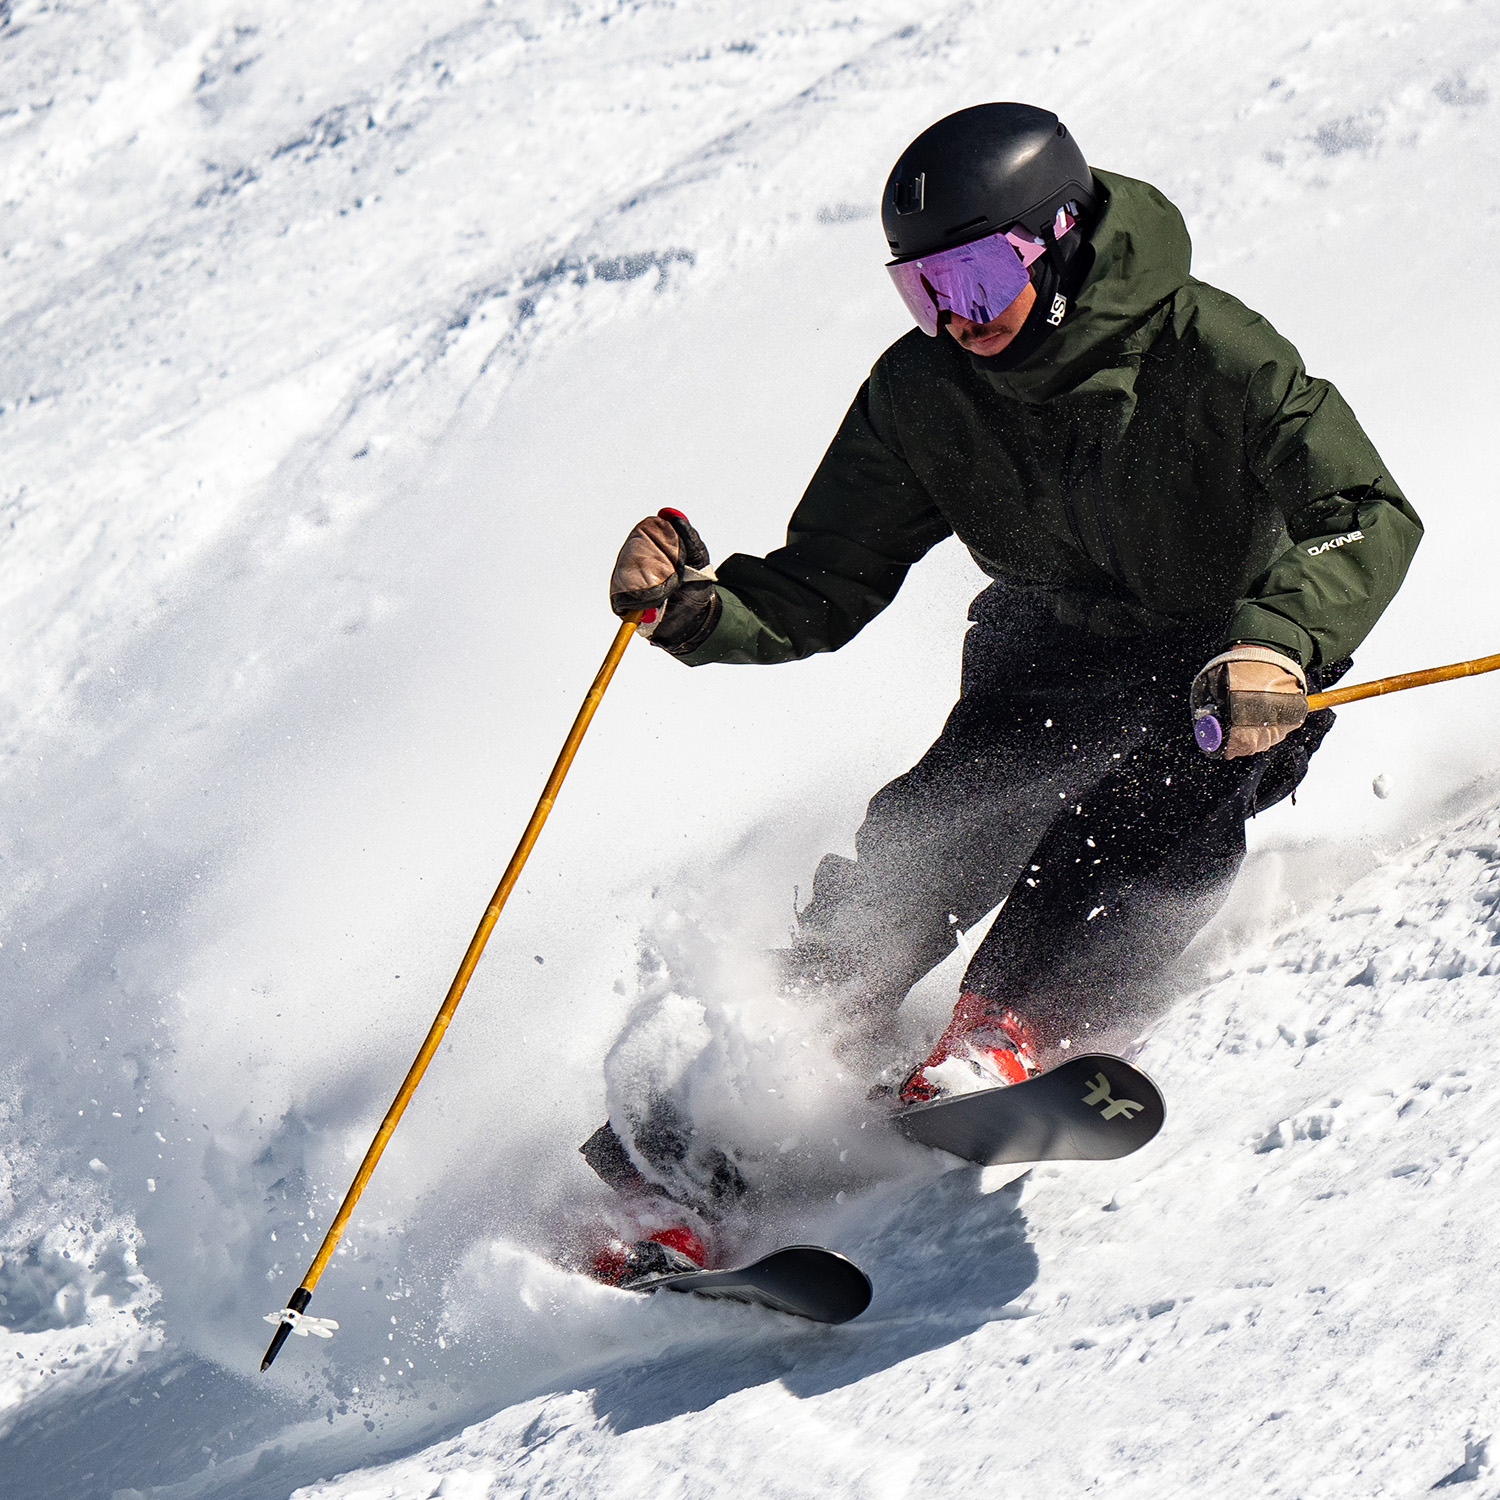
Similar to the Glade Fathom vs. Glade Fathom+ comparison, the Marauder Elite ditches the standard Marauder’s cylindrical lens for a Toric-shaped one, offering a slightly broader field of view and reportedly less distortion (few of us have had issues with distortion on most modern cylindrical goggles).
The Marauder Elite also includes the option to upgrade to SPY’s “Happy Boost” lenses, which reportedly offer up to 30% “color enhancement” relative to the naked eye; they claim that most other “high-contrast” lenses only enhance some colors up to 15%, while diminishing the vibrance of other colors.
In practice, we’ve found the Marauder Elite’s Happy Boost Ice Mirror and Happy Boost LL Coral lenses to be some of the best we’ve used from a contrast and clarity perspective. It’s not a night-and-day difference (pun intended), but it has been noticeable.
One thing to note about both the Marauder and Marauder Elite — they have very thick face foam, and on some helmets (especially those with shallower shells and/or front brims), the goggles do protrude out a bit from the helmet. This is less of a performance note and more of an aesthetic one.
Smith Squad MAG
MSRP: $240 (includes 2 ChromaPop lenses) | select models on sale for $168 as of publishing
Lenses Tested (VLT%): ChromaPop Sun Black Gold Mirror (13%) & ChromaPop Storm Blue Sensor Mirror (55%)
Reviewer: Luke Koppa
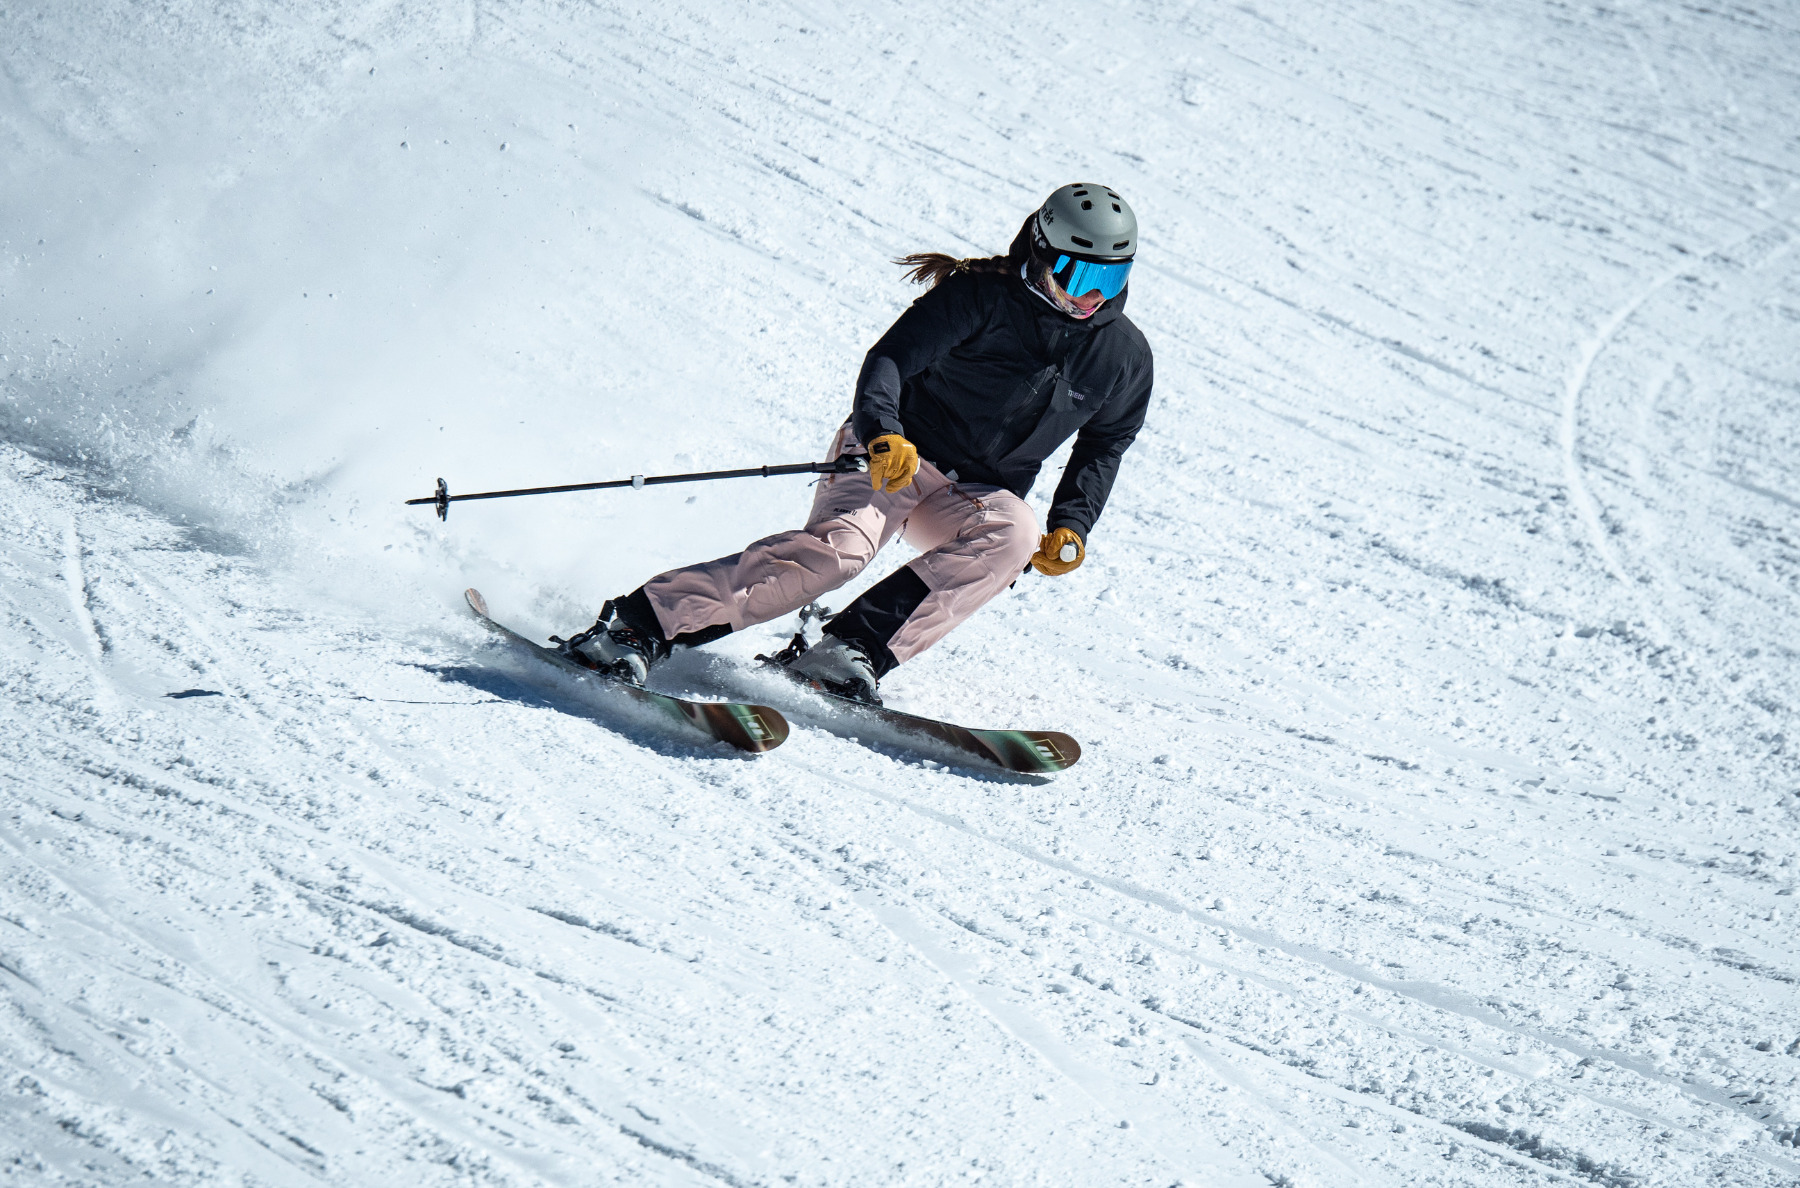
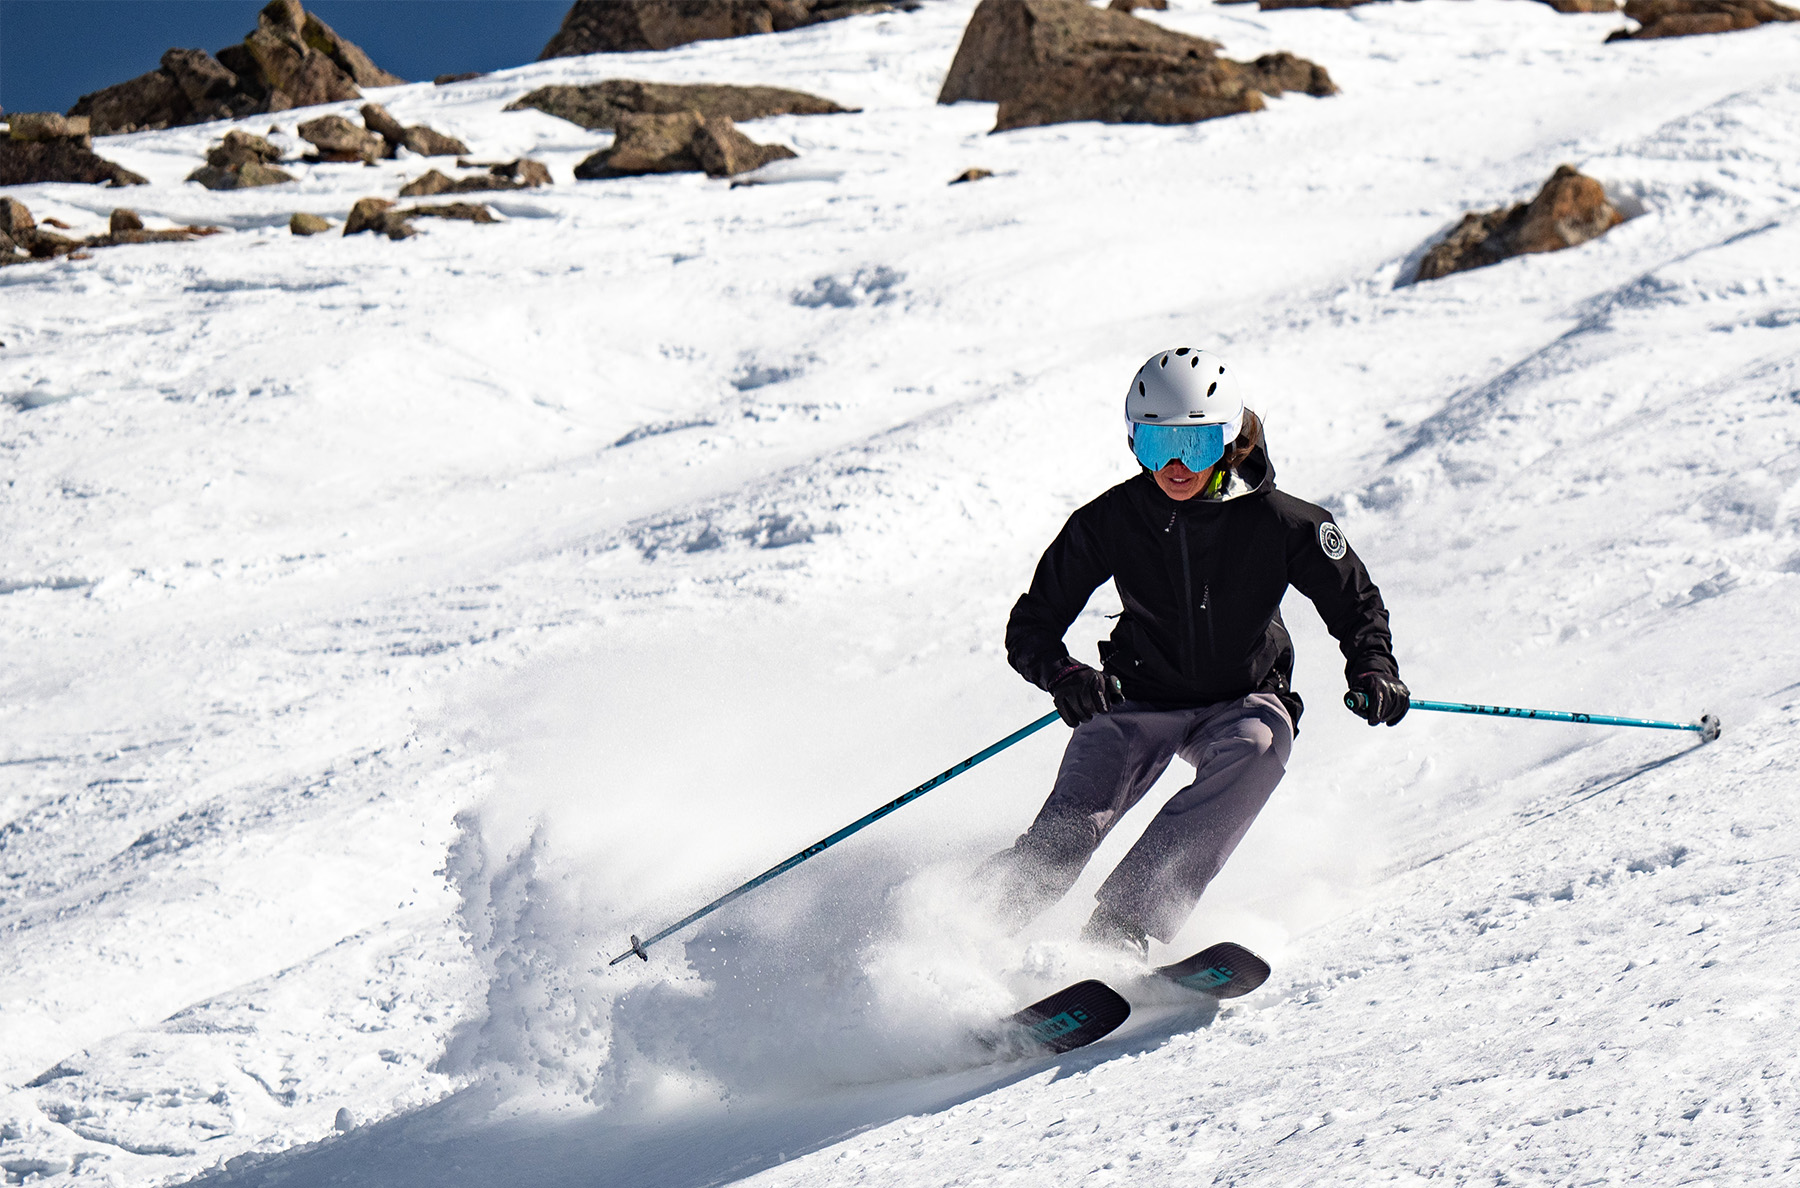
Smith’s collection of “MAG” goggles — all of which feature magnet-based lens-swap systems — now includes a wide range of shapes, styles, and sizes. In addition to quick and easy lens swapping, they all come with two of Smith’s excellent, high-contrast “ChromaPop” lenses.
The original I/O MAG and smaller I/O MAG S are best if you prefer a spherical lens and a “medium” to “small” fit, respectively; the I/O MAG XL (see our Full Review) offers similar features in more of a “medium large” fit. Then Smith’s flagship 4D MAG goggle and its unique, extended lens design are particularly appealing if you appreciate improved field of view in the downward direction (check out our Full Review for the whole story).
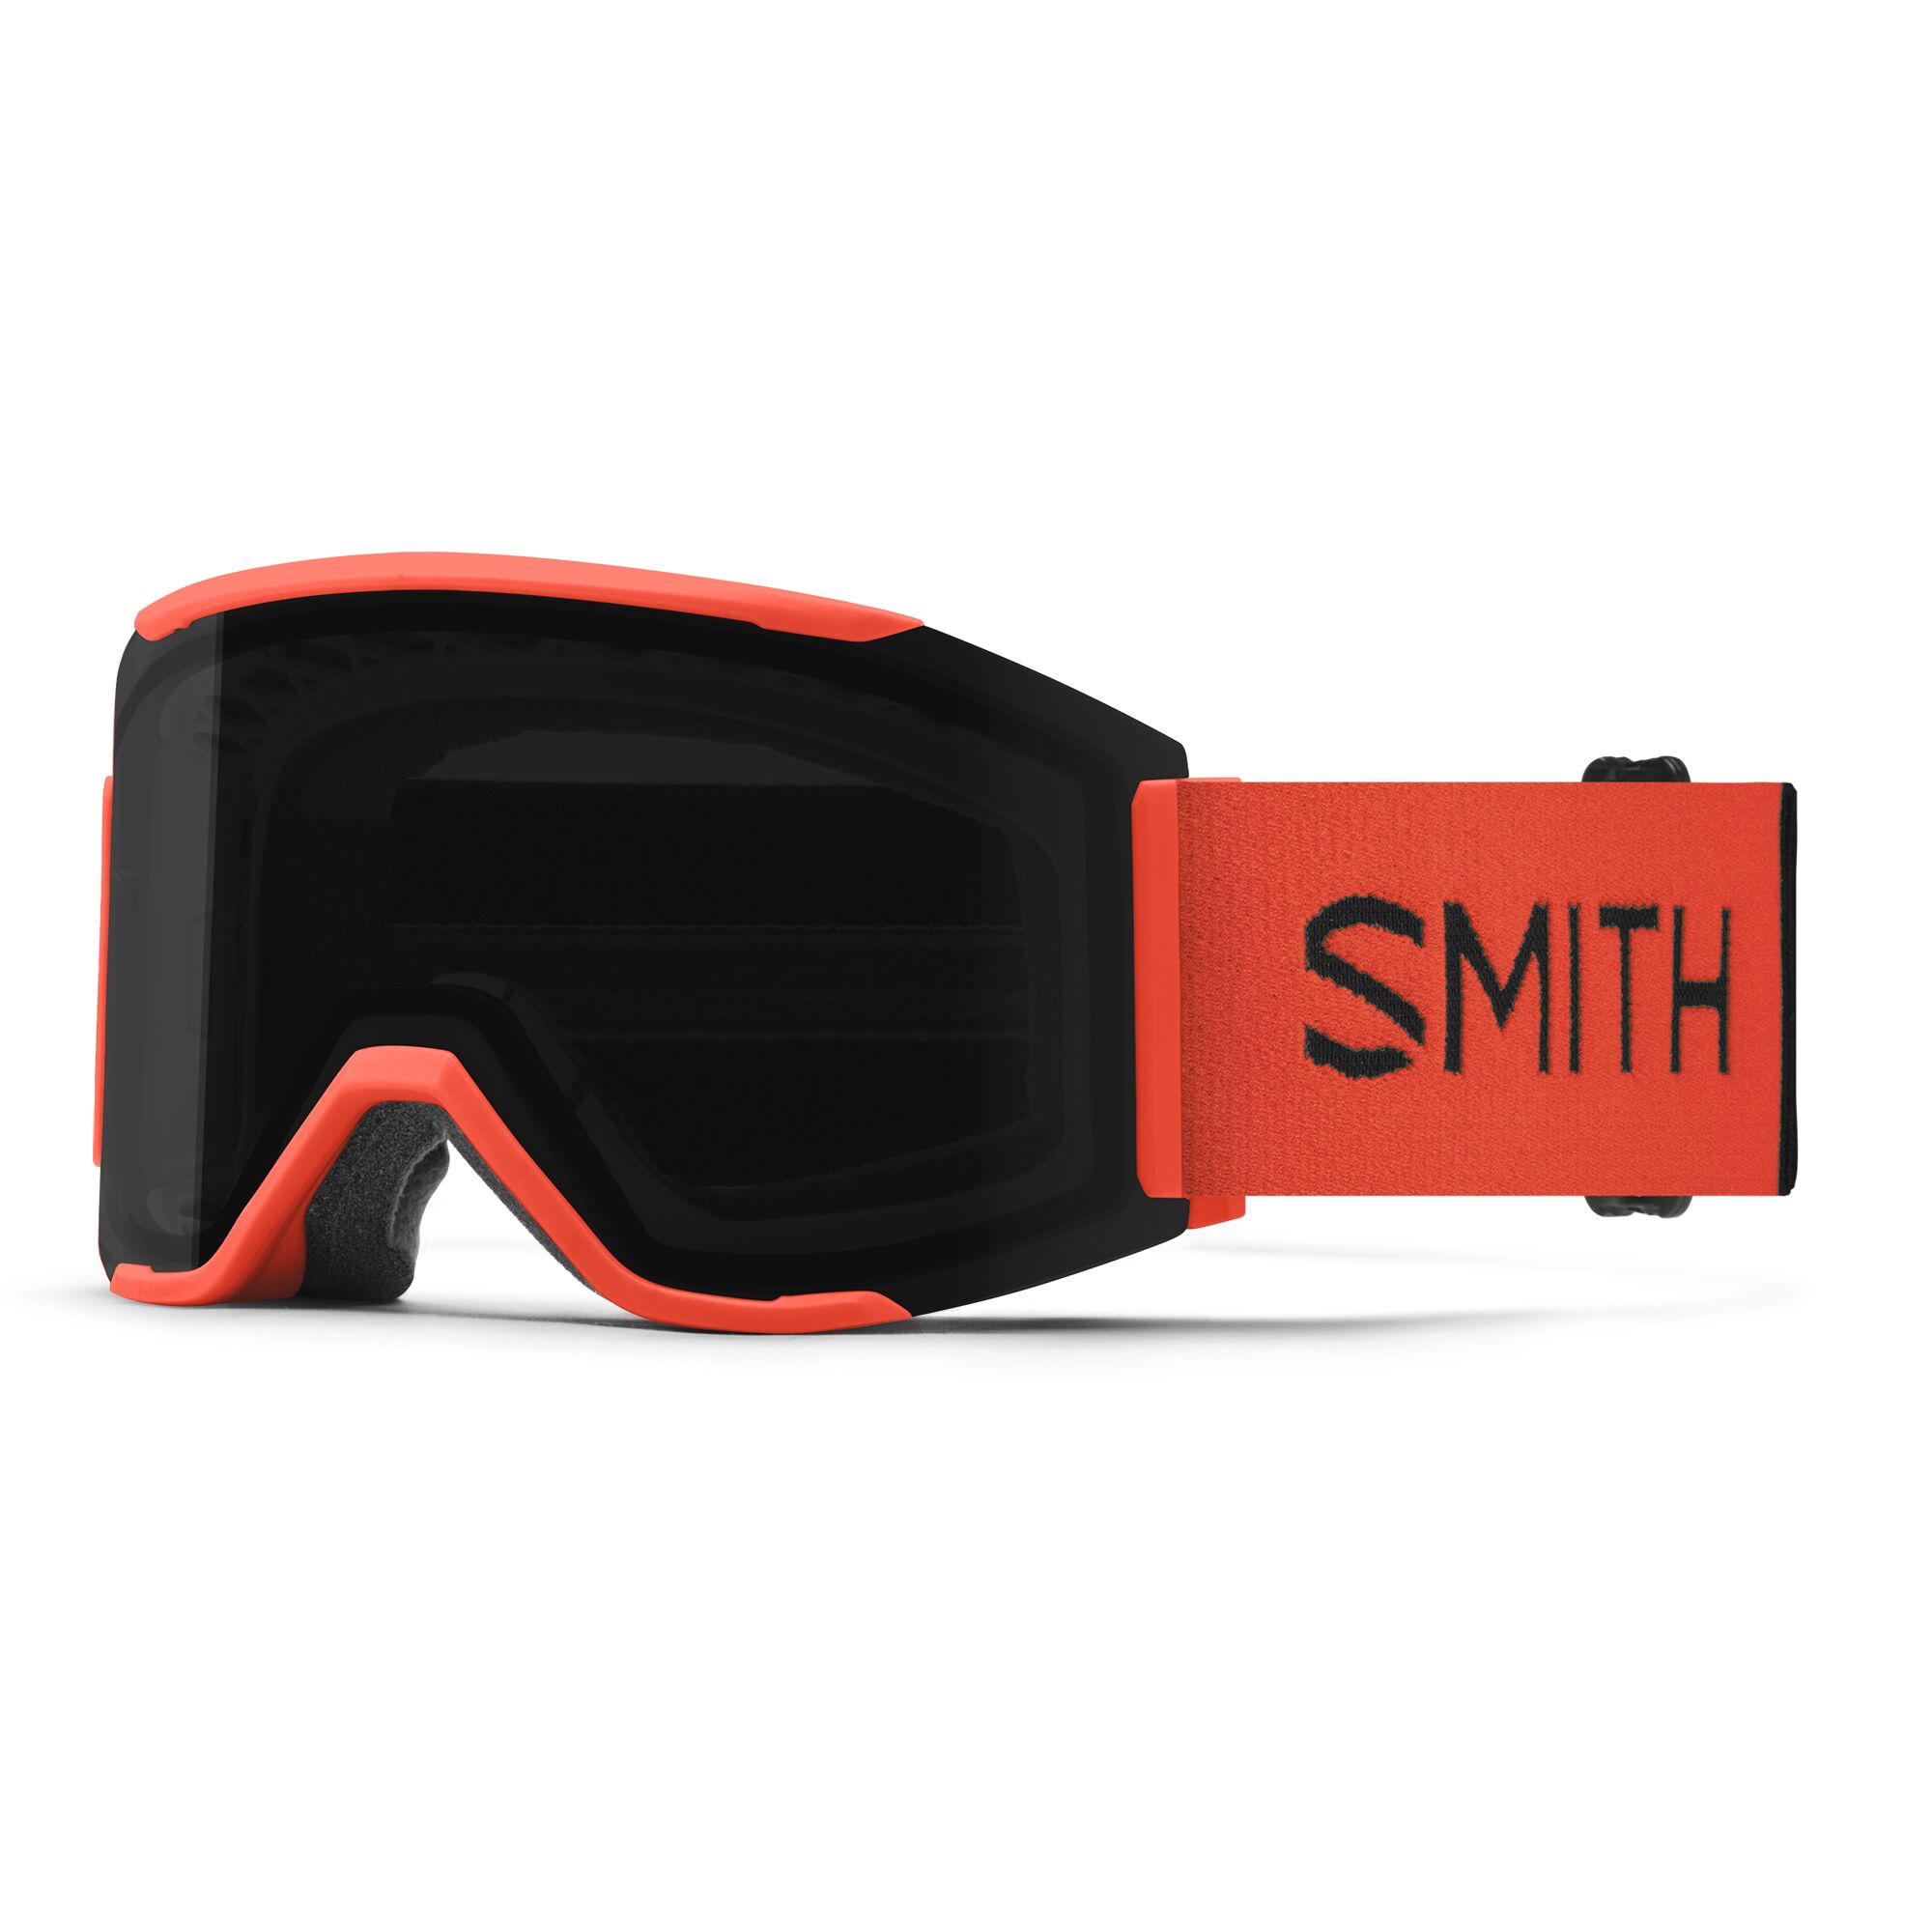
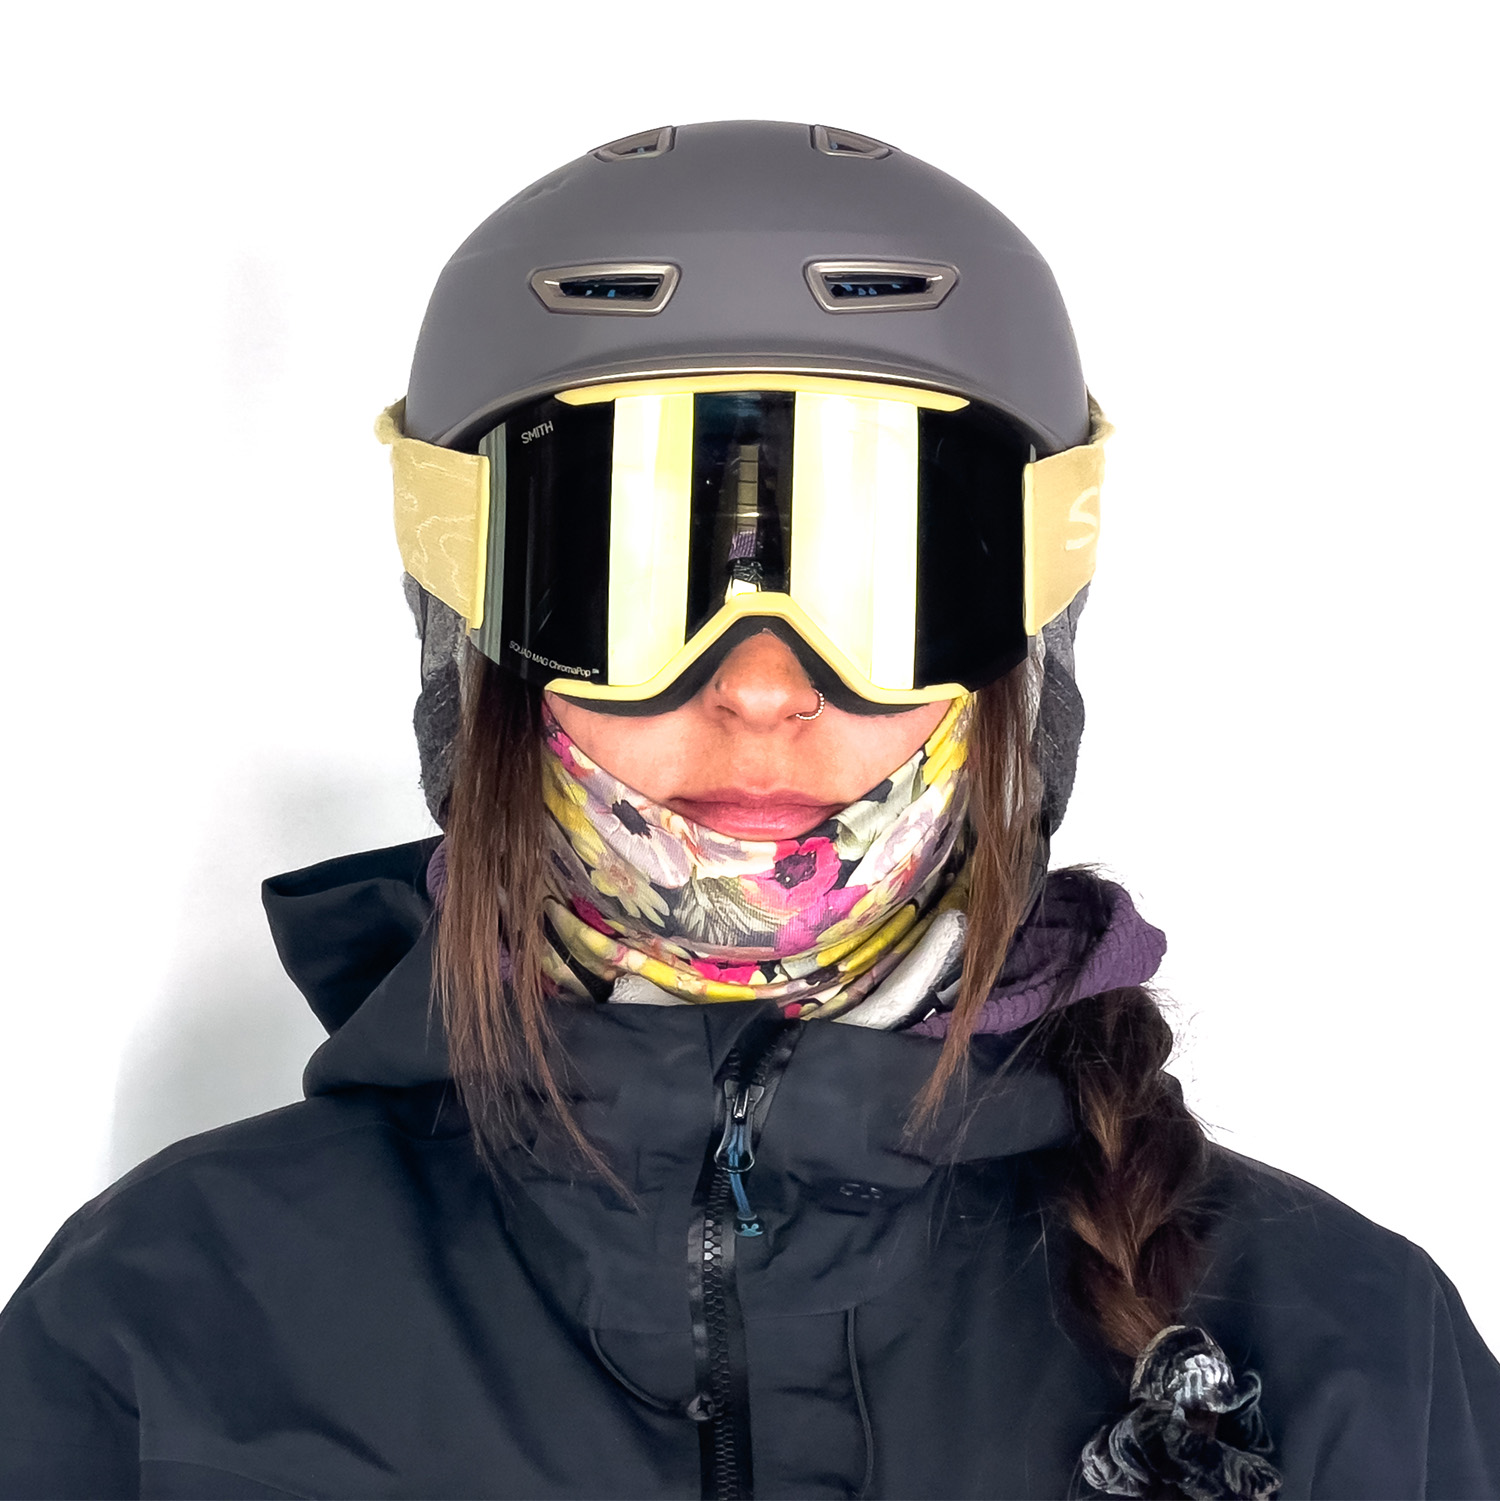
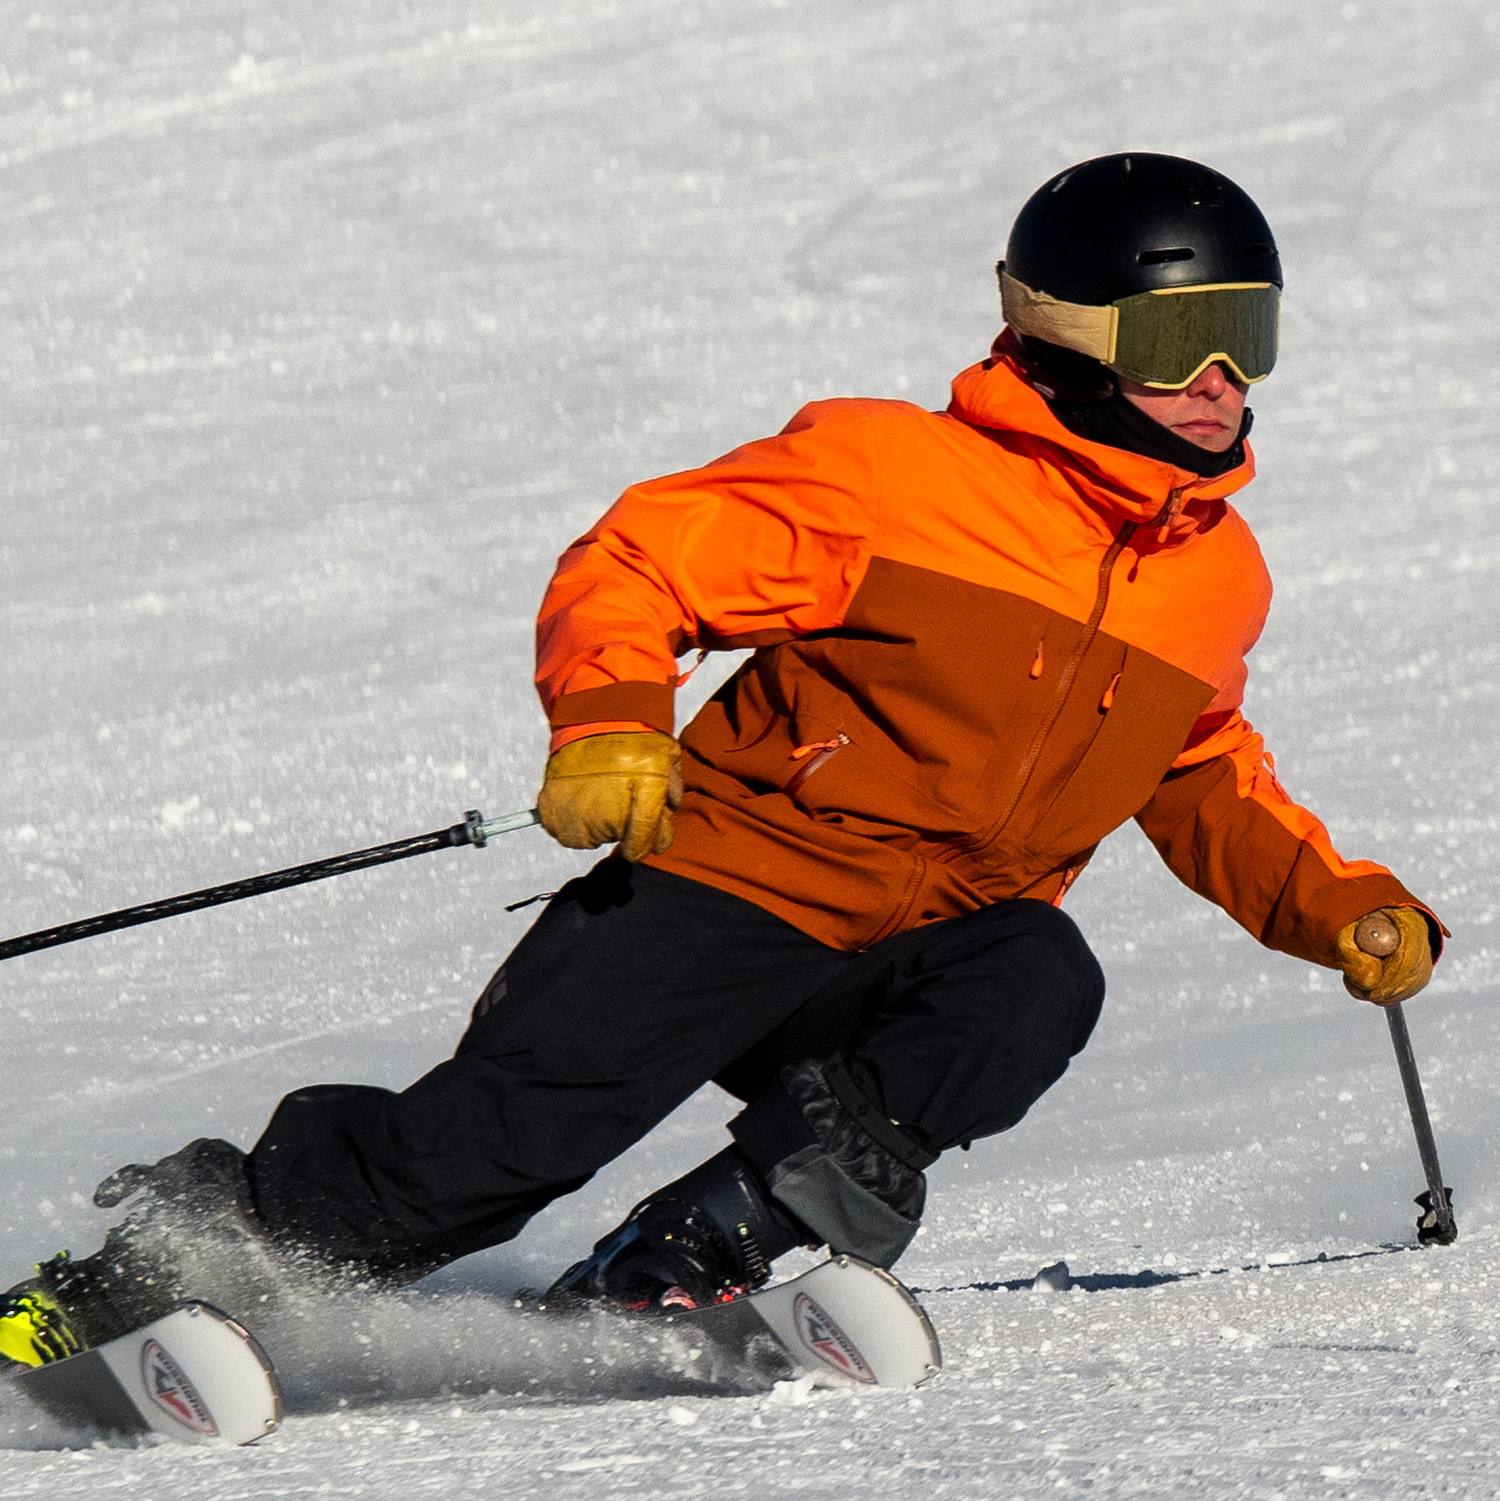
Rounding out the MAG series is the Squad MAG, which brings the tech of the other MAG goggles to a big, cylindrical silhouette. Swapping lenses on it takes a few seconds, thanks to magnets that line up the lens and little tabs at the bottom of the frame that you use to fully secure it.
We’ve spent a lot of time in the Squad MAG, primarily with its ChromaPop Sun Black Gold Mirror lens, which is an excellent option for full-bluebird days but still offers respectable contrast (for a full-sun lens) when you head into shaded aspects. Smith’s ChromaPop Storm Blue Sensor Mirror is also one of the all-time favorite low-light lenses of our managing editor, Luke Koppa.
The Squad MAG fits pretty similarly to the Smith Squad XL (i.e., it’s pretty wide and tall), and the Squad XL should be on your list if you want a similar fit and excellent optics, but are willing to lose a quick lens-swap system in exchange for a much lower price tag.
Smith Squad XL & Squad XL Imprint 3D
- MSRP — Squad XL: $150 (includes 2 ChromaPop lenses) | select models on sale for $105 as of publishing
- MSRP — Squad XL Imprint 3D: $250 (includes 2 ChromaPop lenses & custom 3D-printed frame)
Lenses Tested (VLT%): ChromaPop Rose Gold Mirror (22%) & ChromaPop Storm Blue Sensor Mirror (55%)
Reviewer: Luke Koppa
As we just touched on, the Smith Squad XL has long been one of our go-to recommendations for folks who want two very nice, high-contrast lenses but would rather save money than pay more for quick lens-swap systems. The smaller and cheaper ($120) standard Squad also warrants a look for similar reasons, though it comes with a simpler clear lens instead of one of Smith’s higher-end ChromaPop low-light lenses.
This year, Smith also added the Squad XL to their “Imprint 3D” collection, which allows you to have a frame 3D printed based on a phone scan of your specific face. The process is very quick: after purchasing an Imprint 3D goggle, you use Smith’s app on your phone to guide you through scanning your face, double check that everything looks right, and then submit the scan and Smith has a frame printed based on the structure of your head / face.

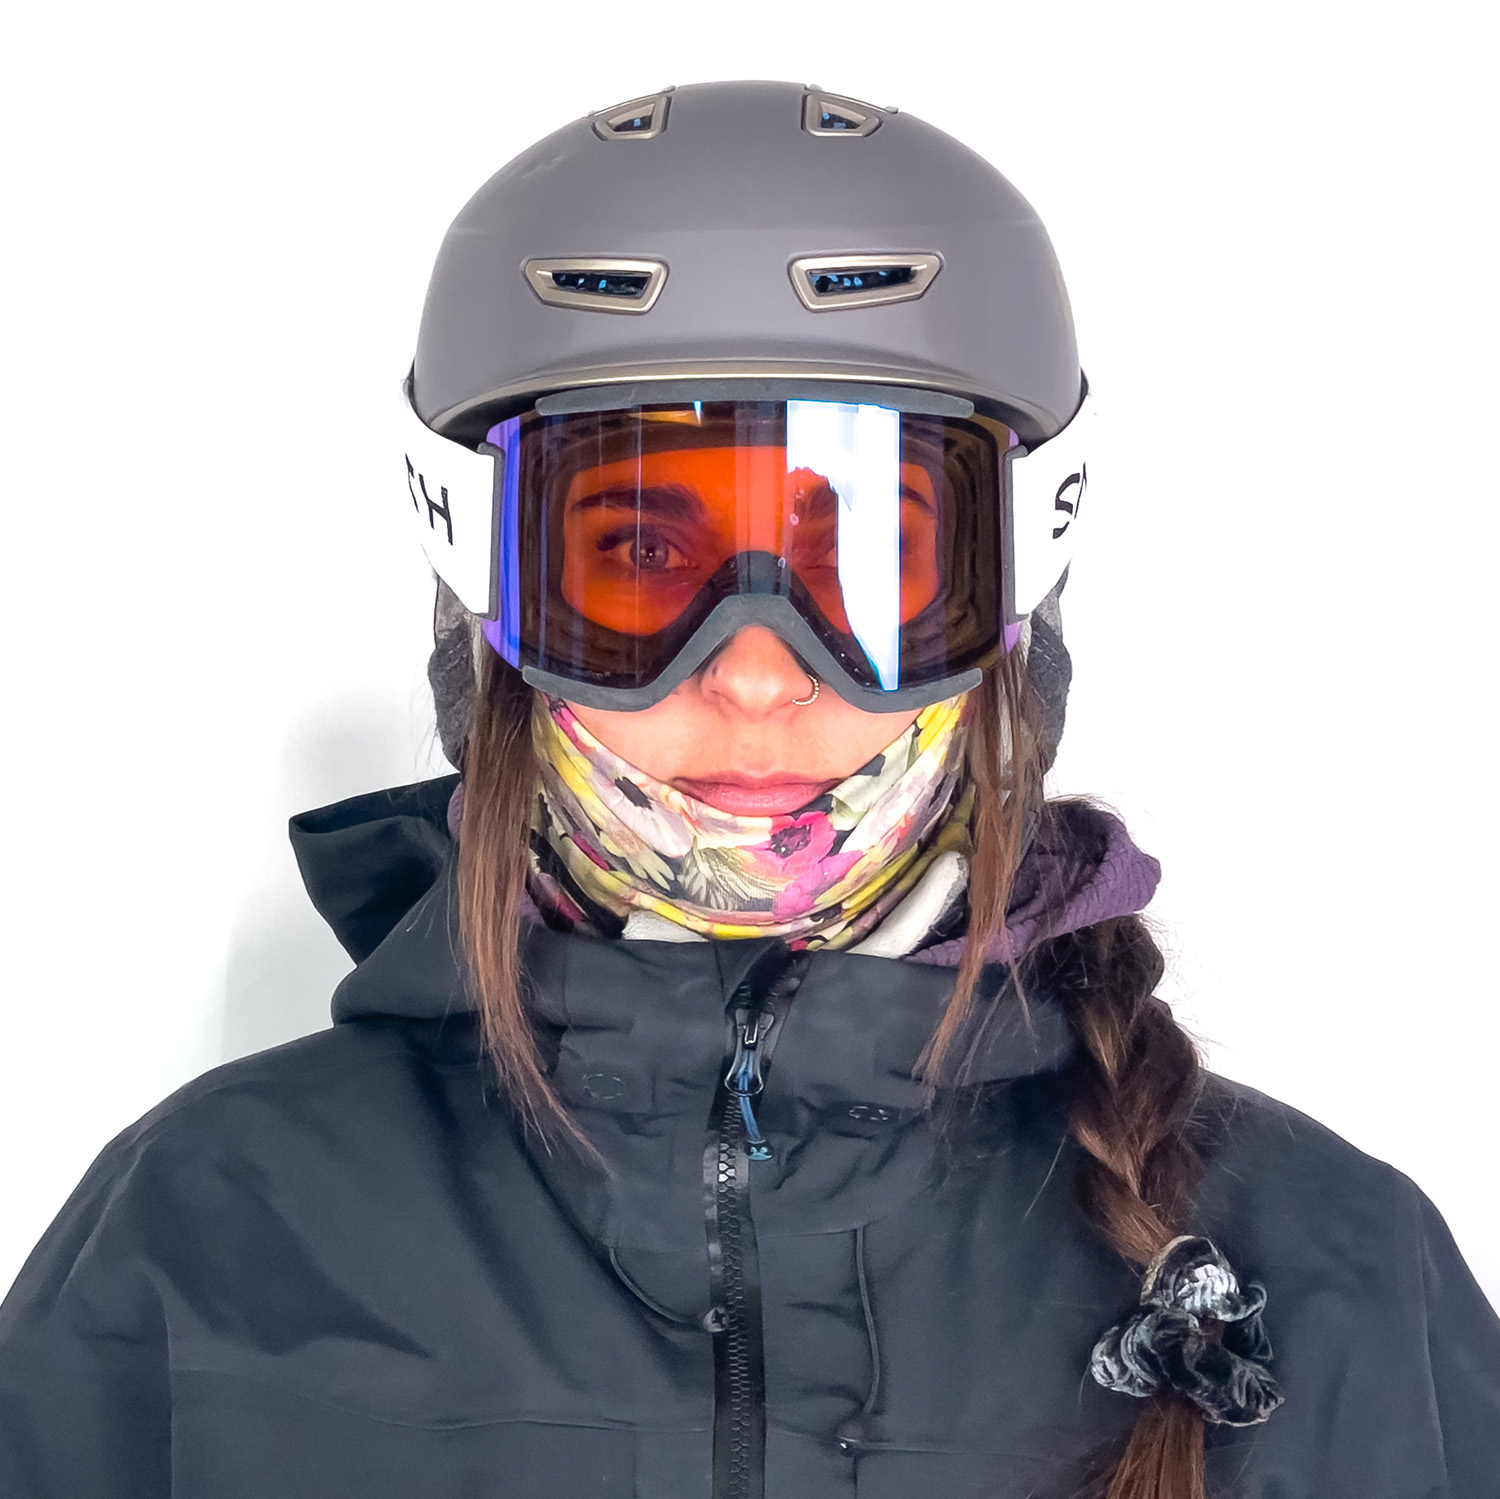
Smith launched the Imprint 3D series with the high-end I/O MAG ($450 for the 3D version), but this season they added the Squad and Squad XL. The latter two still cost much more than their non-custom versions ($250 vs. $150 for the Squad XL models), but it’s nice to see some less expensive options added to the Imprint 3D collection.
I (Luke Koppa) can achieve a decent fit in many “Medium” to “Large” framed goggles, but in the Squad MAG and Squad XL, I’m typically left with a bit of a gap around my nose, and I can feel a significant draft there in certain scenarios. Given that, I was really curious to see how Smith’s Imprint 3D tech would work, and I was not disappointed. My Squad XL Imprint 3D is probably the best-fitting goggle I’ve ever used, with zero gaps but also no pressure points once it’s situated.
That said, because the frame itself is handling the on-face fit, rather than thick layers of foam, the Squad XL Imprint 3D’s face foam is some of the thinnest and most dense that I’ve used. This initially threw me off, especially when manually pressing the goggle onto my face (there’s a lot less “cushion” than usual). However, because the underlying frame is shaped so well to my face, I’ve found it very comfortable once I’m wearing it.
The main compromises I’ve found with the Squad XL Imprint 3D, aside from its higher price, come down to fogging and lens swapping. It’s not a drastic difference, but the Imprint 3D version of the Squad XL seems to fog up a bit quicker than most of my other goggles; my best guess is that this is due to its thinner face foam and the lens sitting closer to my face. If I am cognizant about clearing snow from the top of the goggle, this typically isn’t an issue unless I’m sitting still in the hot sun.
The other thing is that, like the regular Squad XL, the Imprint 3D version still relies on lining up hooks on the lens with slots in the frame. This is a pretty slow and sometimes tedious process, and on the 3D version, the frame material does seem to be a bit softer than the regular one. I’ve still been able to get the lenses slotted securely into place, but I’m a bit worried that the lens “hooks” that slot in above and below the frame may eventually tear into the frame material. I plan on continuing to use this goggle a lot, so I’ll update this if it does become a significant issue down the line.
Overall, Smith’s Imprint 3D collection seems like a really cool option, particularly for those who have struggled to find frames that nicely contour their face.

Sweet Protection Interstellar RIG Reflect
MSRP:
- $320 (includes 2 RIG lenses) | select models on sale for $192 as of publishing
- $250 (includes 1 RIG lens) | select models on sale for $150 as of publishing
Lenses Tested (VLT%): Toric RIG Topaz (12%)
Reviewers: Luke Koppa, Paul Forward, & Jonathan Ellsworth
Sweet Protection’s “RIG” goggles stand out due to their rugged construction and high-contrast optics, and their flagship Interstellar goggle is great for those who prioritize easier lens swapping and want a “Medium” fit with Toric lenses.
The brand’s RIG lenses are notably rugged at 2.8 mm thick, feature pressure-equalizing GORE vents, and do a better job of adding contrast (especially in low-light scenarios) than lower-end alternatives. They’re also some of the best we’ve used in terms of keeping oil / moisture from accumulating on the inside or outside of the lens and consequently creating smudges.
The Interstellar is also a pretty burly, carbon-reinforced frame, which should help it hold up well for years (ours has), though it also means it might be a bit more sensitive in terms of fit since it doesn’t conform to all faces as well as more flexible models.

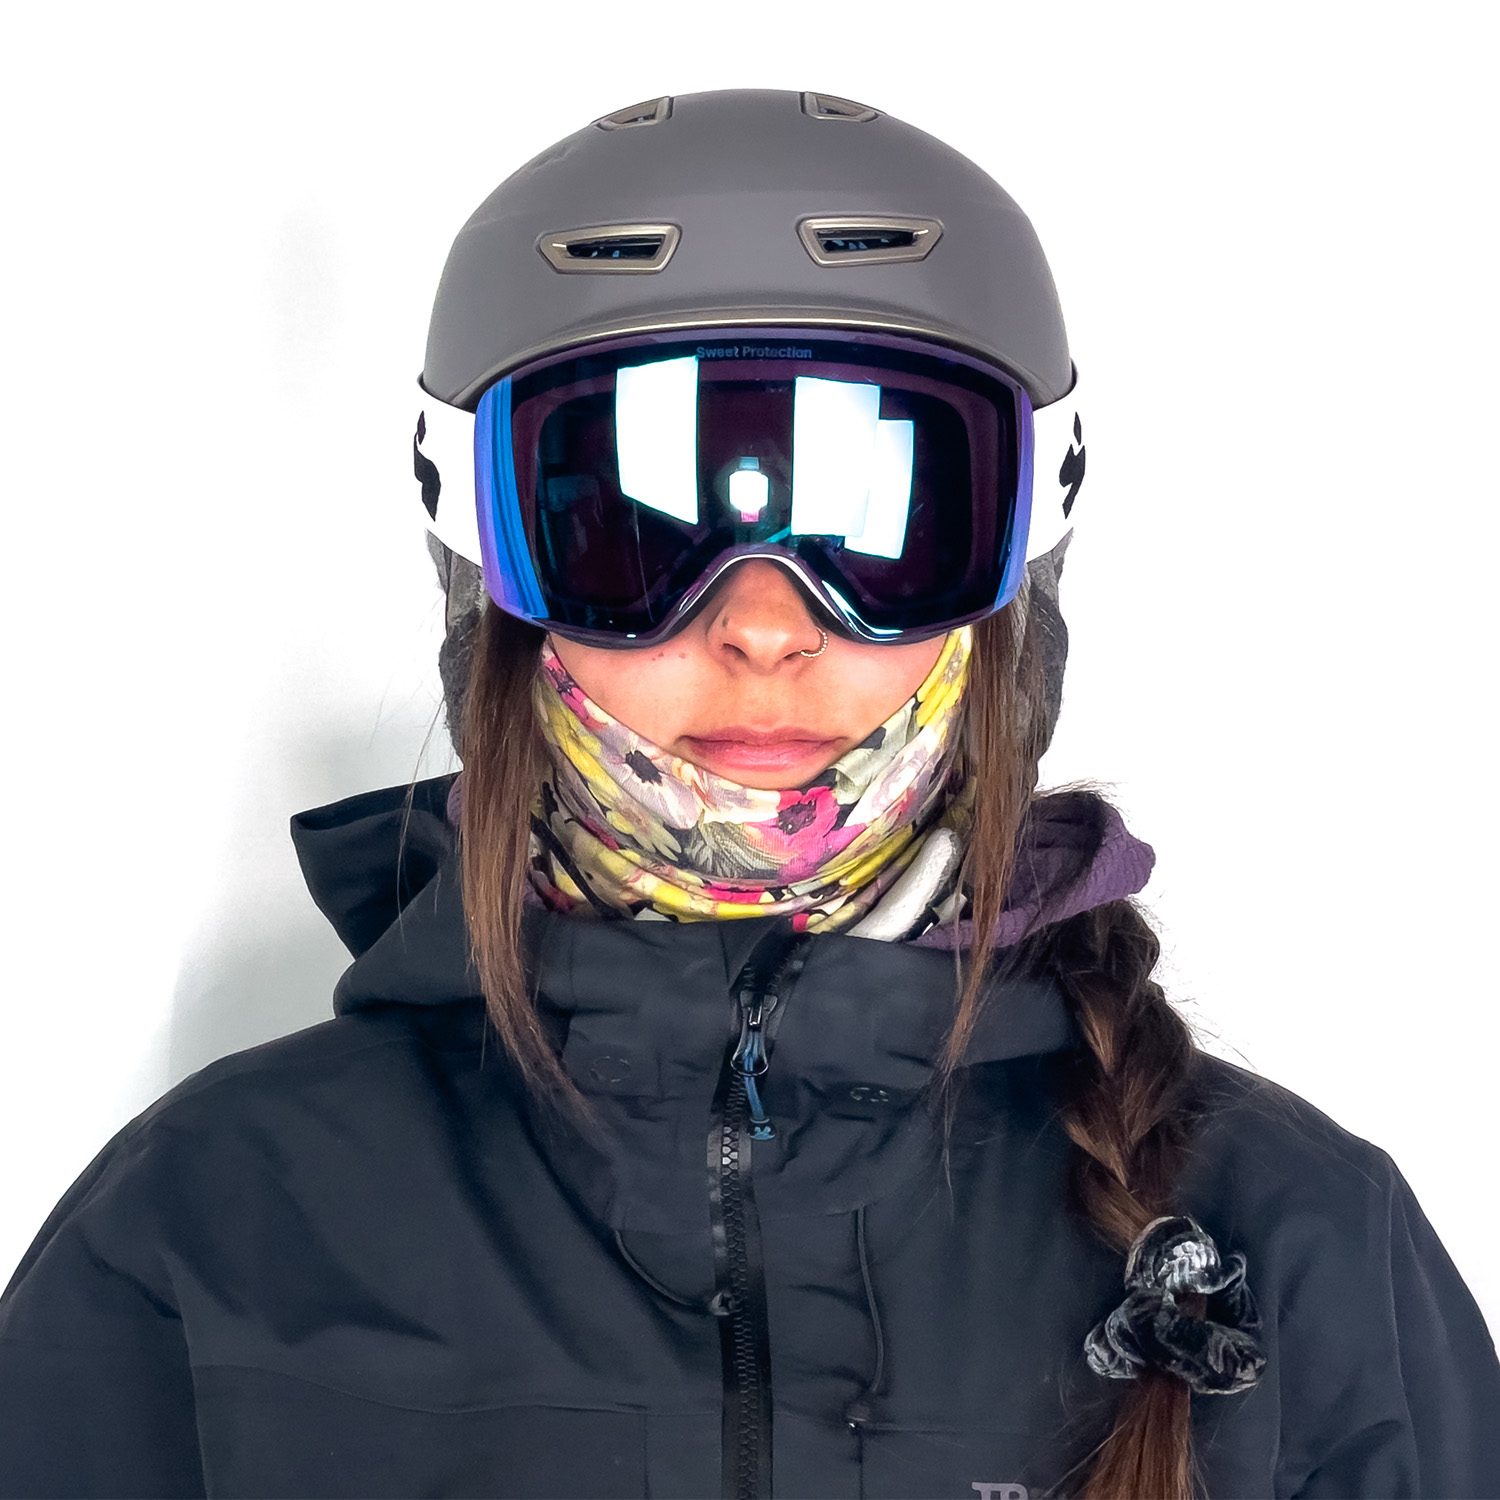
The Interstellar’s lens-swap system isn’t the absolute quickest, but it still takes less than a minute to pop out its strap “outriggers,” flip a lever on the side, and slap in a new lens (with the help of the frame’s magnets).
While the top-end Interstellar comes with a substantial price tag, especially if you opt for the version that comes with two lenses, Sweet Protection’s Clockwork and Boondock frames seem like they’d be worth a look (we haven’t personally tested the Boondock) if you want two of their RIG lenses at a lower price, and are willing to deal with more traditional lens-change systems.
Sweet Protection Connor RIG Reflect
MSRP: $220 (includes 1 RIG lens) | select models on sale for $132 as of publishing
Lenses Tested (VLT%): Toric RIG Sapphire (12%)
Reviewers: Kristin Sinnott & Luke Koppa
The Connor is one of Sweet Protection’s newest models, offering their excellent RIG lenses with a “frameless” Toric design, pretty middle-of-the-road fit, and very easy magnetic lens-swap system.
Compared to the Sweet Protection Interstellar, changing lenses on the Connor is even quicker, since it doesn’t require moving any strap “outriggers” or separate levers, but we have yet to experience any lens-security issues with the Connor. Like the Interstellar, the Connor’s Toric lenses offer an impressively large field of view, given that neither is an extremely large frame.
The Connor is currently only available with one RIG lens (MSRP: $220), but you can purchase additional lenses for $120 a pop. That’s far from cheap, but Sweet Protection will reportedly offer the option to purchase the Connor with two lenses starting in 24/25 (price TBD).
Lastly, it’s worth shouting out Sweet Protection’s Firewall RIG goggle (see our Full Review here). It’s a fairly large cylindrical goggle that has a traditional (i.e., fairly tedious) lens-swap system but we’ve found it to be extremely comfortable, thanks to its flexible frame, and you can get it with one RIG lens for $140.

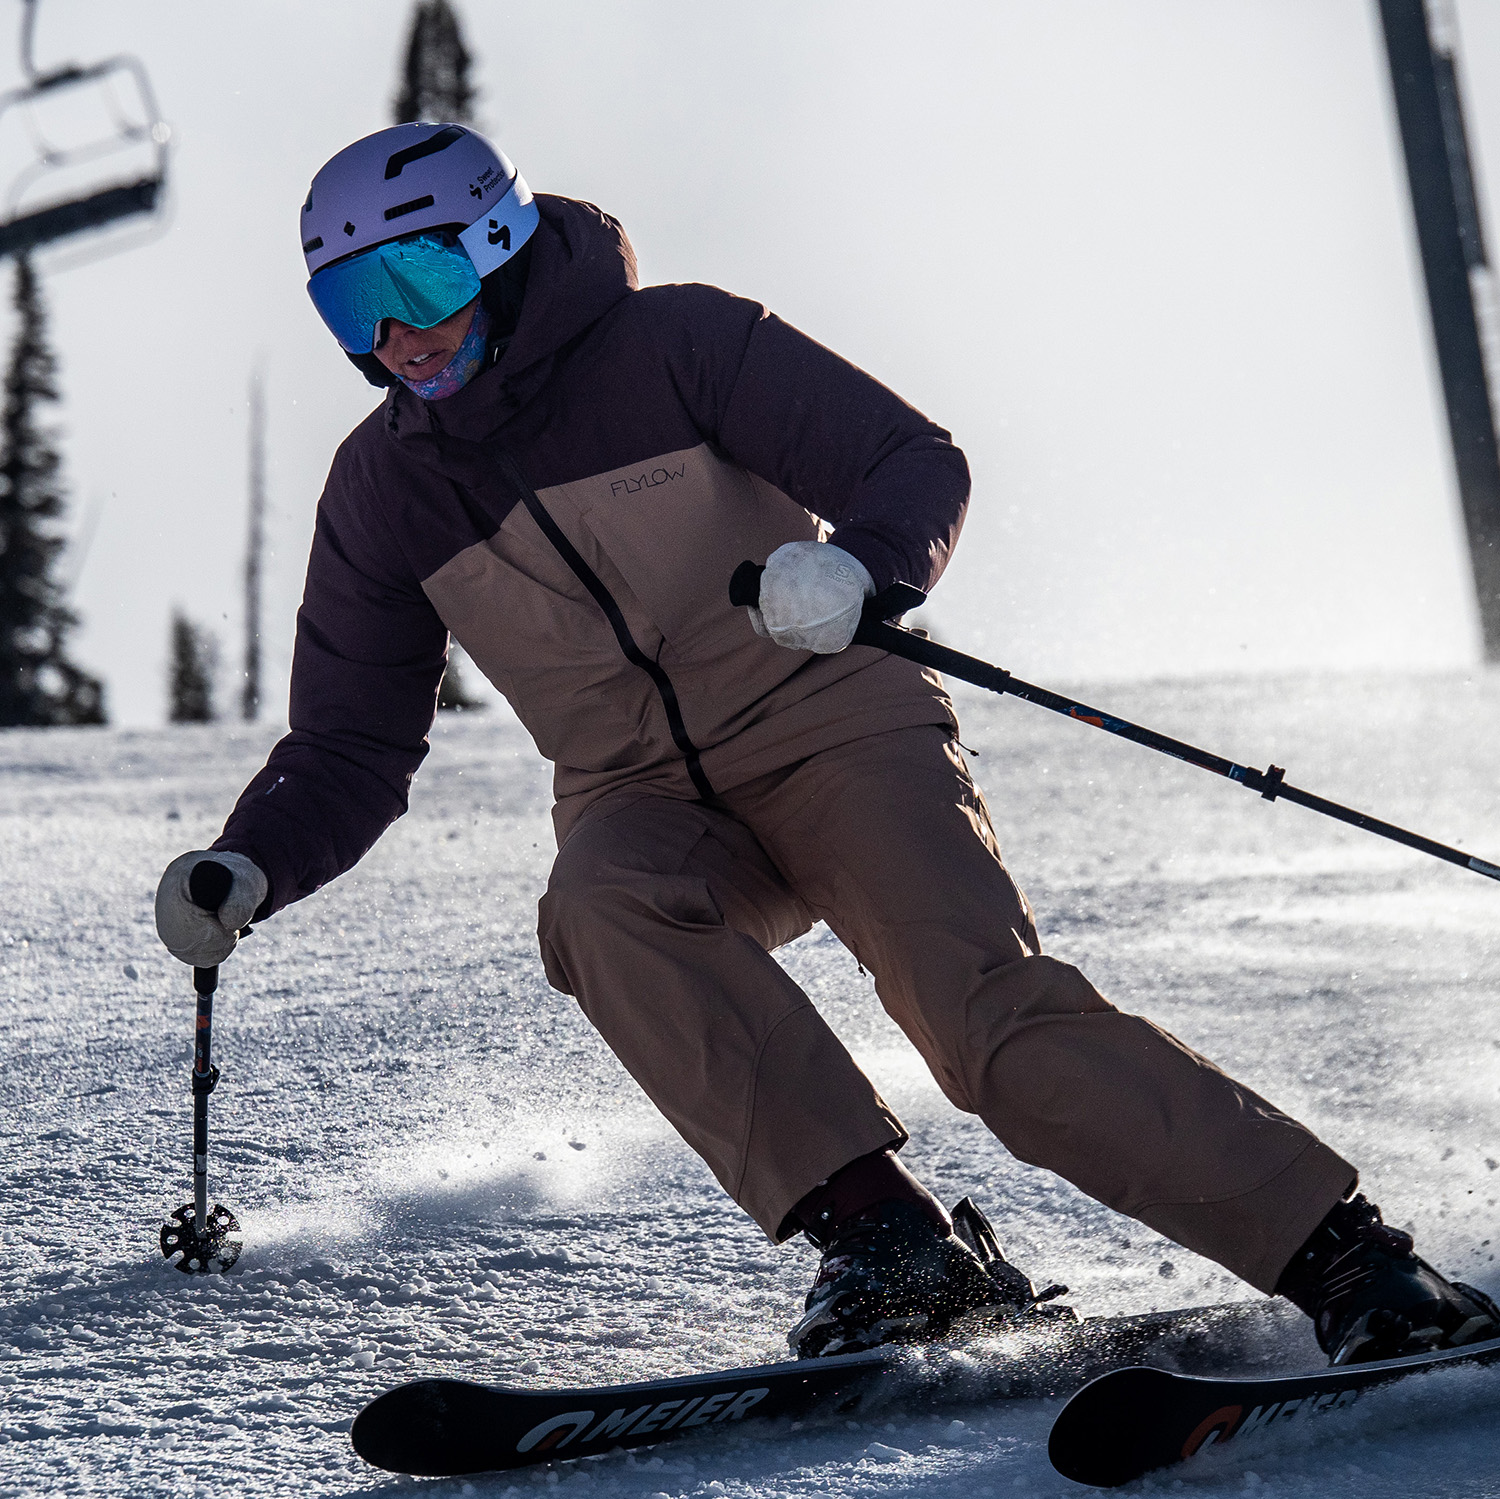
Zeal Beacon
MSRP (includes 1 lens):
- Optimum Lens: $149 | select models on sale for $104 as of publishing
- Polarized Lens: $219 | select models on sale for $153 as of publishing
- Polarized Automatic+ Lens: $269 | select models on sale for $188 as of publishing
Lenses Tested (VLT%): Phoenix Mirror (18%)
Reviewer: Luke Koppa
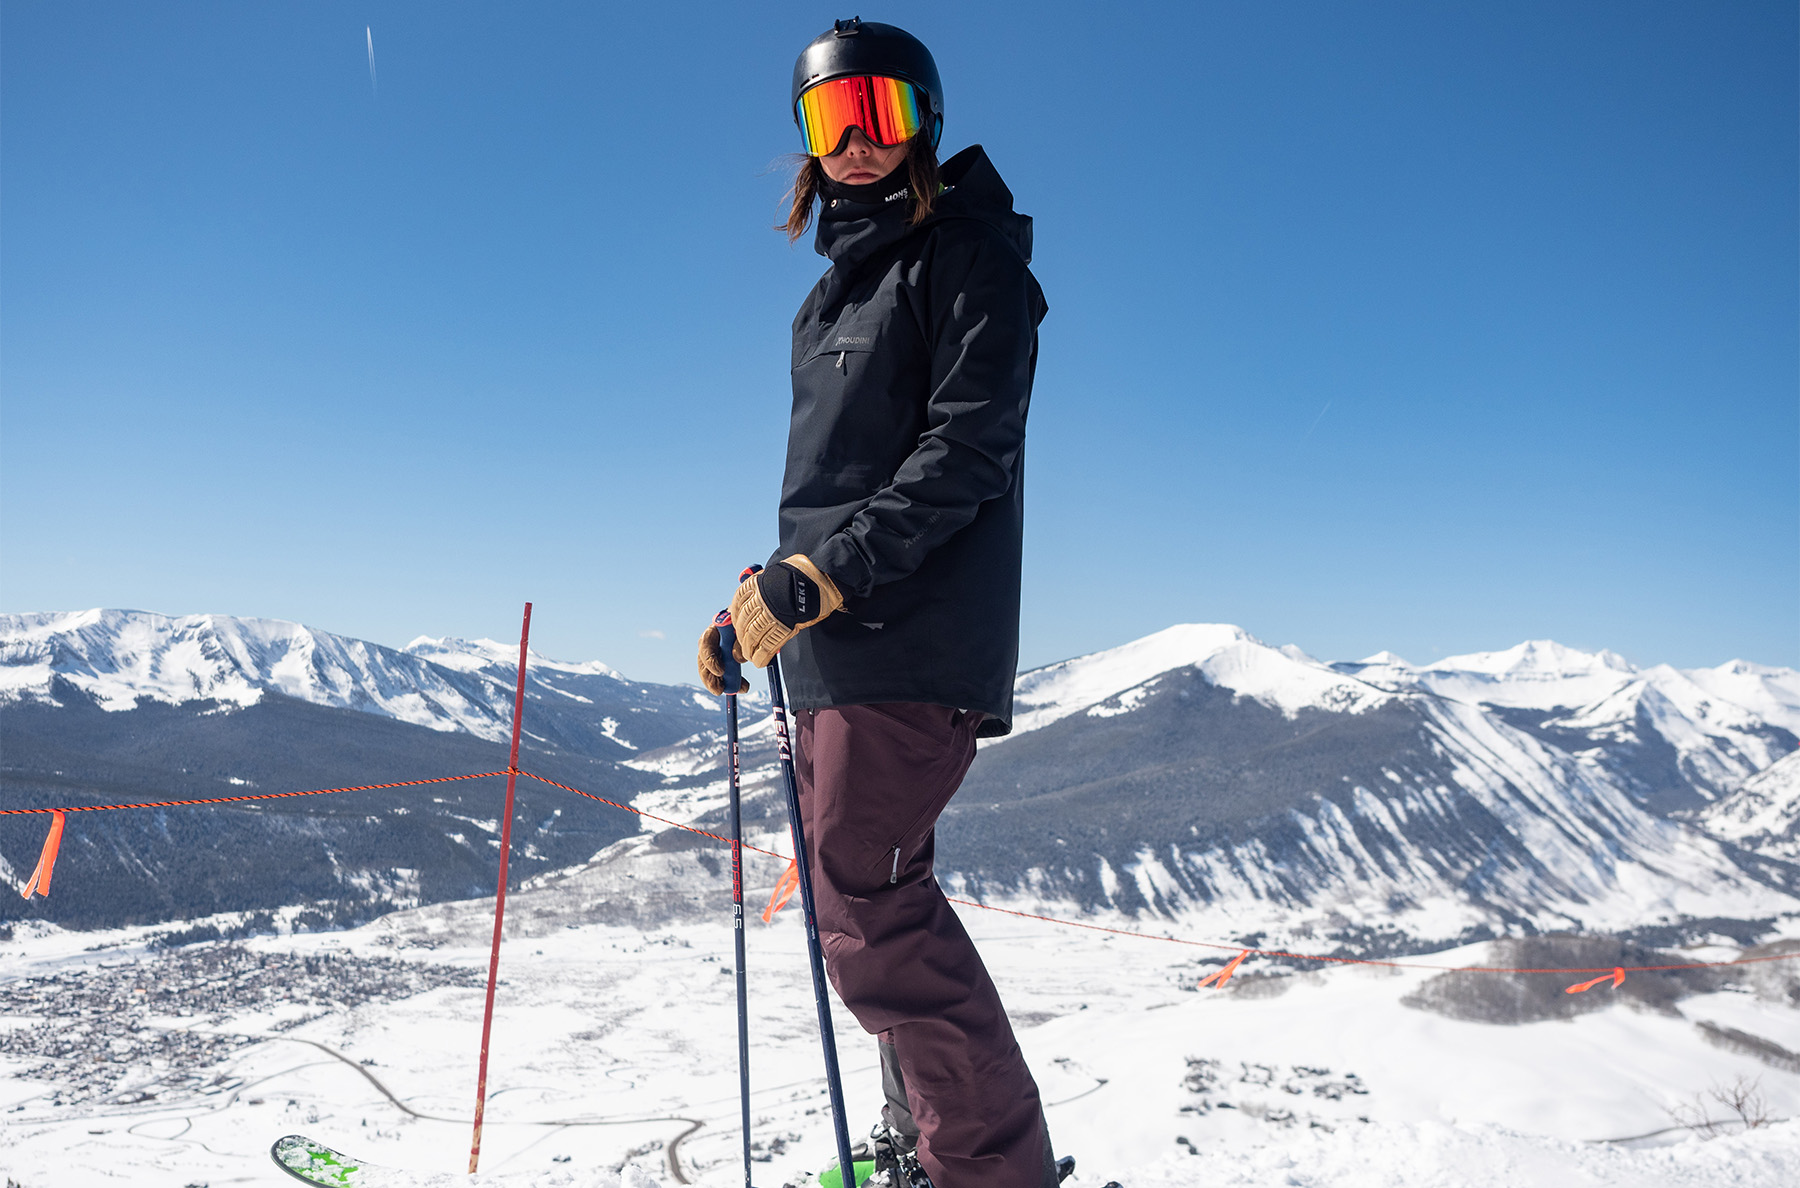
Zeal’s Beacon goggle stands out because of its downward-slanted lens, but that’s not just for looks — it’s part of what Zeal calls their “Observation Deck” design. By orienting the top of the lens farther out from your face and the bottom closer, they aim to increase vertical peripheral view without creating distortion, in addition to reportedly minimizing reflection on the inside of the lens.
In practice, the Beacon does offer notably better downward field of view than almost every other goggle we’ve tested (Smith’s 4D MAG being the main exception).

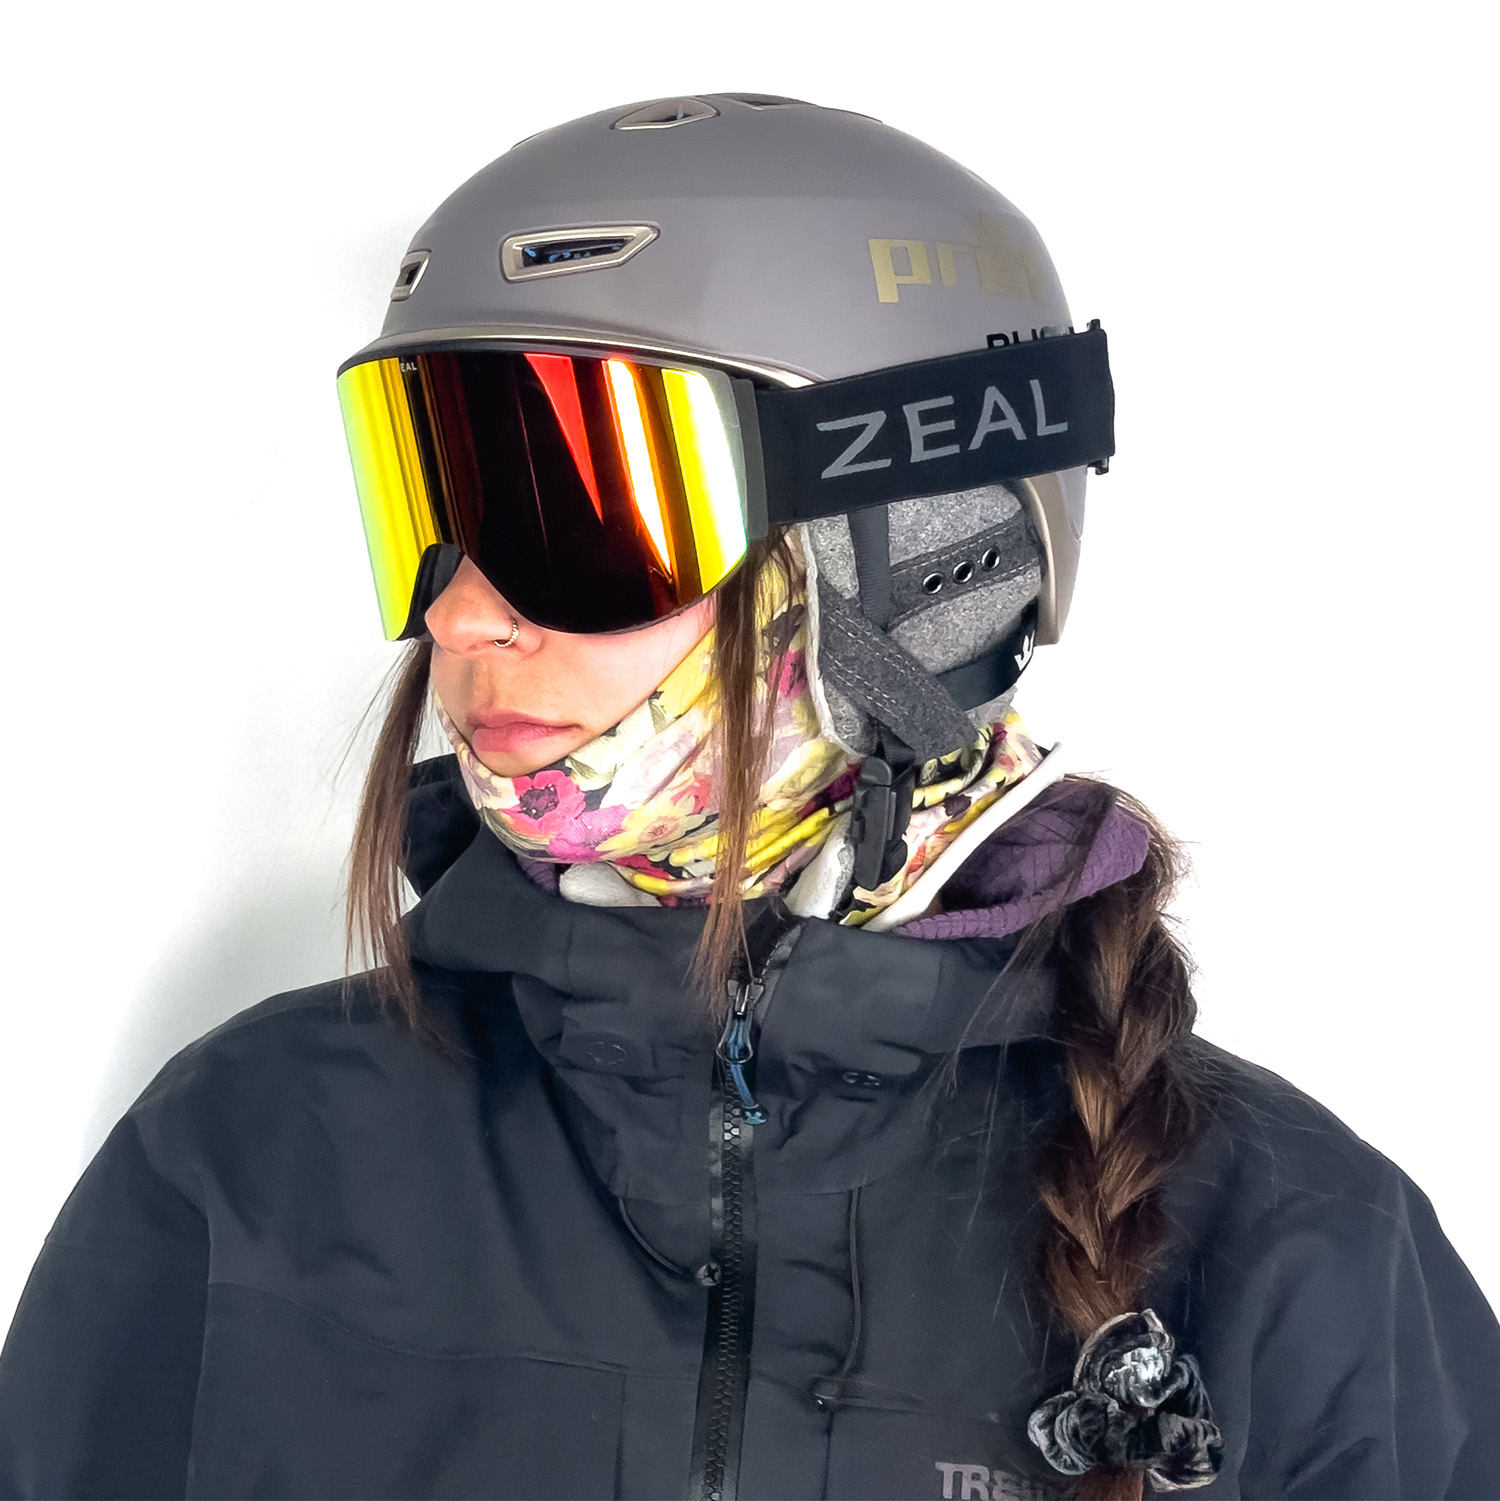
This difference is particularly nice when doing things like messing with the chest pockets on your jacket or sternum strap on your backpack — those things are notably easier to see compared to traditional goggles. And unlike the 4D MAG, we haven’t noticed any distortion with the Beacon’s lens (though it doesn’t offer quite as much downward FOV as the 4D MAG’s wrap-down lens).
The Beacon was the first goggle in Zeal’s line to feature the Observation Deck design, and it’s a pretty simple one. The Beacon is a pretty “Medium-size” (maybe a touch taller than average) cylindrical design that uses a simple lens-swap system where you push pins on the lens into their corresponding slots on the frame. The Beacon only comes with one lens, but you can get it with one of Zeal’s high-contrast Optimum lenses for $149; one of their polarized lenses for $219; or one of their polarized and photochromic “Automatic+” lenses for $269.
While we have yet to try them, it’s worth noting that Zeal’s Lookout goggle also features their Observation Deck tech and a Medium-Large cylindrical style, but the Lookout comes with two lenses ($199 for two Optimum lenses) and allows for easier lens changes via their Rail Lock system. Or, if you prefer a spherical goggle, see their Hangfire, which has a similar feature set and price as the Beacon, but in a shorter, spherical package.


Great review. I’d love to see an article on selecting a lens type, colour, tint, photochromic, etc.
Also, any footage of the “knee-to-chin impact … enough to launch reviewer Luke Koppa about 40 feet and require chin stitches afterward”? I’d like to see that.
We do have big plans for some more general “Goggles 101” articles in the future, including info on those topics.
And ha, the only people who saw it were the ones riding the lift that was directly above me (of course). But there’s some photos of the aftermath on the episode page for this GEAR:30 podcast: https://blisterreview.com/podcasts/gear-30-podcast/jonathans-gear-for-ak-lukes-latest-crash-more-ep-240
Have a couple of pairs of Glades, bought the first at the Summit 2 years ago. The plastic used for the lens is somewhat soft and they get scratched more than other brands, especially when in the trees… Is there an Oakley boycott? how is it not included. Most days I use sunglasses. When it’s flat I prefer my OAKLEY PRIZM HI PINK. I am not fond of the guy who started and sold the company, went on to the RED video camera etc. But the googles are great.
Don’t know if you’ve done a helmet Roundup. But I’ll put my two cents in here. Dynafit TLT. Triple certified. Biking climbing skiing. I run hot so some days I just wear it naked. A little colder? Headband (crasy idea has crazy great ones). Even colder? Beanie. If it’s dumping then I use the other one. I love it. And for those who wear a GoPro type device on their helmet? No ski helmet is certified for that and the rumor is Michael Schumacher got his brain injury from wearing one. And other people have been injured and a Brazilian soccer player died. Ski helmets are not designed for an impact the will allow the go-pro mount to penetrate the shell. Only helmet certified for GoPro type devices are climbing helmets. So triple certified should be safer. Perhaps not a stylish as other options but I like looking like a dork.
We just haven’t been able to arrange any long-term reviews of Oakley’s latest goggles, though, when I borrowed some Line Miners for a couple days, I was also a fan of the Prizm Hi Pink lens for low-light conditions. Hoping to be able to include some Oakley options in our next one.
And we are currently working on a big helmet roundup to complement this one. Thanks for the heads up about the TLT — we’ll try to set up a review.
Those Pit Vipers look almost…. tasteful.
Now that has me questioning everything I believed I knew about the Universe.
Ha, HEY PIT VIPER, YOU GETTING SOFT IN YOUR OLD AGE???
(Or maybe just getting better, like fine wine?)
More likely their loyal customer base is aging out of wearing their “signature looks”.
The million dollar question for you Jonathan, how did your mission go to find your preferred combo for those flat light days?
I thought I was on a winner with the Julbo HC 0-4, but sadly found myself swapping back the the Prizm Hi Pink on the flat light days I had in Japan as I felt the Julbo were stay “too dark”. I feel like trying the ChromaPop Storm Blue Sensor Mirror.
I tried the Glade Adapt googles this year after reading good reviews on this site and others and was pretty disappointed. They definitely feel cheap compared to Smith, Julbo etc and as noted above the lenses scratch super easily. Unfortunately the photochromic is just a coating on the lens so once it’s scratched that no longer works. I retired mine to the spare bin after the first half of the season and am now on Julbo Razor Edge photochromic 0-4 which I find gets both darker and lighter than the Glades. I agree with the above poster that it is still a bit dark for the super flat (white out conditions really) days, during which I’ve found nothing to work better than a simple yellow lens. Just my two cents.
Yep, the most durable photochromic lenses (incl Julbo) use a co-molding approach where the photochromic coating is applied to a very thin front layer, and then the rest of the lens is molded “onto” that such that the photochromic coating ends up sandwiched between that original front layer and the plastic that is molded on behind it. My understanding is that optical distortion can be somewhat worse with that approach, though. There’s no free lunch.
With that said I tend to agree with Ted Ligety (on Gear:30) that Photochromic lenses “trigger” at too low of a light level, and don’t adapt quickly enough once it goes away. I’ve had good luck with the Chromapop Storm Yellow (65% VLT). I haven’t tried the Storm Blue, but they have slightly lower VLT and I think that yellow tends to do better in really crappy conditions in any case.
I am in the Glade Fathom camp, and I have been VERY happy with them with 14 days on snow this year ranging from Bright Sun to near White Out with Heavy gusting winds. I love the ease of changing lenses and replacements are reasonably priced. Note, I have not scratched a lens yet as I have a full quiver of 4 or 5 lenses to match my outfit, conditions, and mood for the day. So wear and tear is not an issue yet.
I returned to skiing last year after a long break and bought Oakley Fall Lines. Since I was starting from scratch, I bought Oakley based upon brand. However changing lenses was Painful. Sure it got easier after repetition, but it was still several minutes. The Cost of Lens are VERY expensive. The Oakley Fall Line goggles are good (They are Oakley’s they should be), but if you want multiple lens options they are VERY expensive and cumbersome.
The Glade Fathom, changing the lens is literally takes seconds. The adaptive lens work well in flat light, in fact I think the adaptive lens was better than the Yellow low light lens.
Any particular reason that you have not reviewed Oakley googles?
Hi Luke and team, a few things:
– Given the benefit of matching goggles to helmet to address forehead gap, perhaps you could recommend to readers if one should start with the helmet and then find a goggle from the same manufacturer, or the other way around. Or, if you don’t find helmet-goggle gap an issue, list compatible combinations to minimize gap.
– I use Smith 4D mag and while I like them, I have noticed that friends who have borrowed them have found the distortion from the lower view somewhat problematic.
– I’ve also tested the Zipline goggles – they were fine but I was really impressed by Zionor. For the price, they came with 5 lenses and the magnetic swap system was very easy to use (easier than Smith’s). I’d take a look at those for future reviews.
– Curious about how many days on snow you’re getting out of the foam on goggles, as that seems to be the rate limiting step for me as to when to replace. Lenses work until scratched and I have multiple spares, but the foam falling apart is what leads me to a new pair.
Best low light lens tested? I feel like most companies make a decent mid to bright lens, but it is the low light vision improvement that I really want!
And I second the Oakley questions, in particular the Flight Deck L– how does it compare to other wide field of view lenses? I had been using POC zonula clarity for a few years. In general, very good optical clarity, wide field of view and their pink low light was really good. But I found their lens durability not great– went through several low light lenses quickly, as they all would lose anti fog pretty quick…So I switched back to Oakley. Smith goggles never fit my face…
Re: the first question, it seems like every one of us has our own personal favorite low-light lens. I think my current favorite is Smith’s ChromaPop Storm Blue Sensor Mirror. That said, I find that the differences between most brands’ dedicated low-light lenses tend to be very subtle, unless you’re swapping goggles mid-day (i.e., it’s very rare that I use a dedicated low-light lens and think it’s notably worse than another brand’s low-light lens that I used on a different low-light day).
We’ll do our best to set up some Oakley reviews in the future.
Any plans to review the Atomic REVENT GT AMID VISOR HD PHOTO helmet/visor? It looks like a great system in the store, but wonder how is actually works on the slopes and in varying conditions.